
There’s something magical about film photography; the anticipation, the imperfections, the tangible results. But what if you could take that magic one step further and develop your own film at home? This year, I decided to finally stop procrastinating and dive into the world of DIY film development. Here’s how it all started.
Starting the Year with a New Creative Challenge
With the new year rolling in, I decided to dive into something I’ve been curious about for a long time: developing film at home. Shooting film has always been a passion of mine, but let’s be honest, getting rolls developed at a lab is becoming increasingly expensive.
About two years ago, I bought all the gear and chemicals needed to develop black-and-white film at home. And then… nothing happened. Maybe it was my hectic work schedule and studies, or maybe it was the fear of messing things up. Either way, I kept procrastinating. But this year, I wanted to turn a new page in my creative journey and finally give it a shot.
Photography, for me, is an art form. Even if I completely ruined the roll, I knew I’d learn something valuable from the process. Sure, losing those images would sting, but the experience and lessons gained? That feels like a fair trade-off.
The First Roll of the Year
For my first shoot of the year, I loaded up a roll of Harman Kentmere PAN 200 in 120 format into my Fujica Super-6. This camera shoots 6x6 medium format, which means 12 frames per roll. I’ve always loved monochrome photography, so black and white was an easy choice.
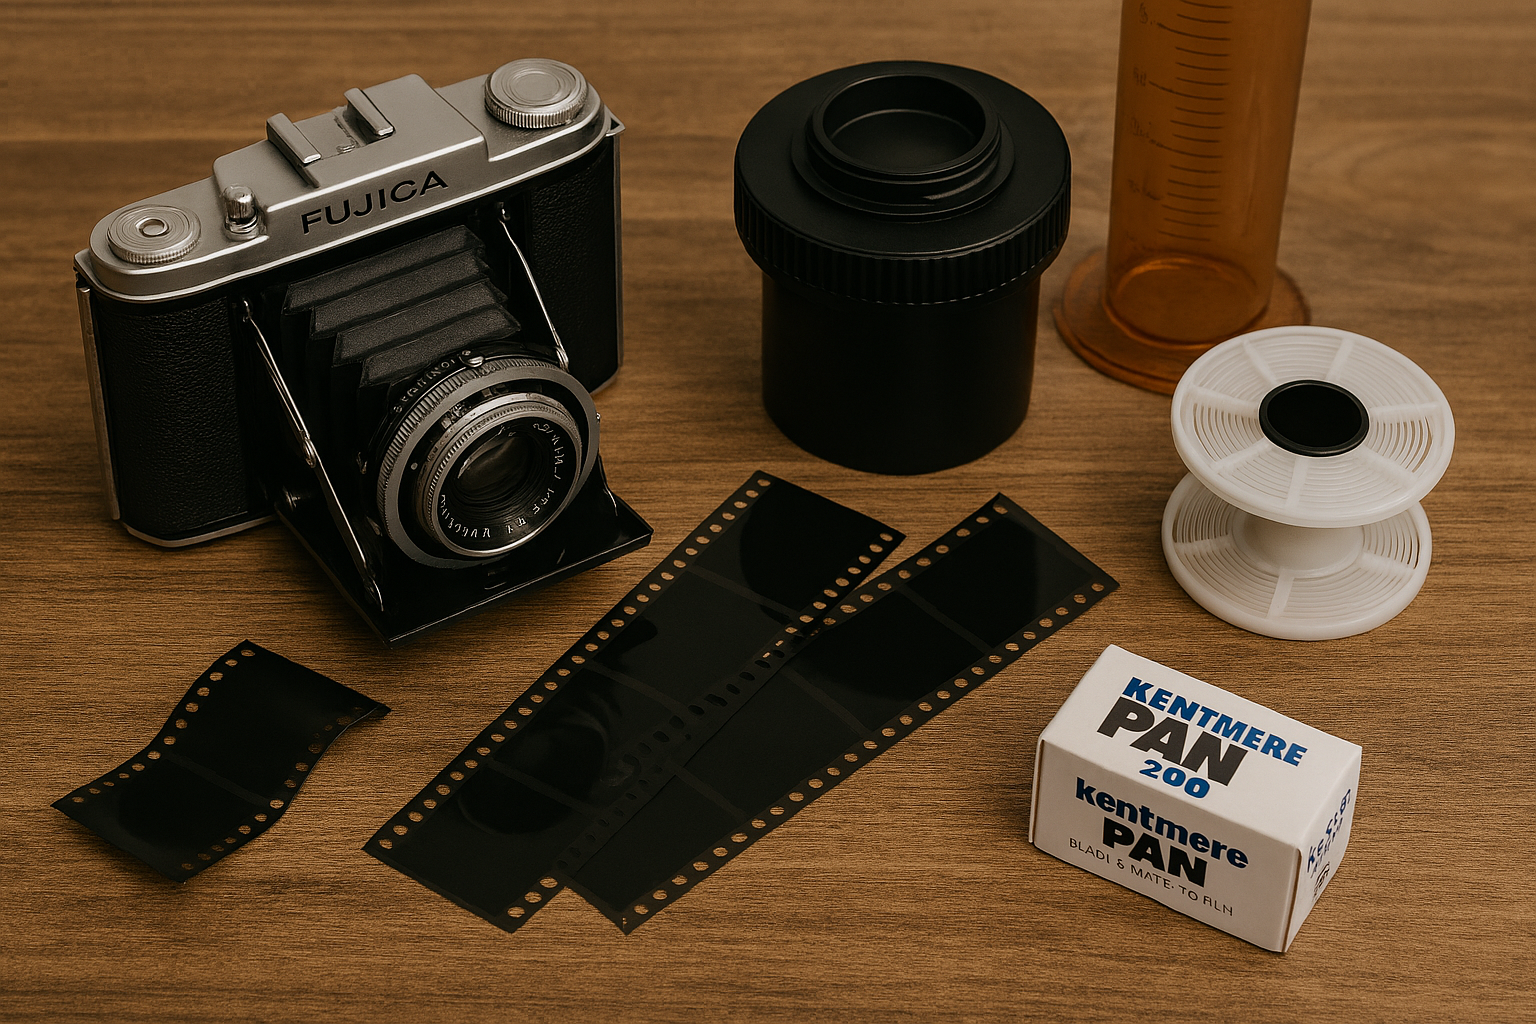
Note: Image created using Generative AI.
The square format, though? That was new territory for me. It felt like an experiment in unlearning and re-learning composition, and honestly, that made it exciting.
Film Choice and Shooting Constraints
I love pushing black-and-white film. I’ve done it before with Ilford HP5 (ISO 400) in 35mm, and the results were gorgeous. Great contrast and just the right amount of grain.
But this time, I had a few constraints to juggle:
My camera’s widest aperture is f/3.5, which isn’t ideal for low-light indoor shots.
The fastest shutter speed is 1/500, so pushing ISO too high could cause overexposure in bright outdoor light.
No ND filters for this camera, so I had to be careful with exposure.
Pushing ISO 100 to 400 would have been tough indoors, and pushing ISO 400 to 1600 would have been risky outdoors. So, what’s the middle ground?
Enter Kentmere PAN 200
Kentmere PAN 200 was the perfect solution. It’s the newest addition to the Kentmere lineup of black-and-white panchromatic film and offers a sweet spot between flexibility and affordability.
Cost was a big factor in my selection of film since prices have skyrocketed lately. Foma PAN used to be the go-to for budget-friendly monochrome shooters, but Kentmere PAN has matched that price point while delivering quality comparable to Ilford’s own films. That’s a win in my book.
What’s Next?
This post was all about the shoot and the thought process behind it. In my next post, I’ll share the details of how I developed the film at home step by step. Stay tuned!