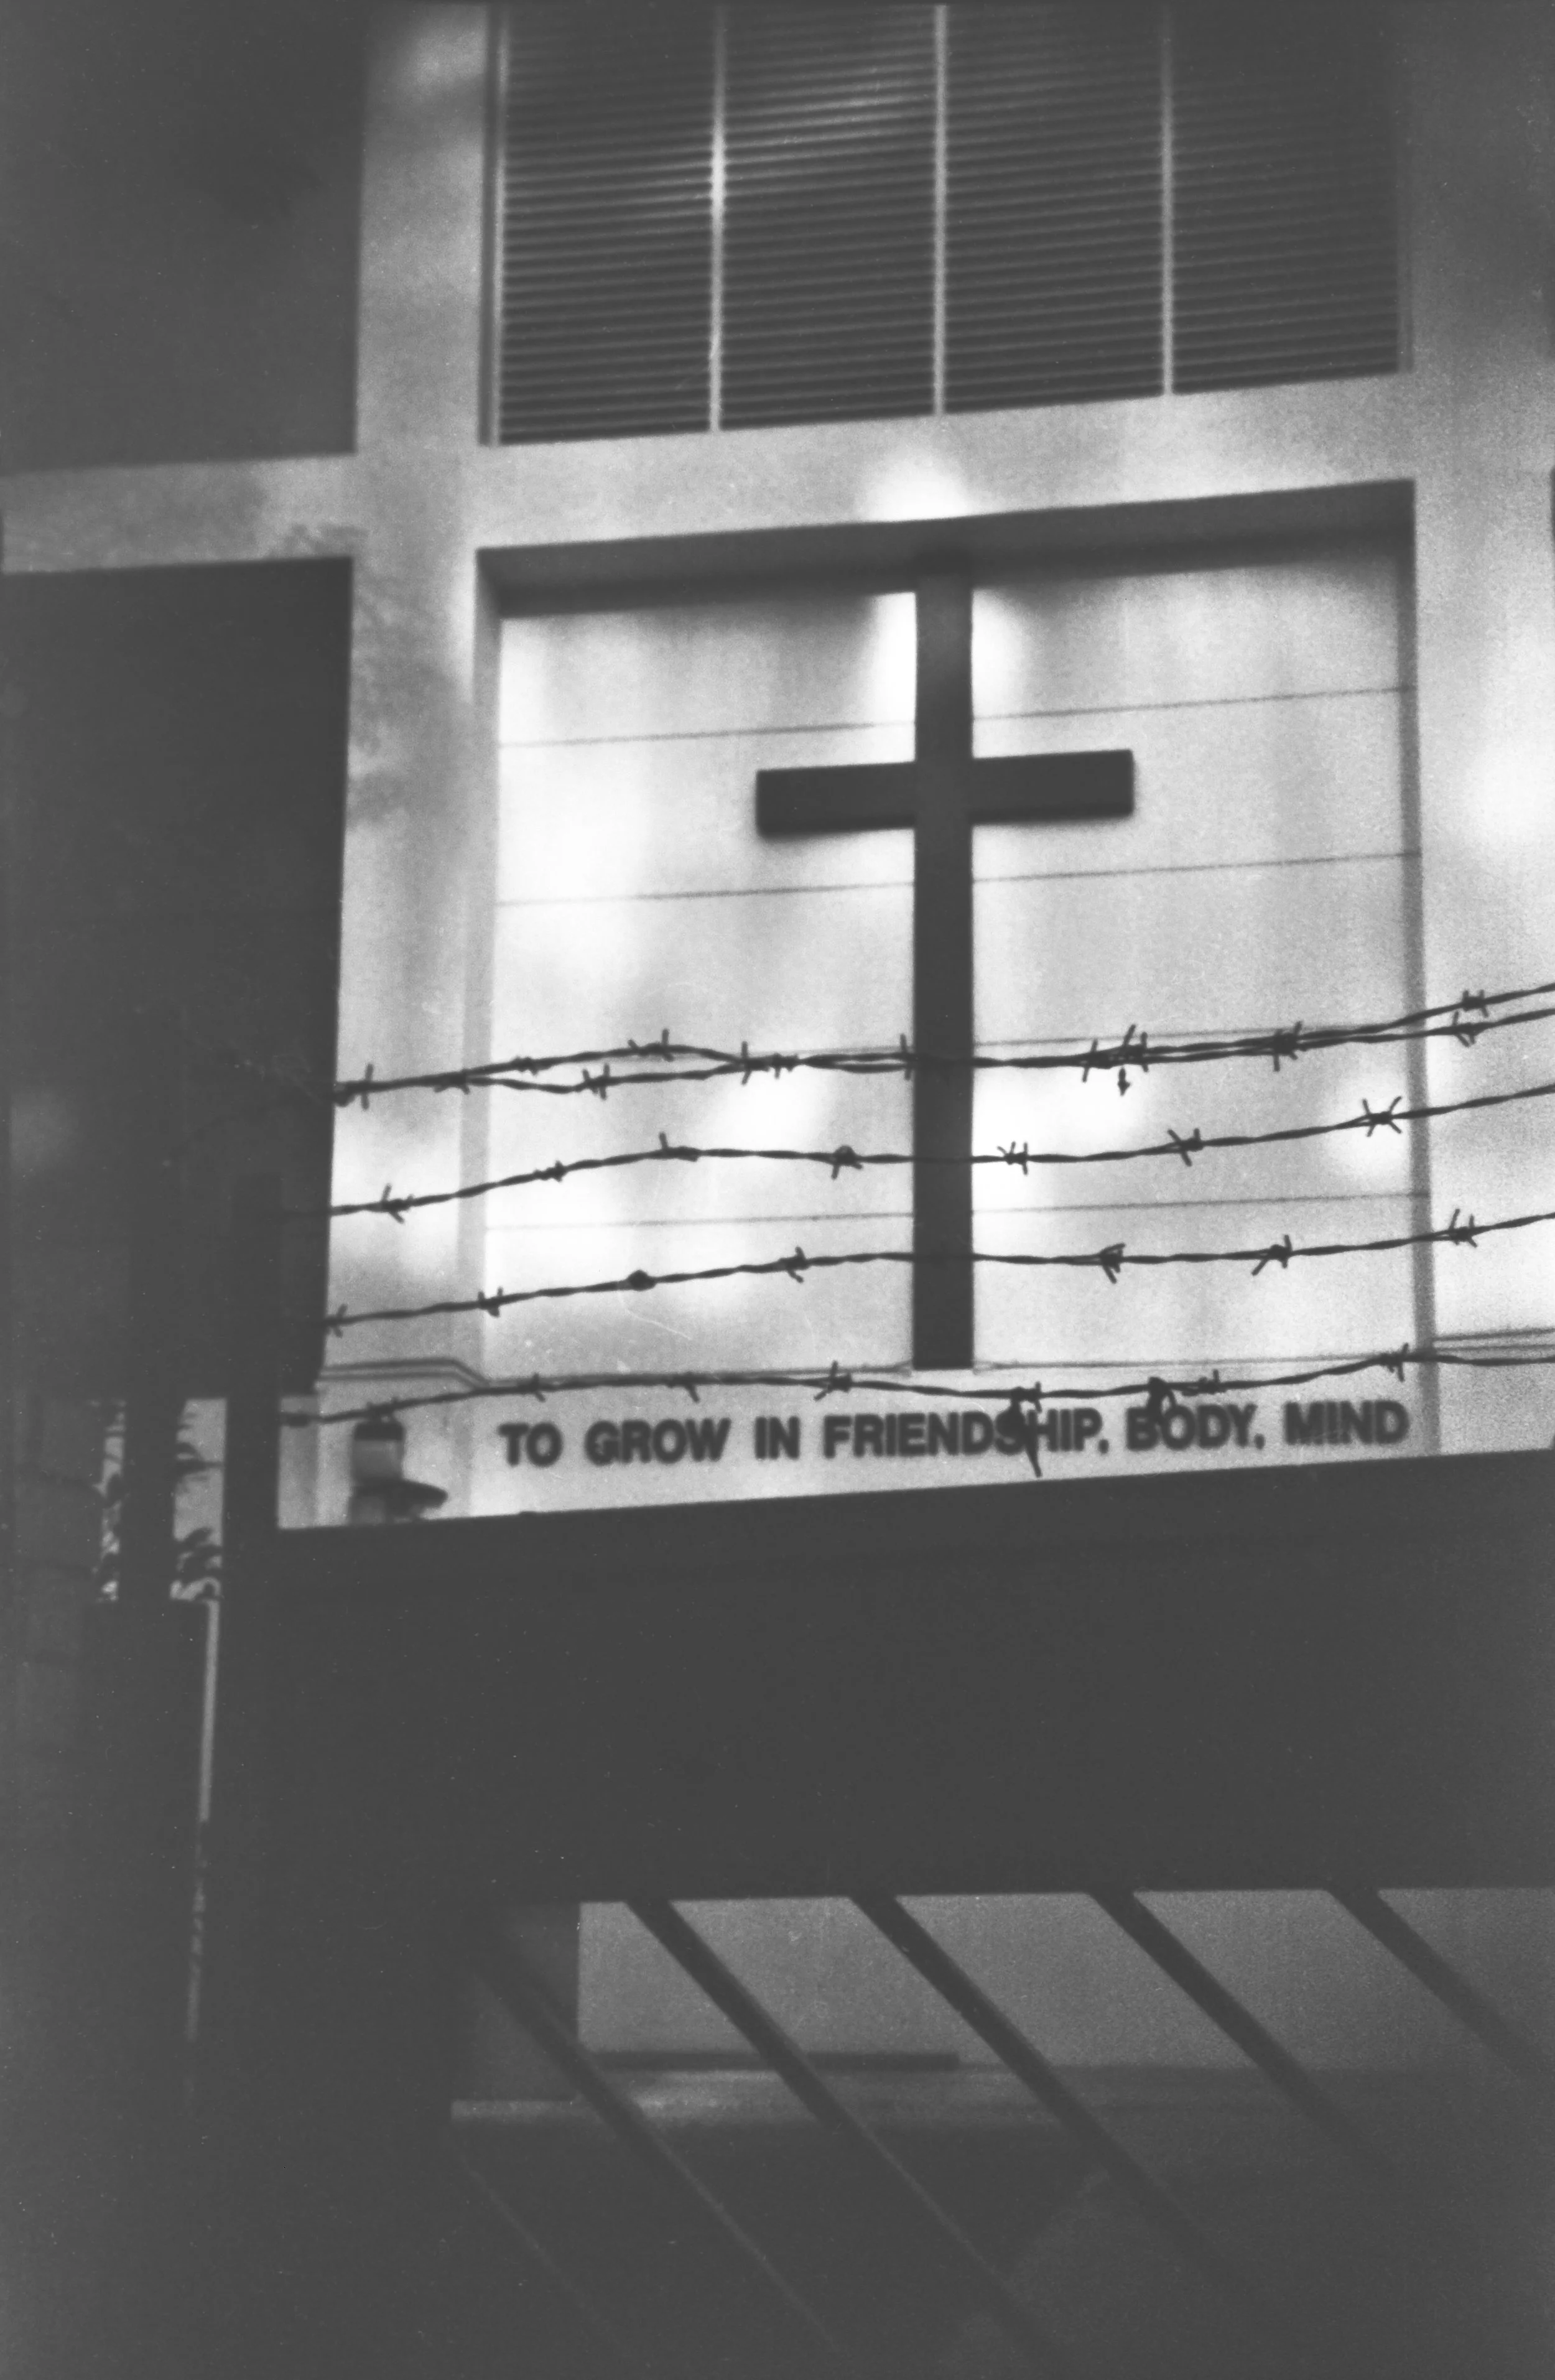
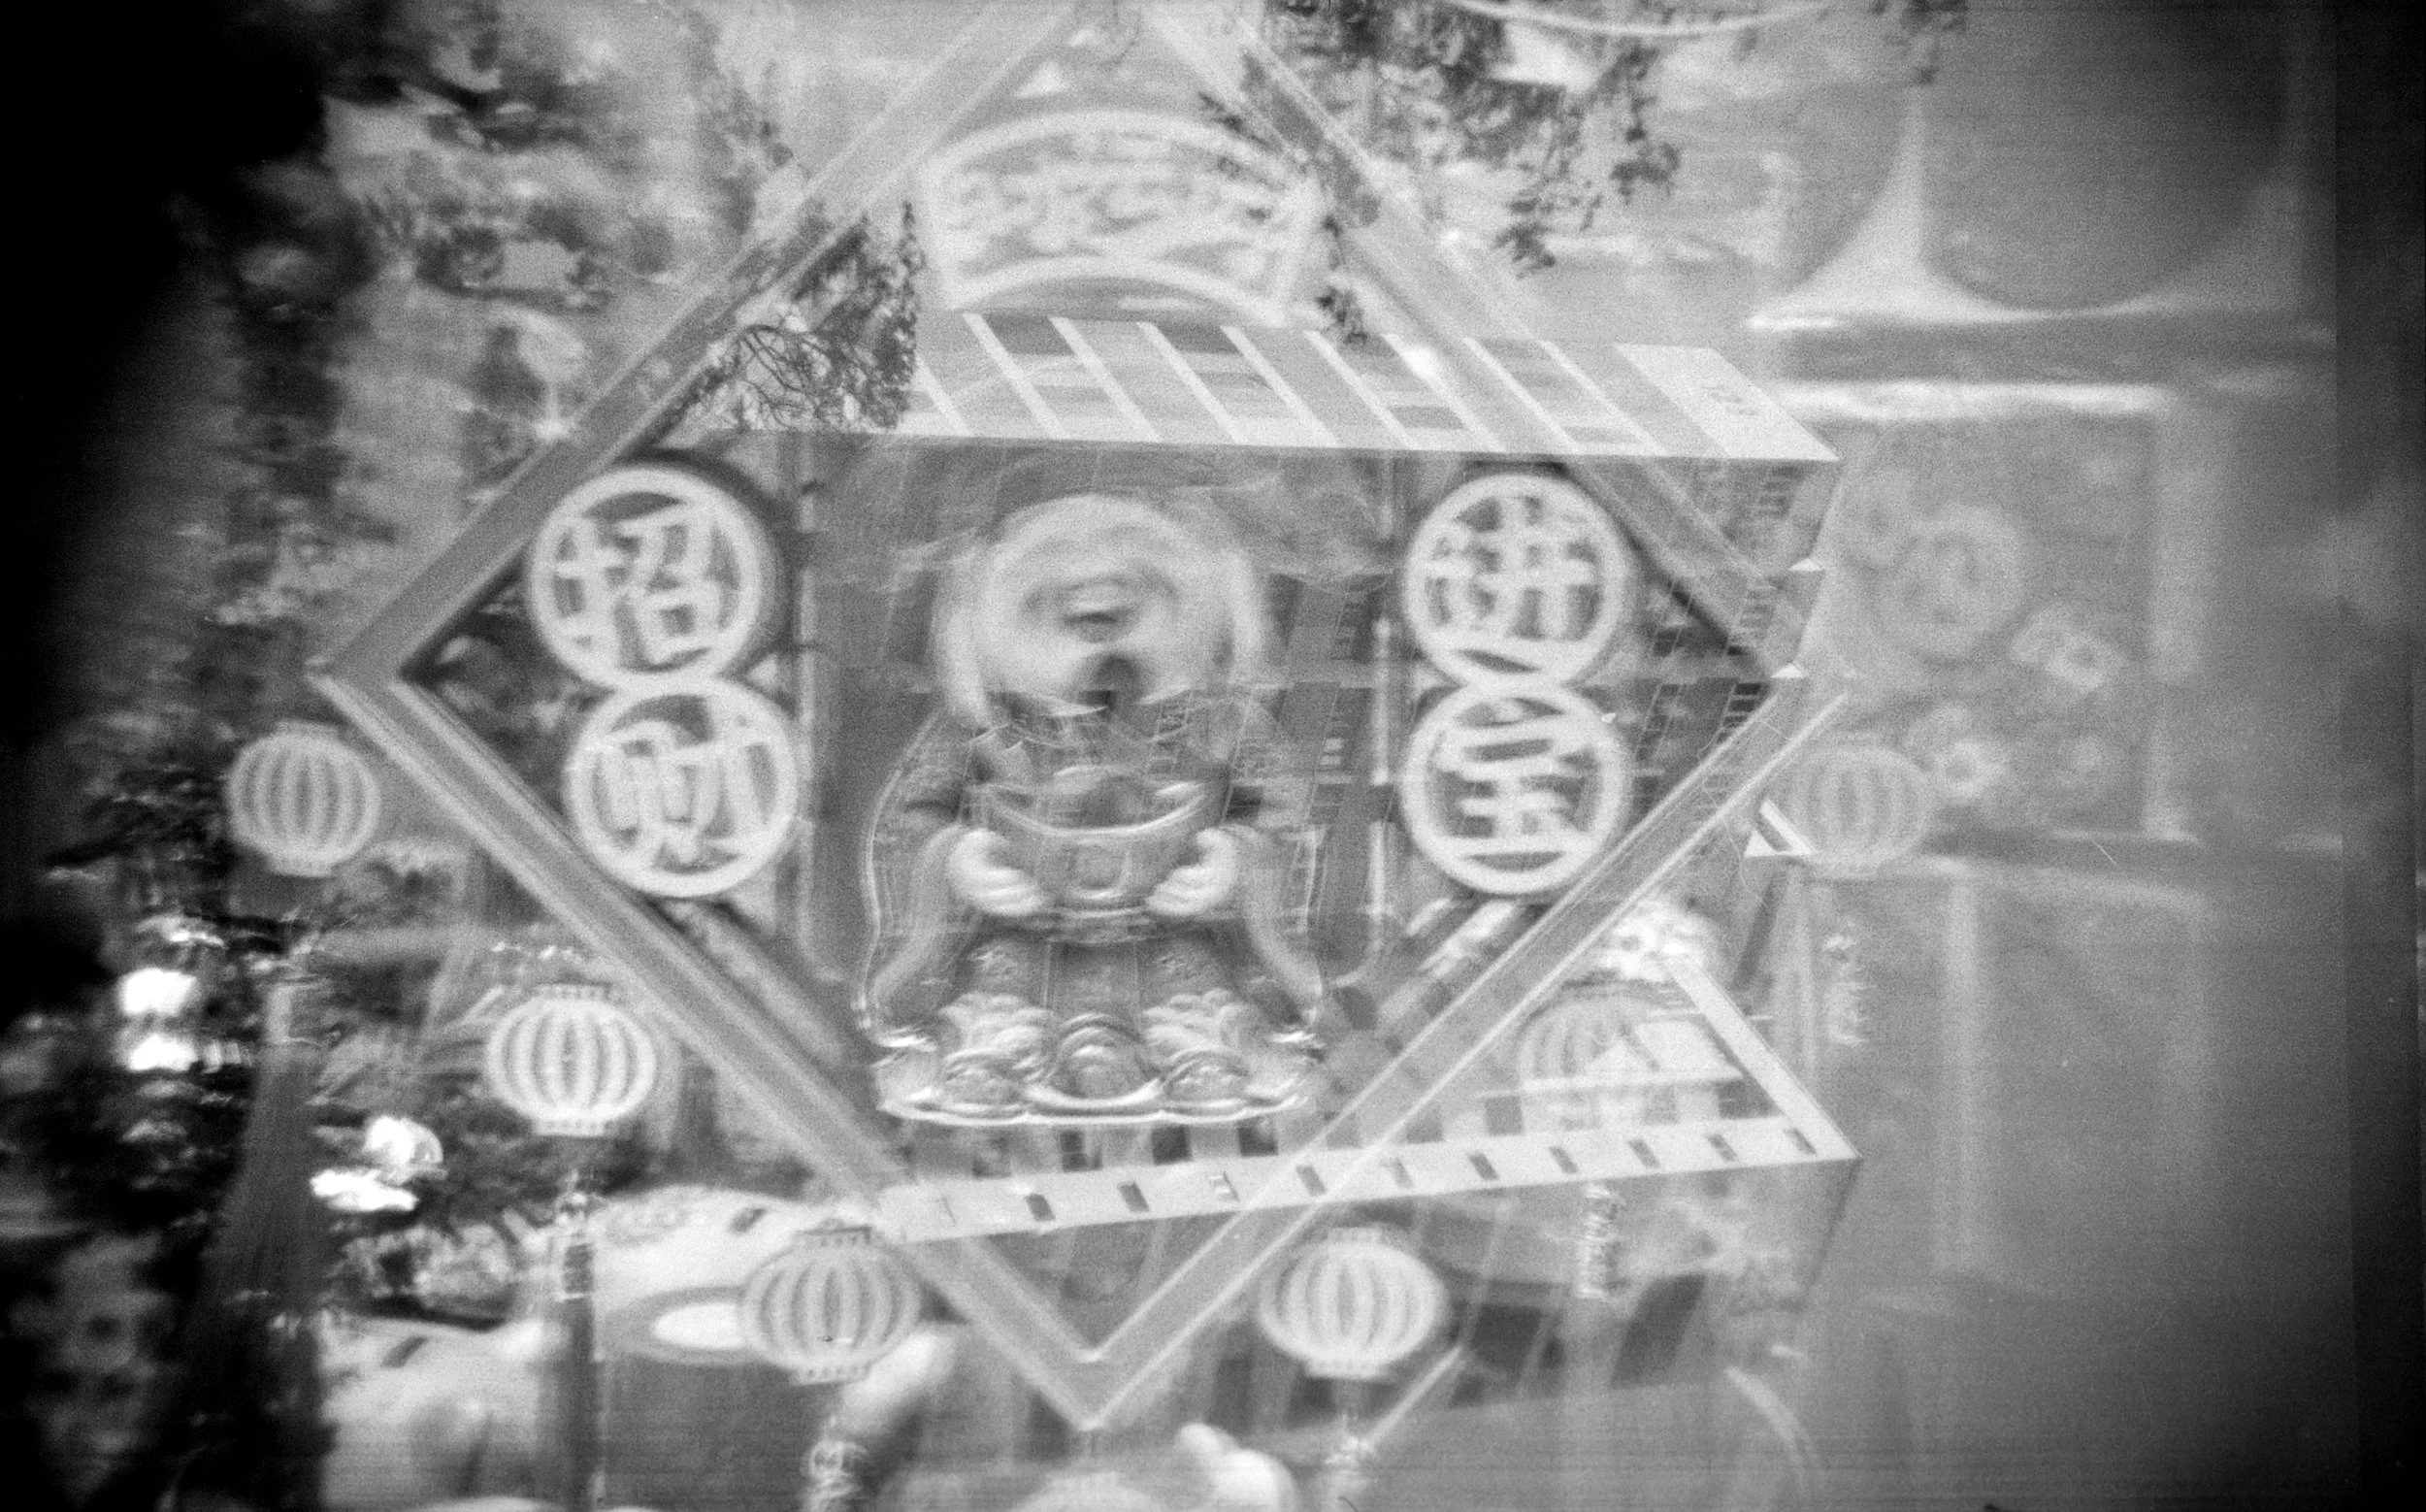
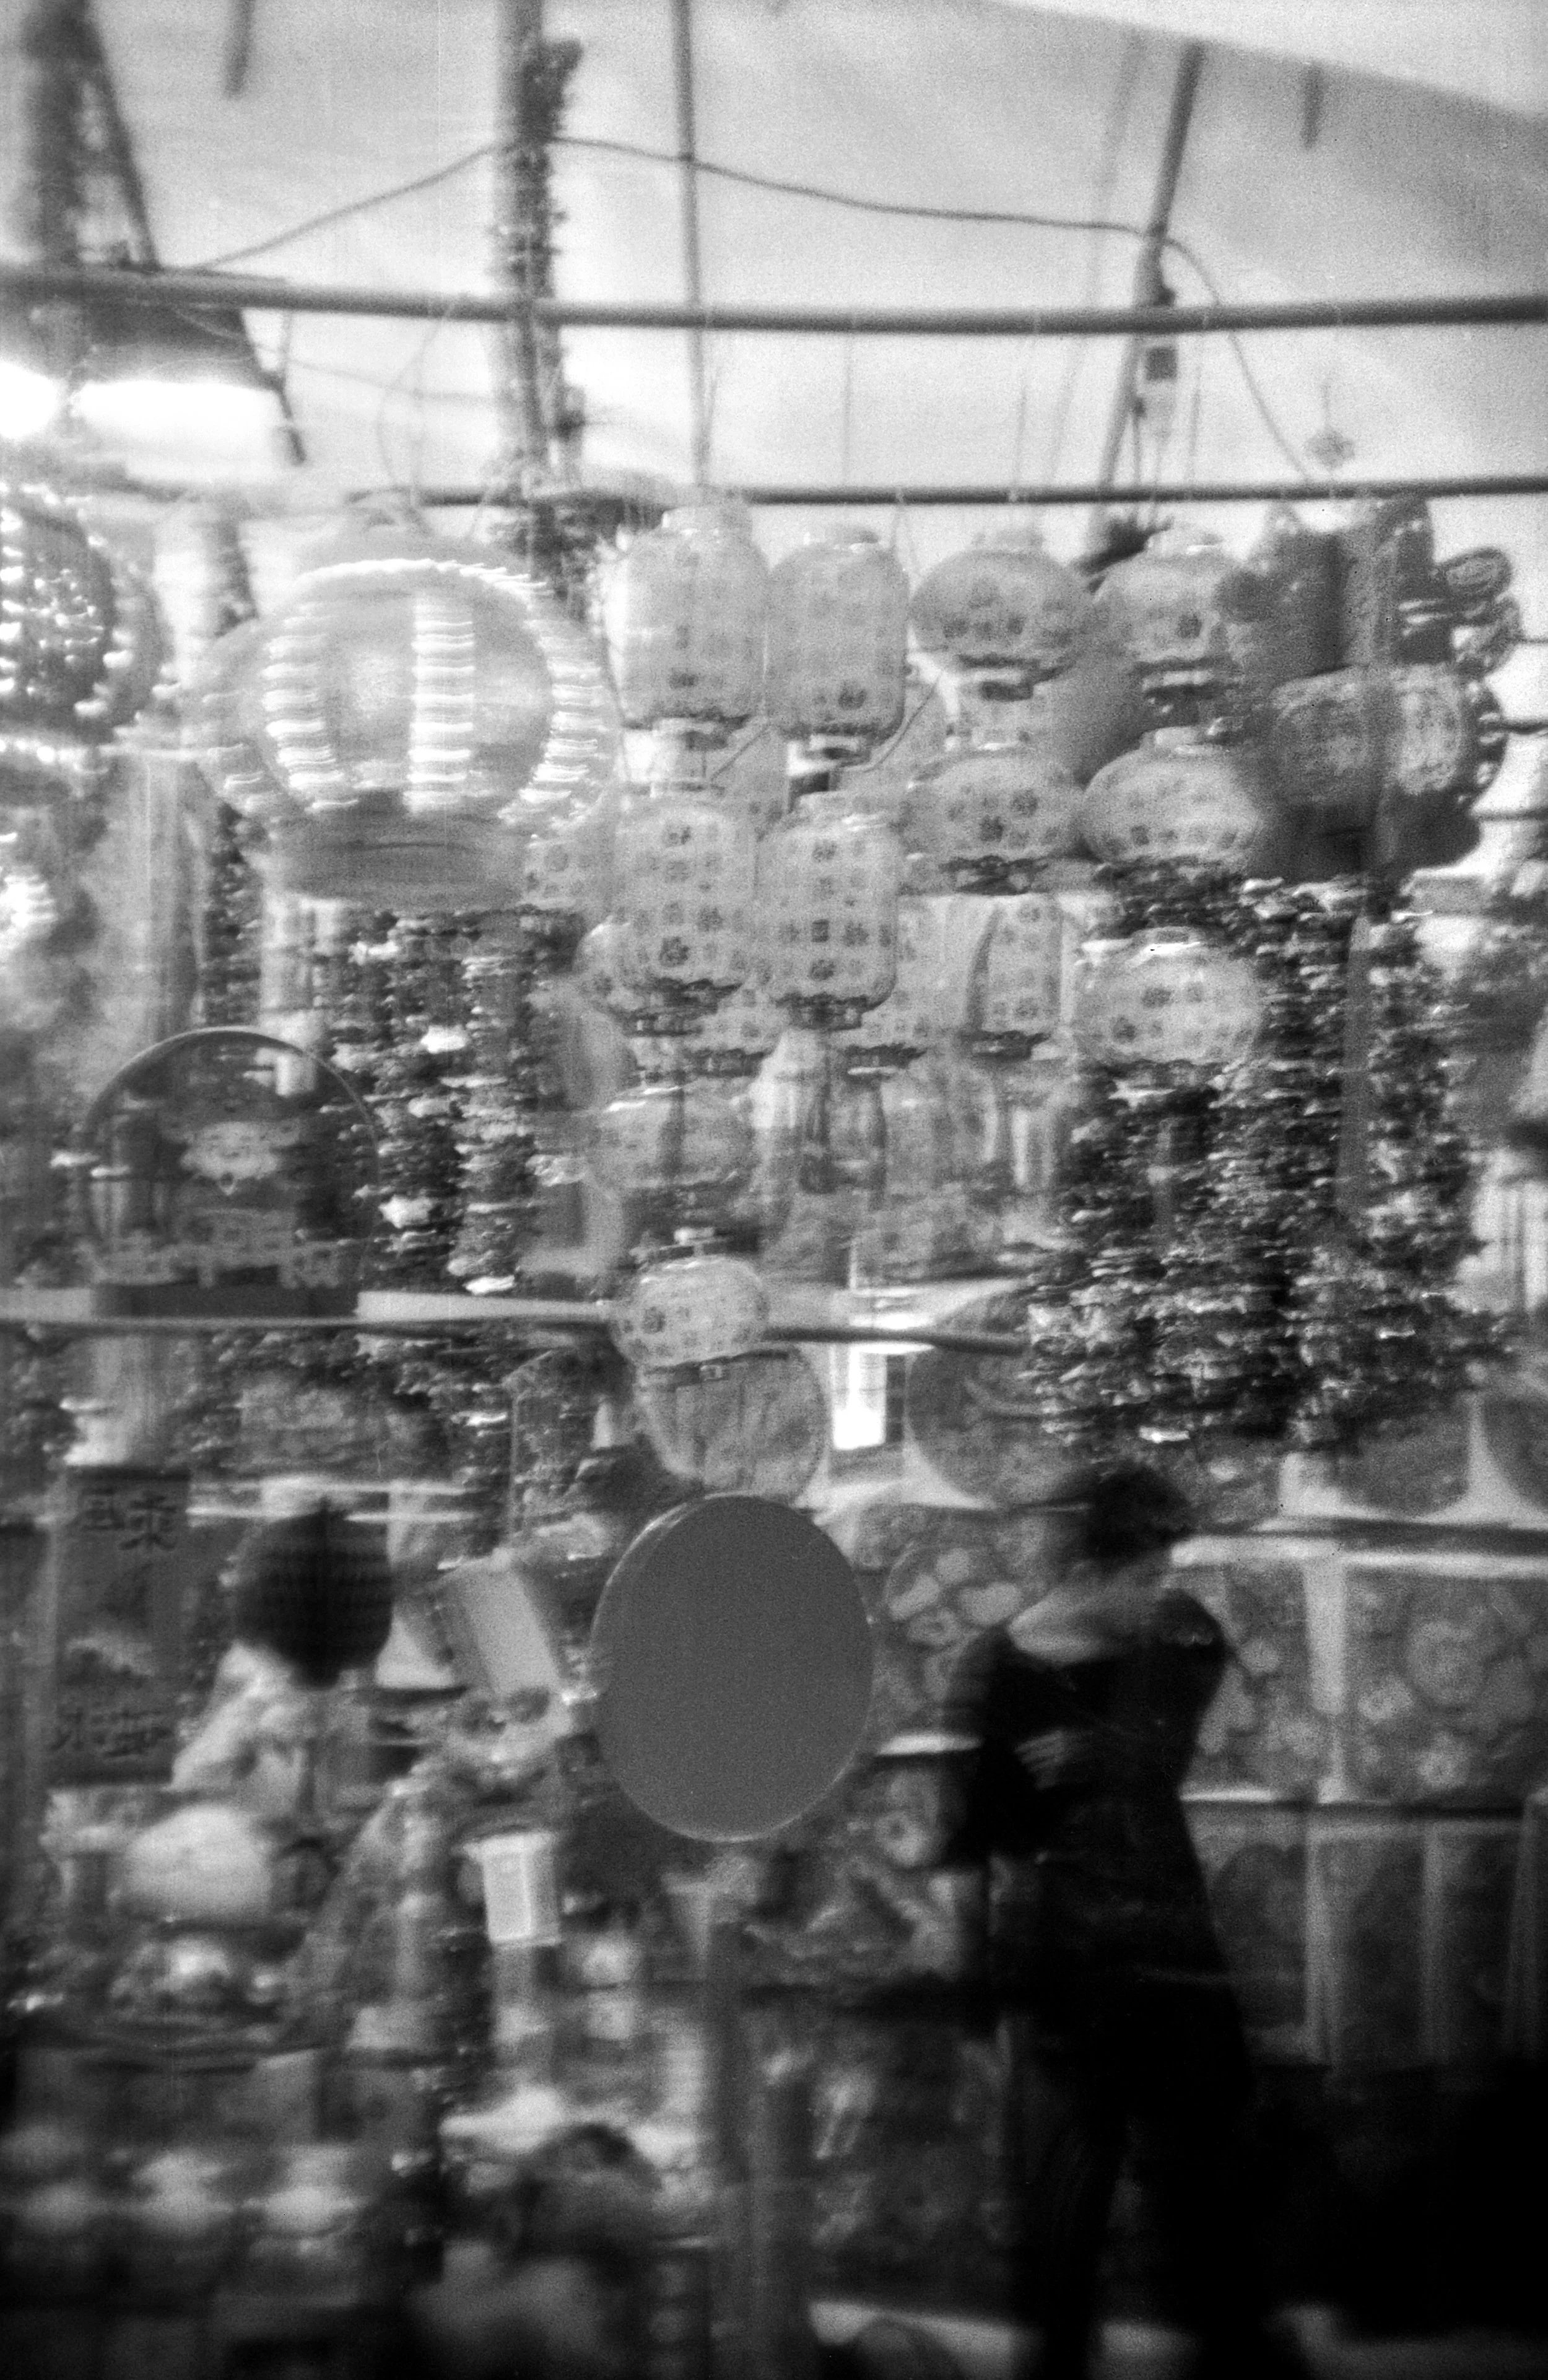
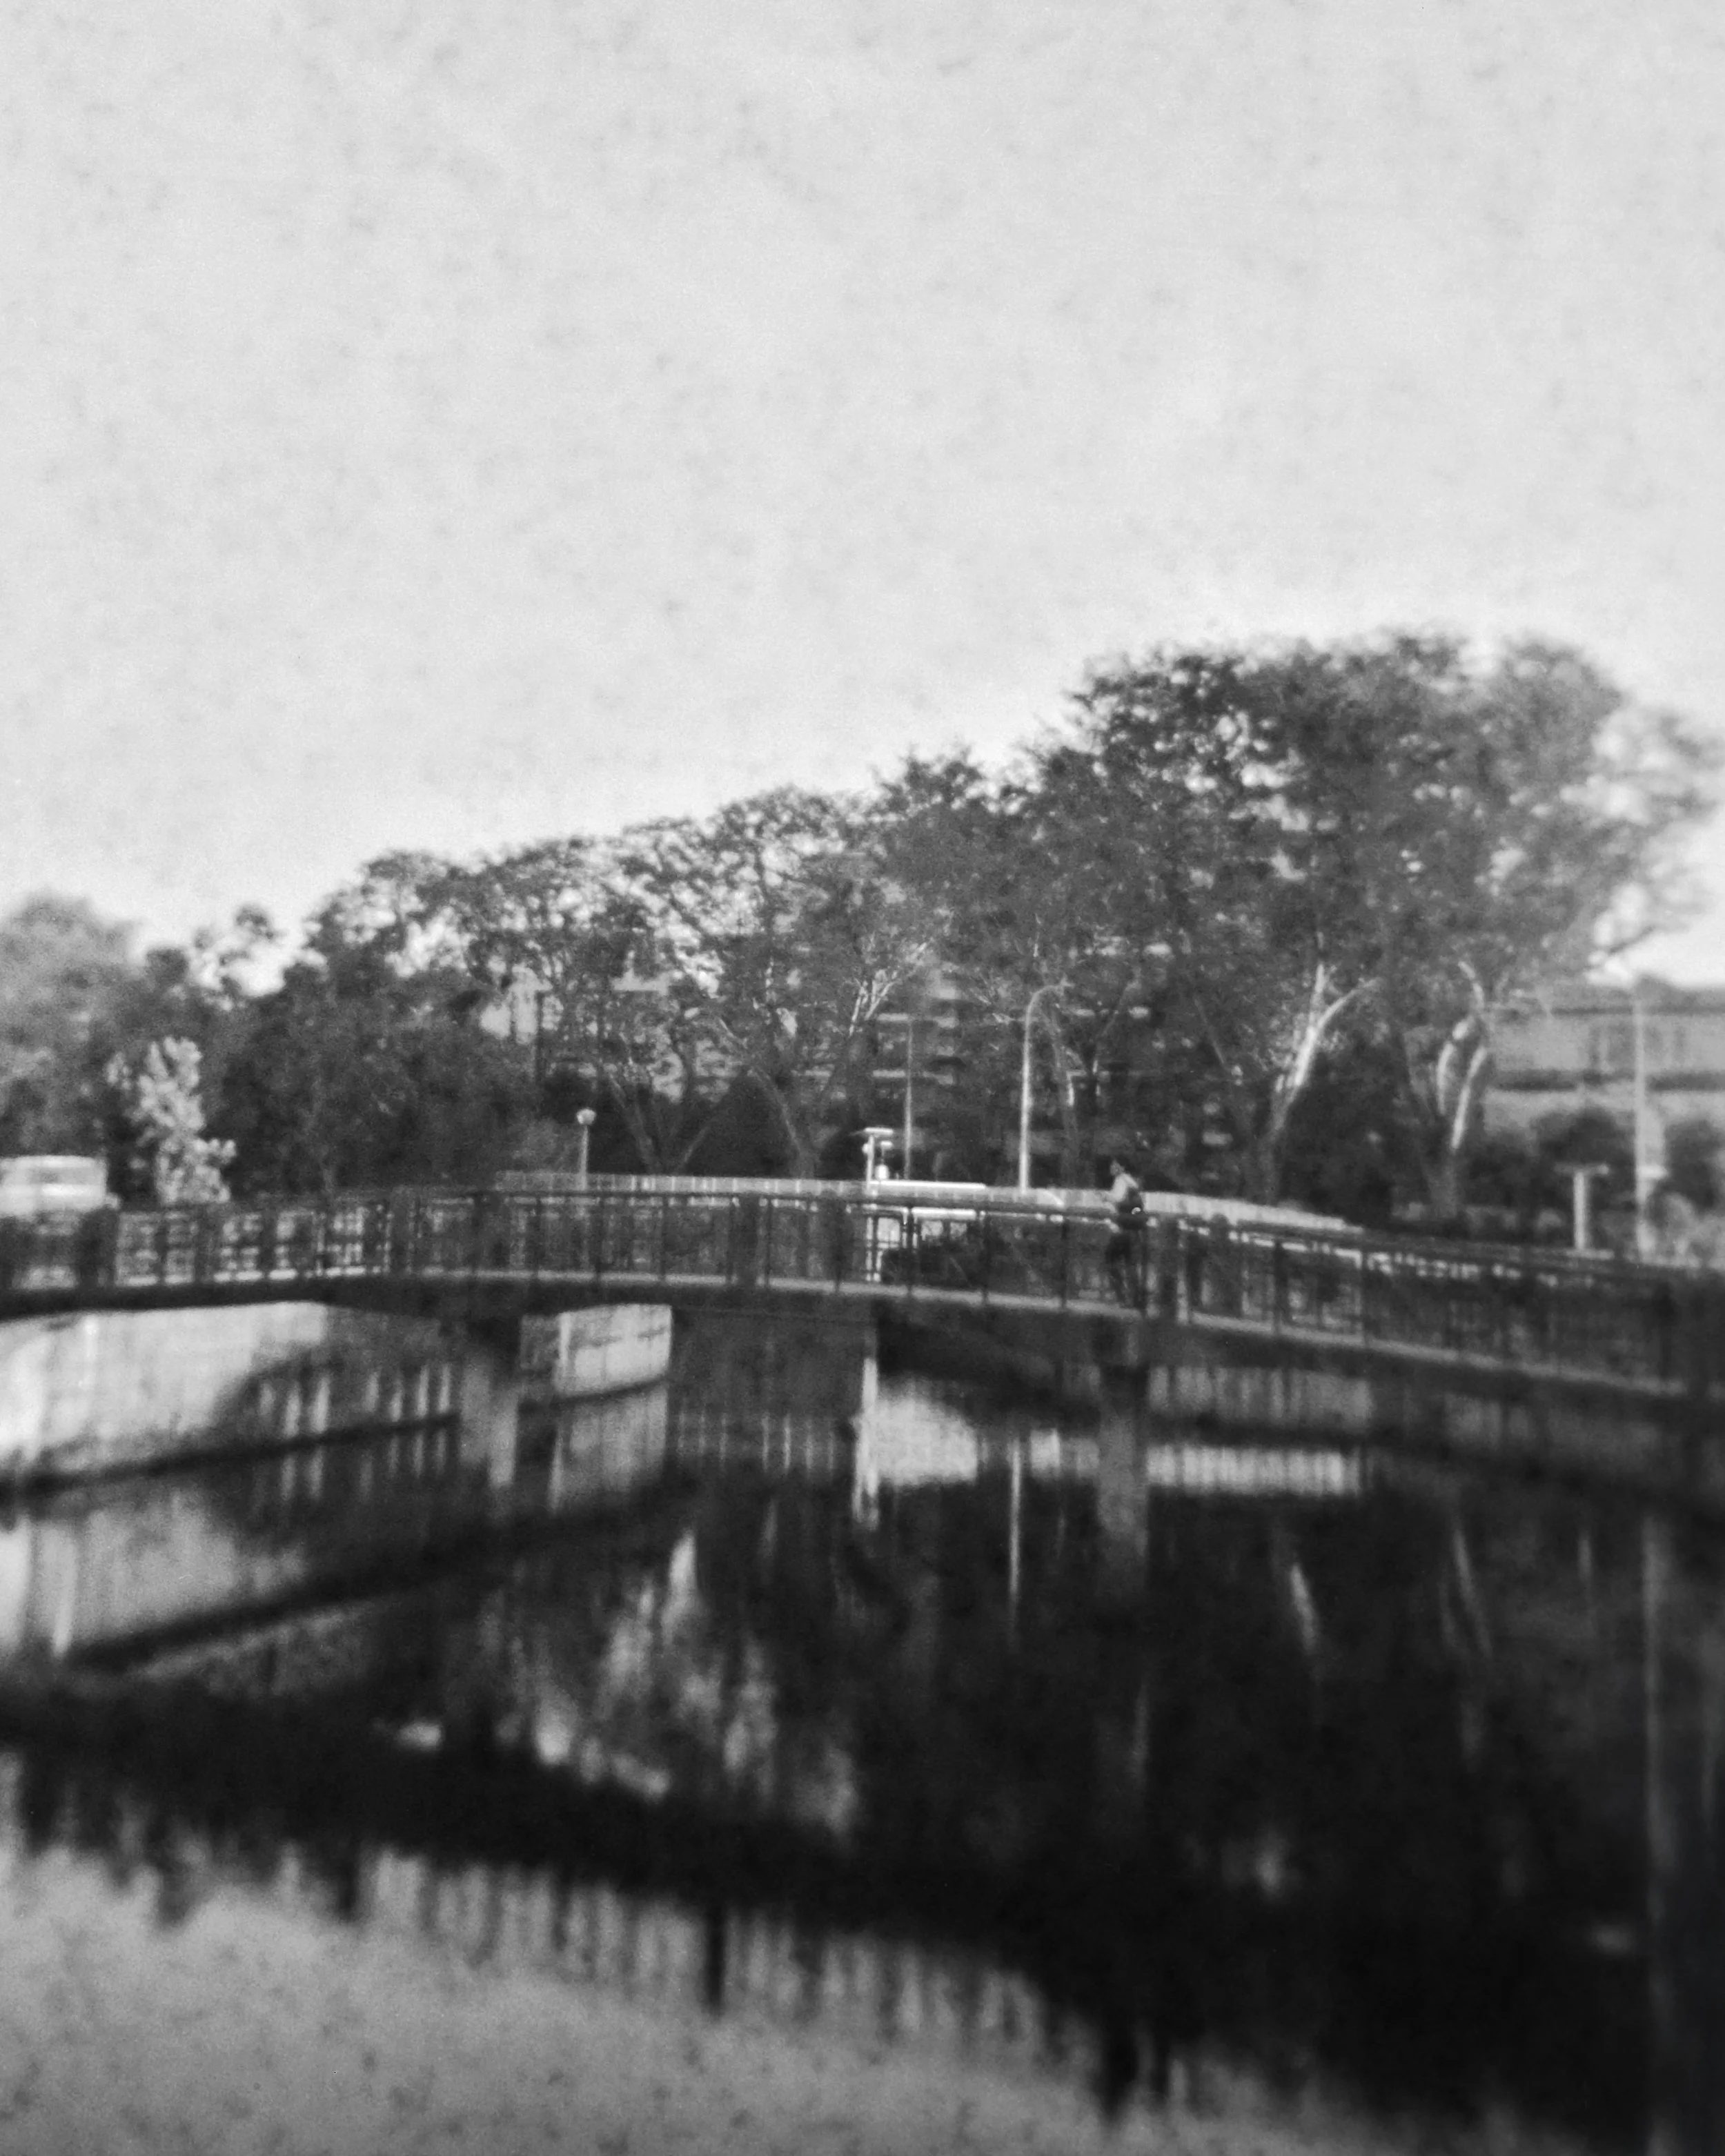
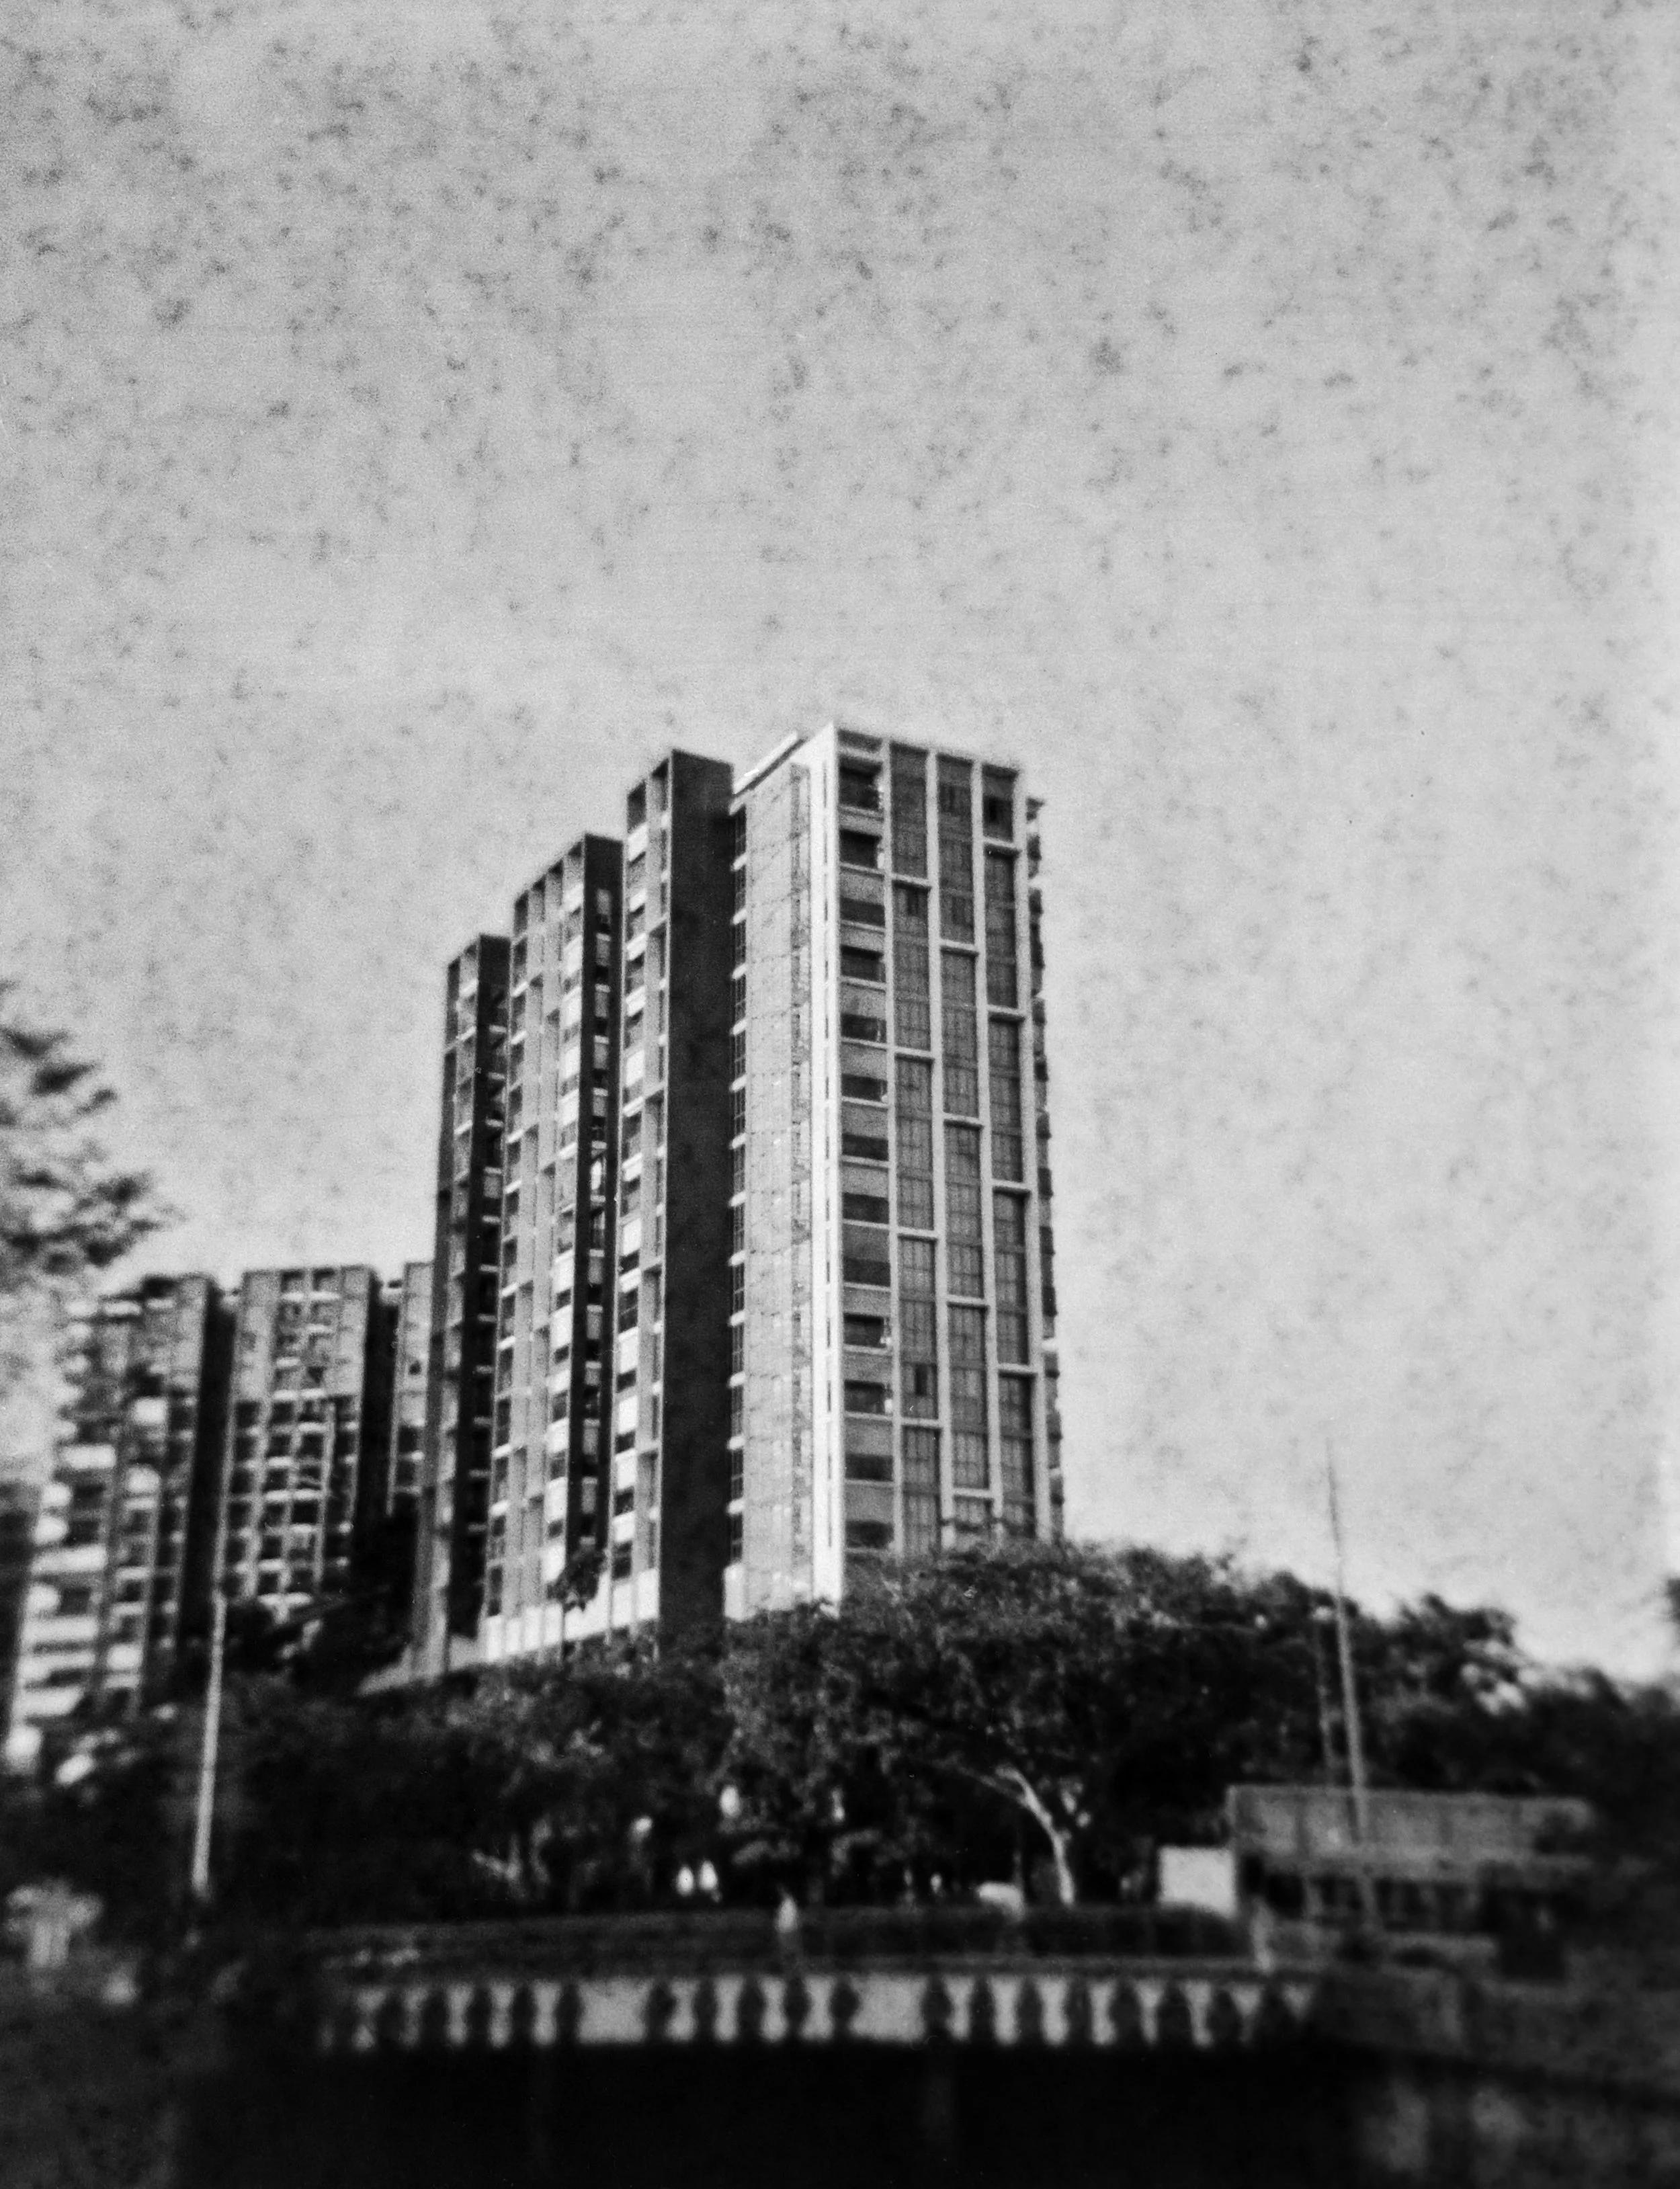
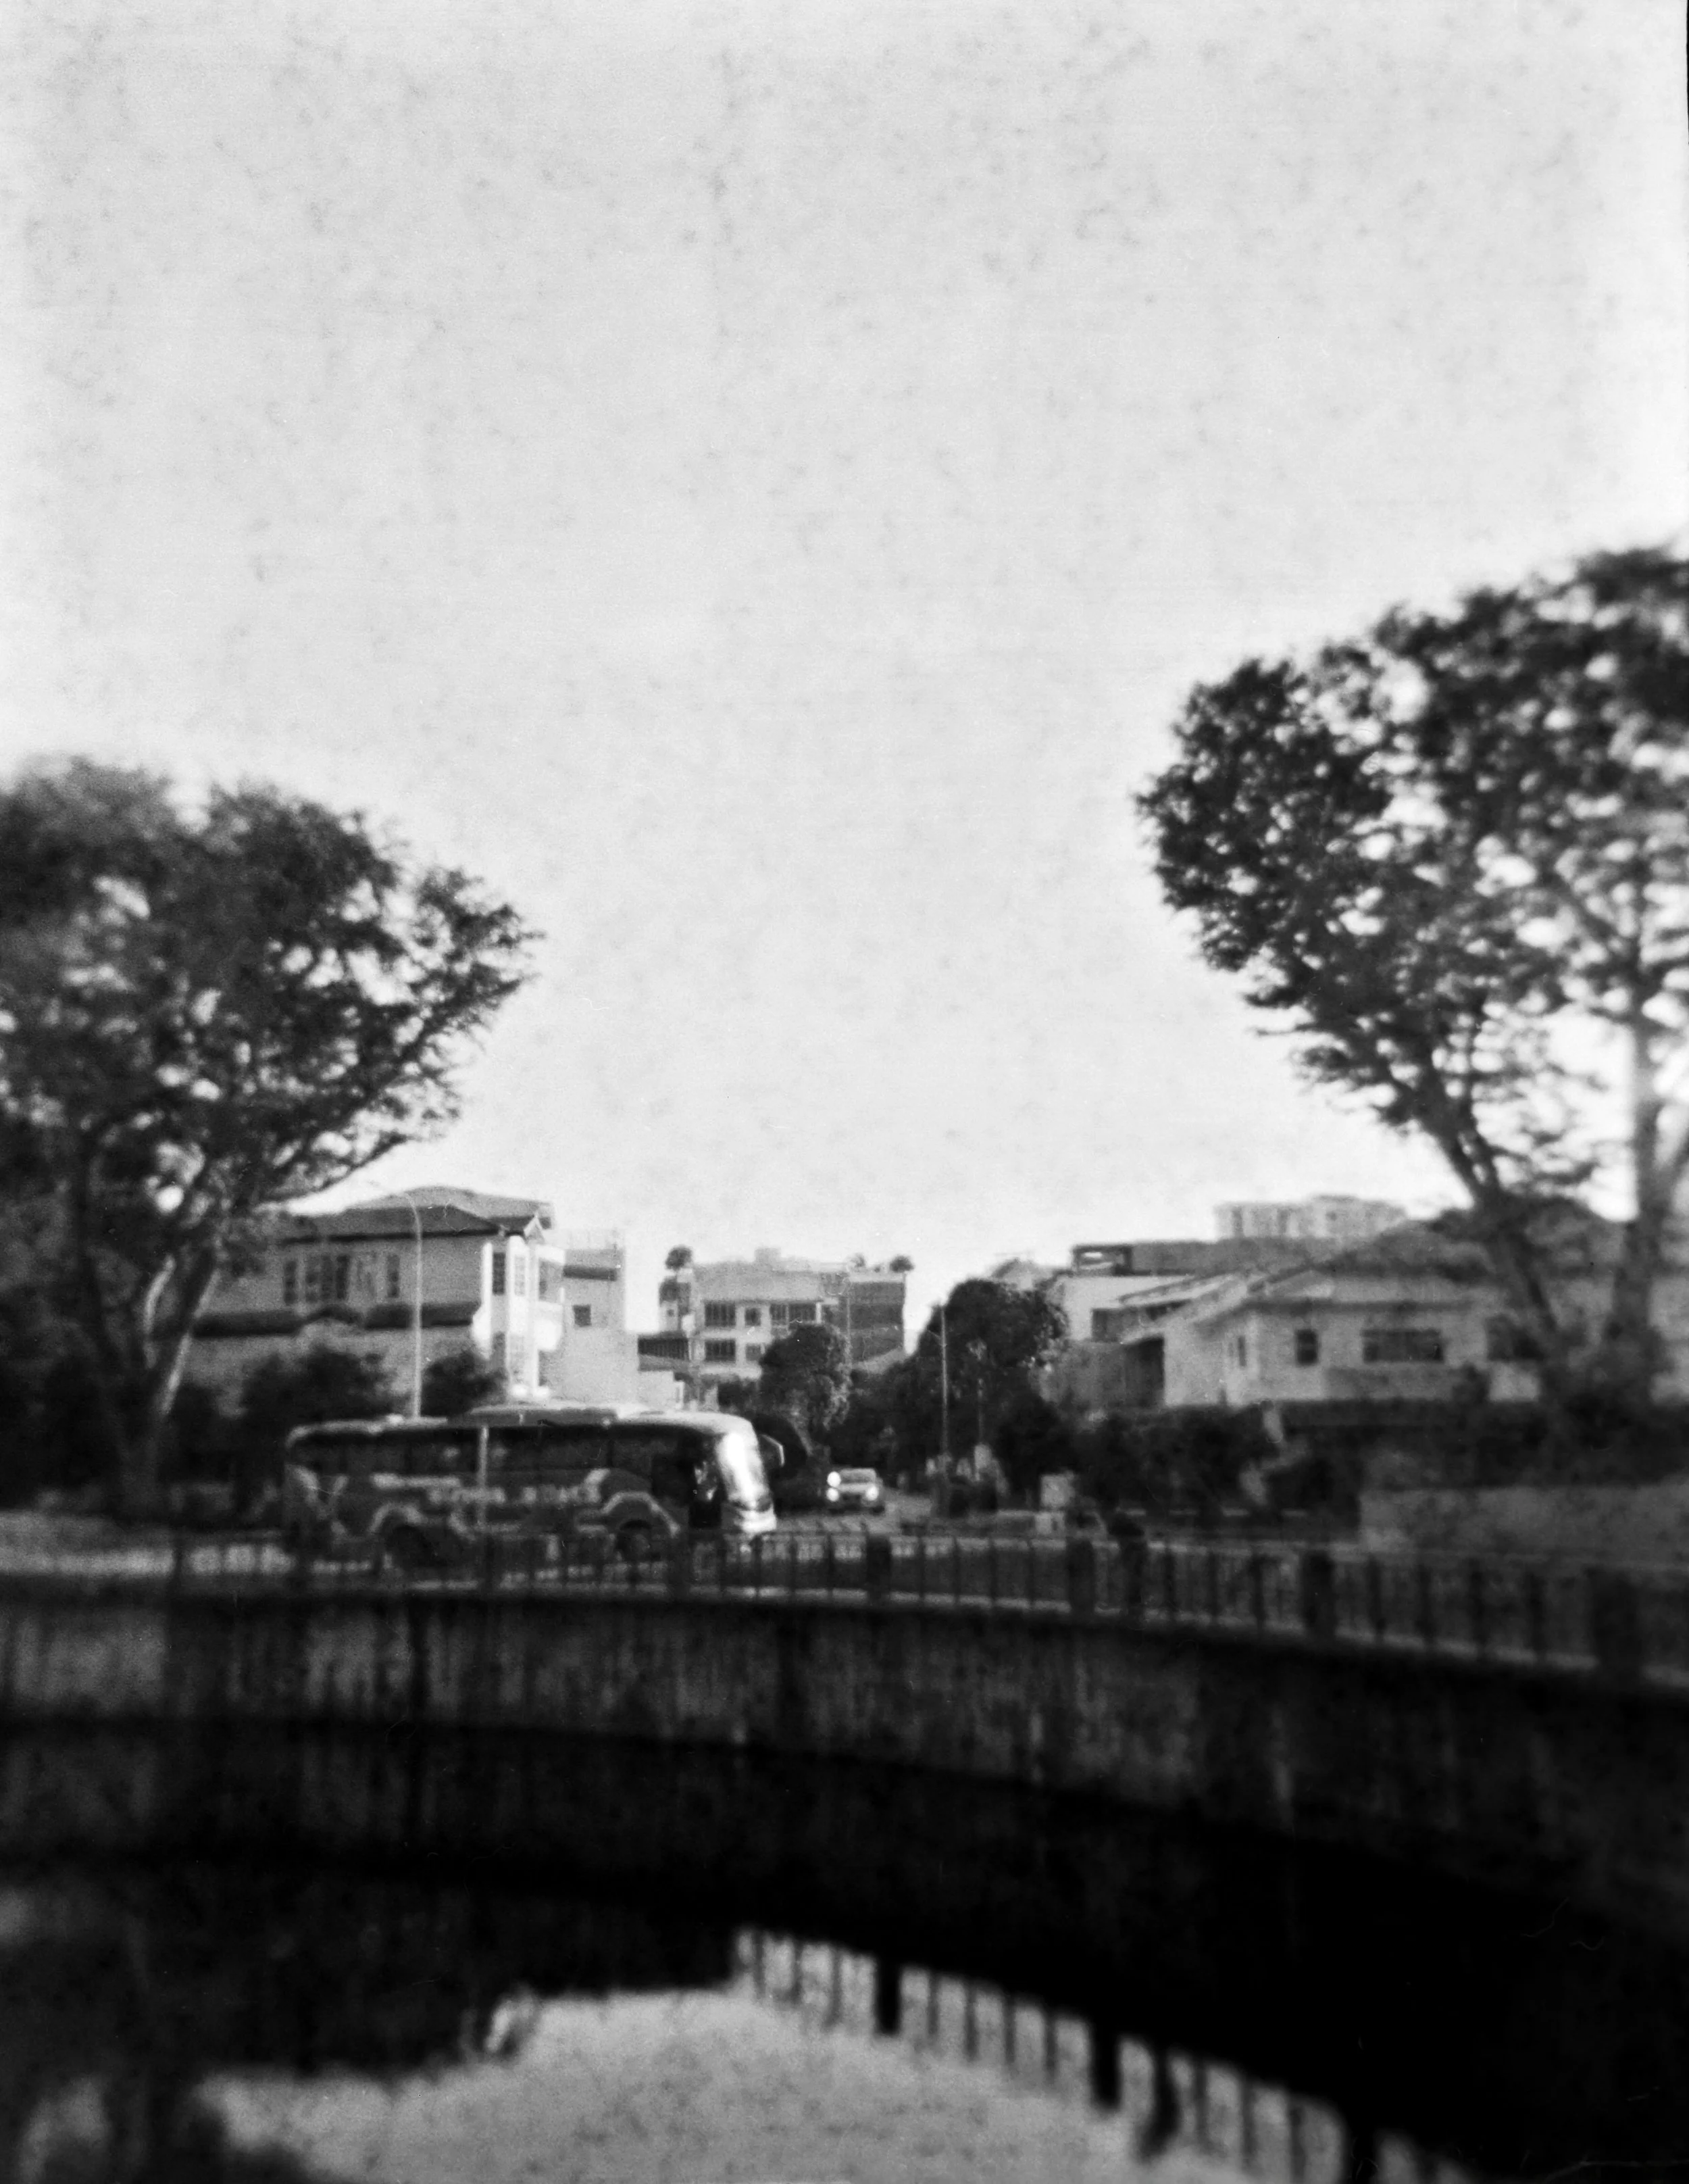
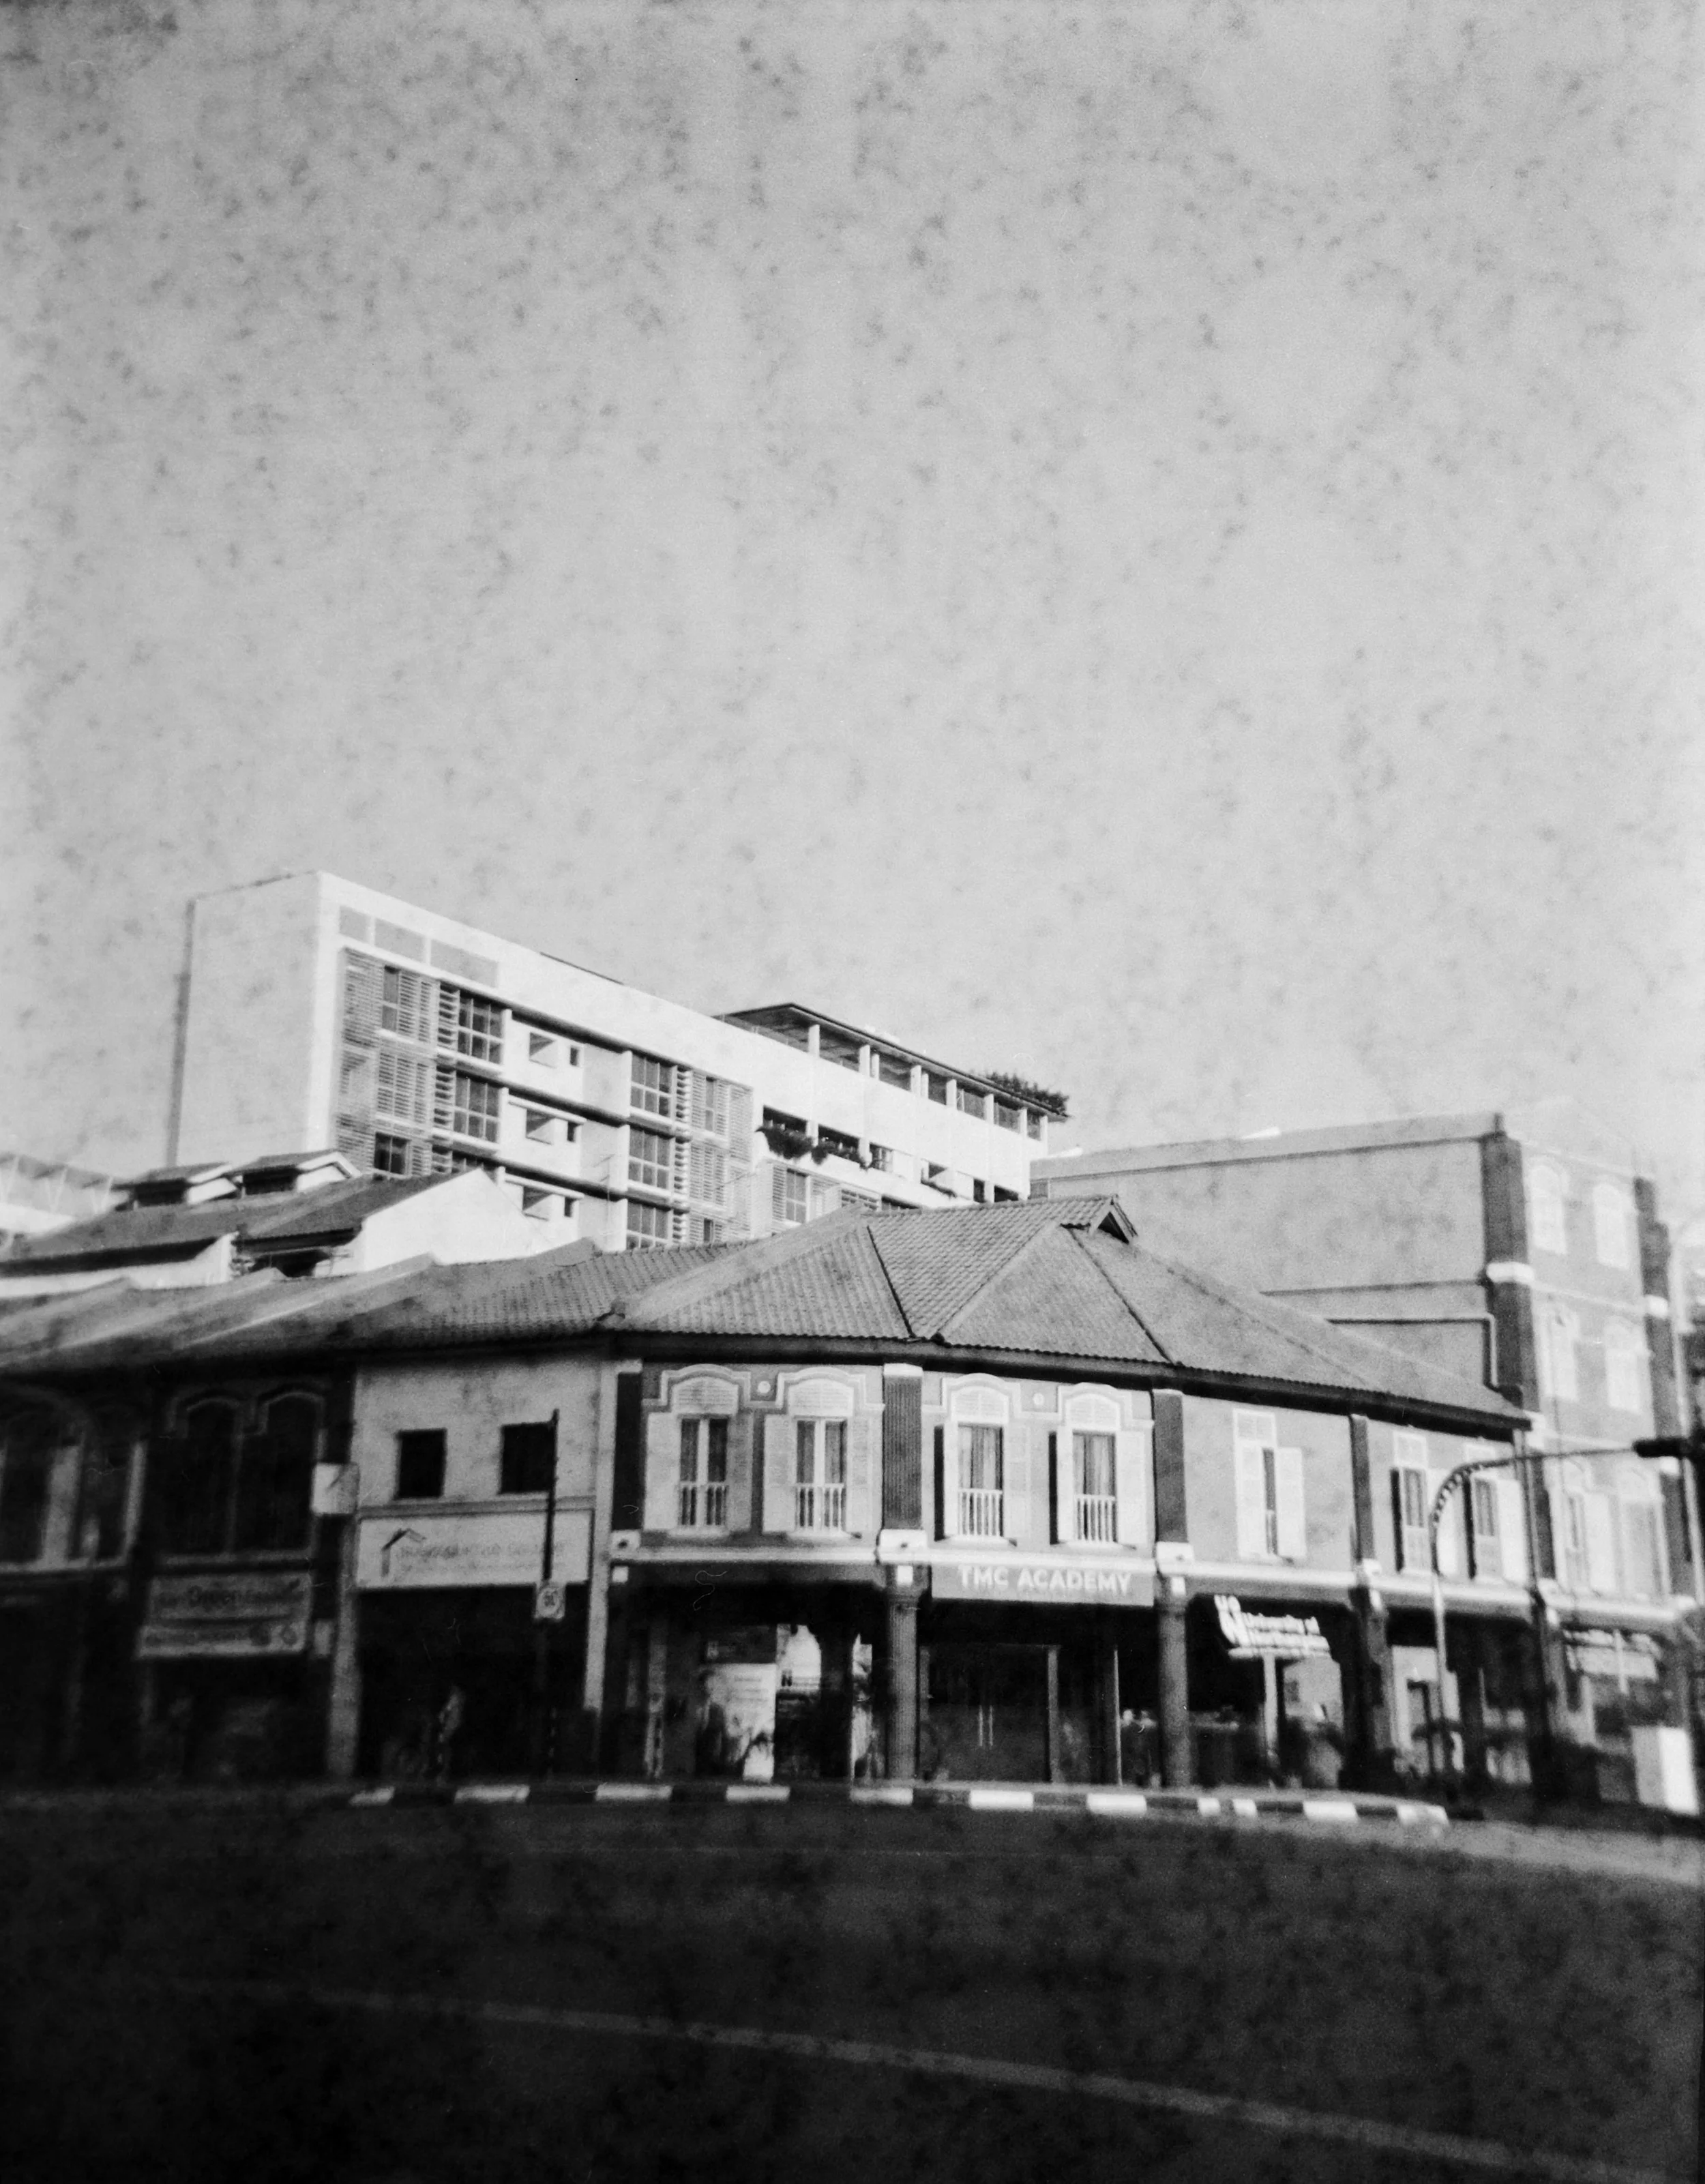
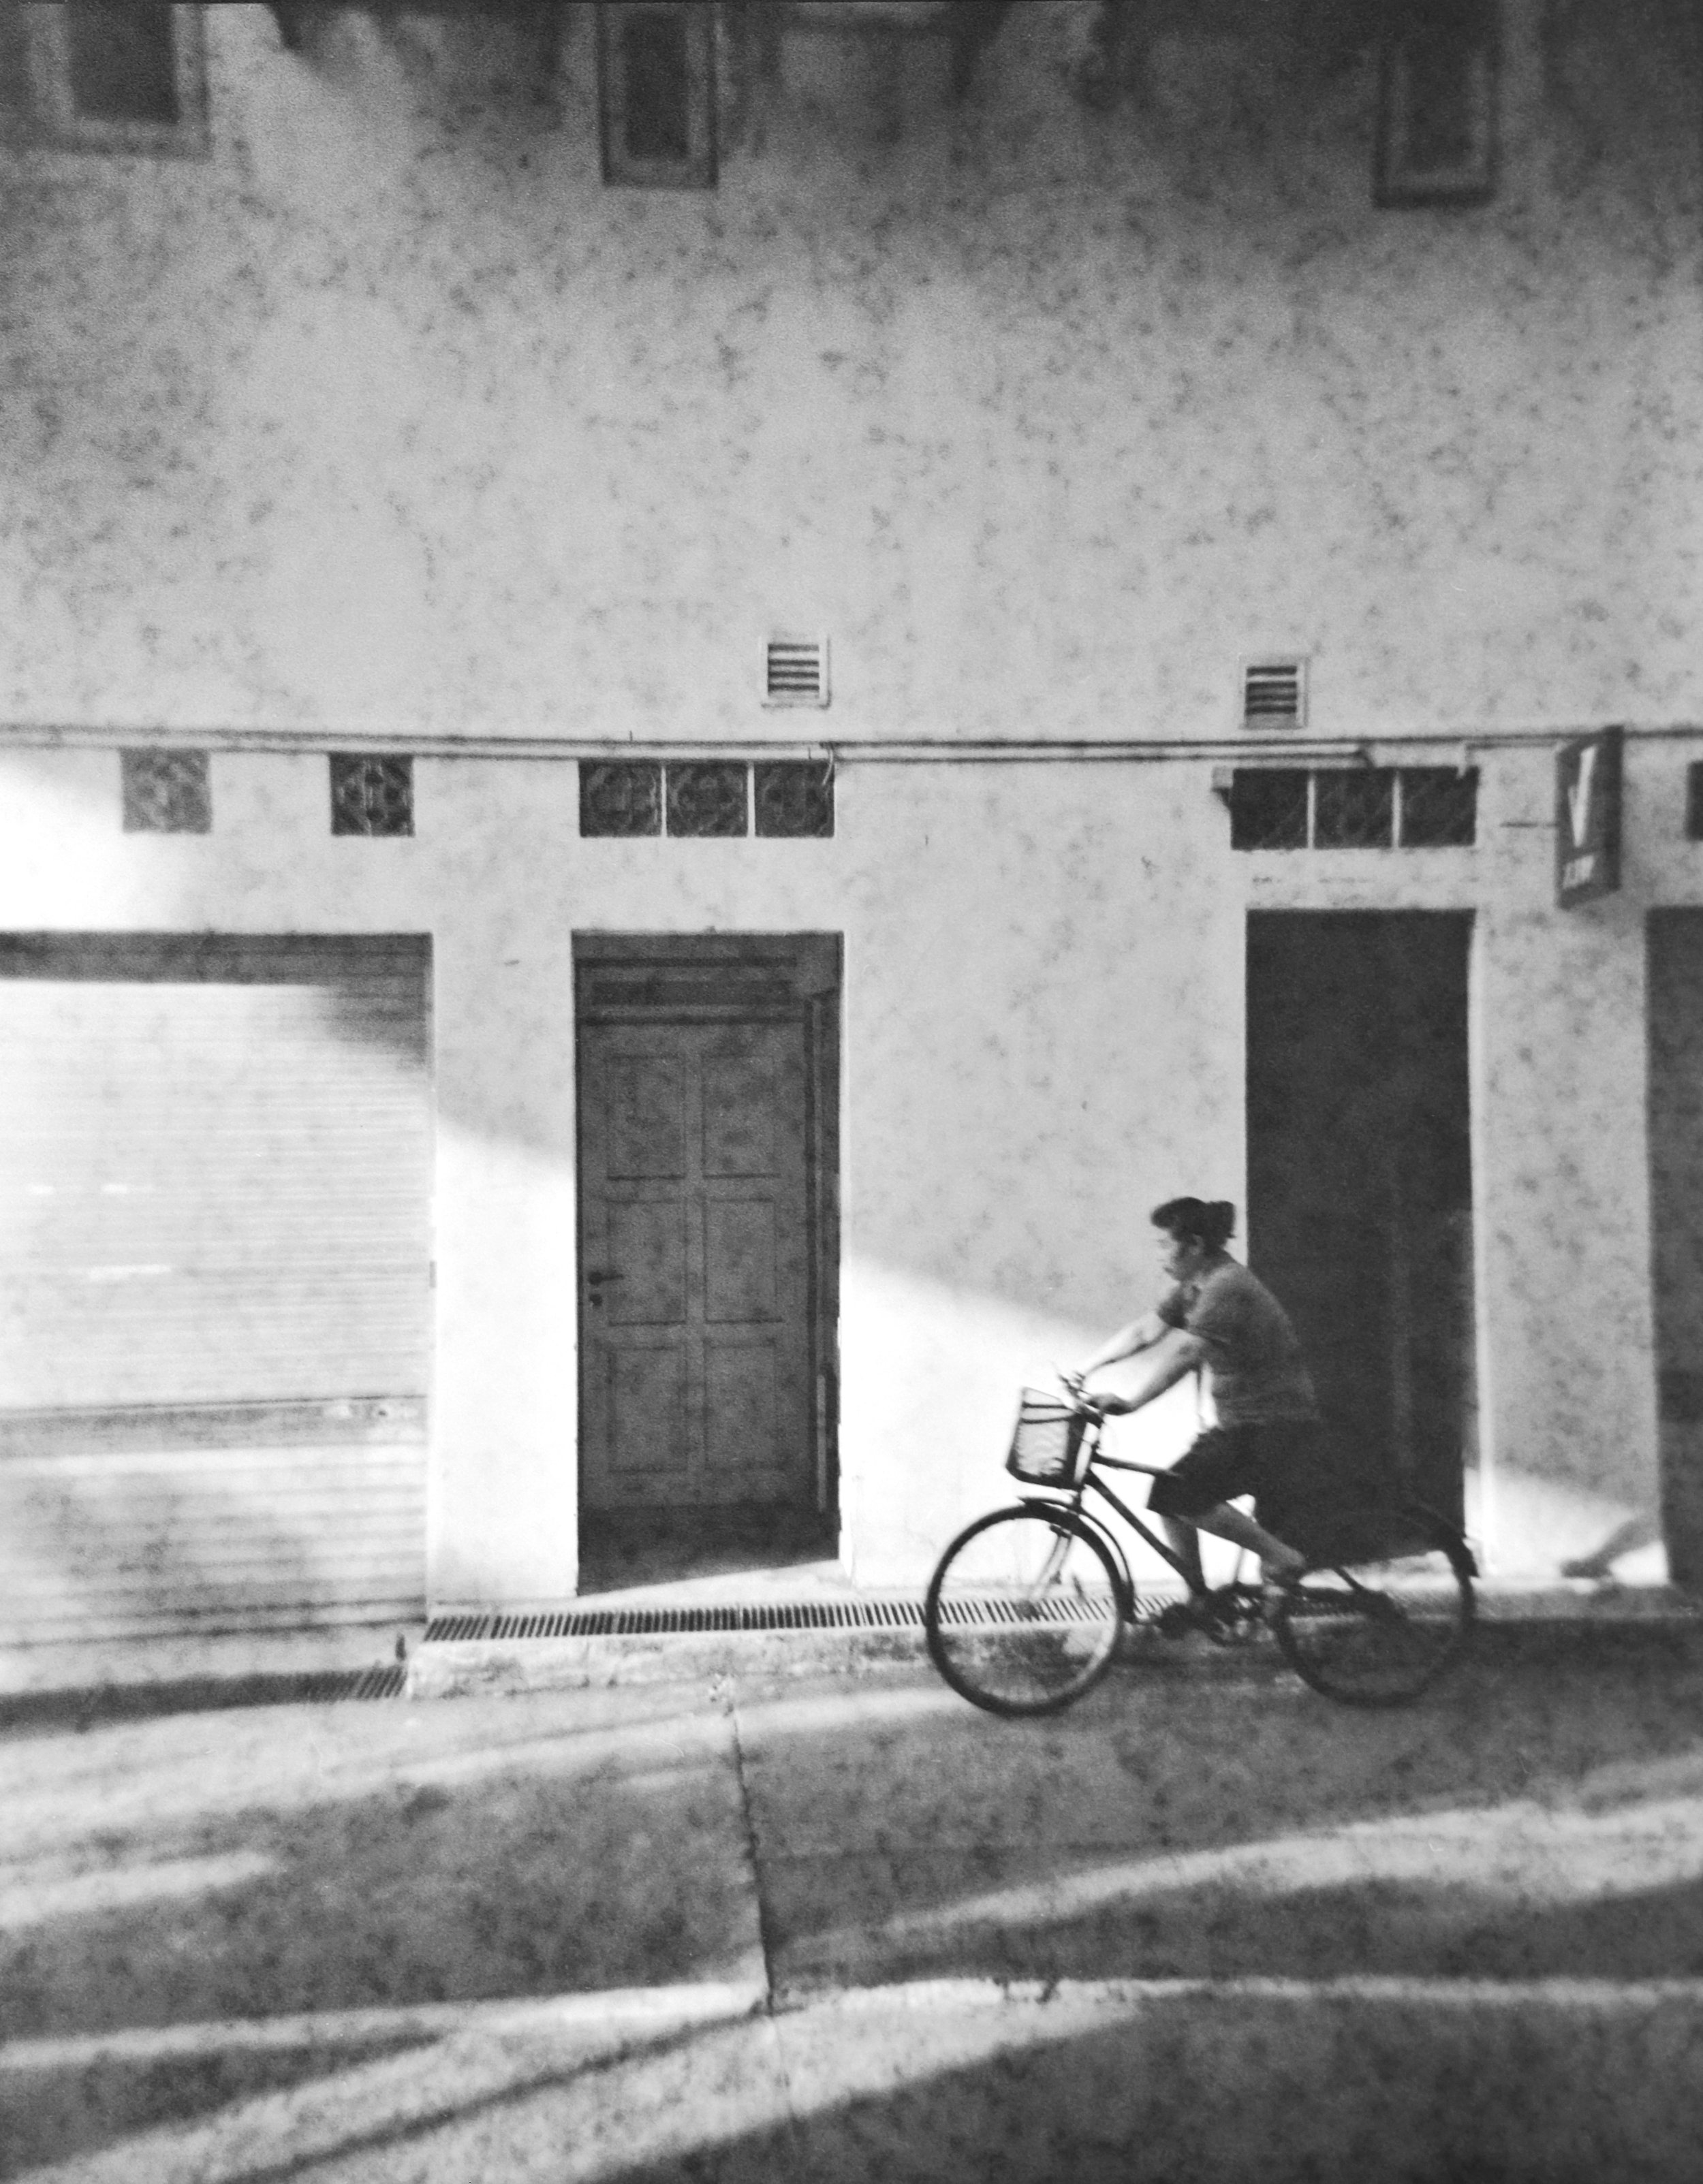
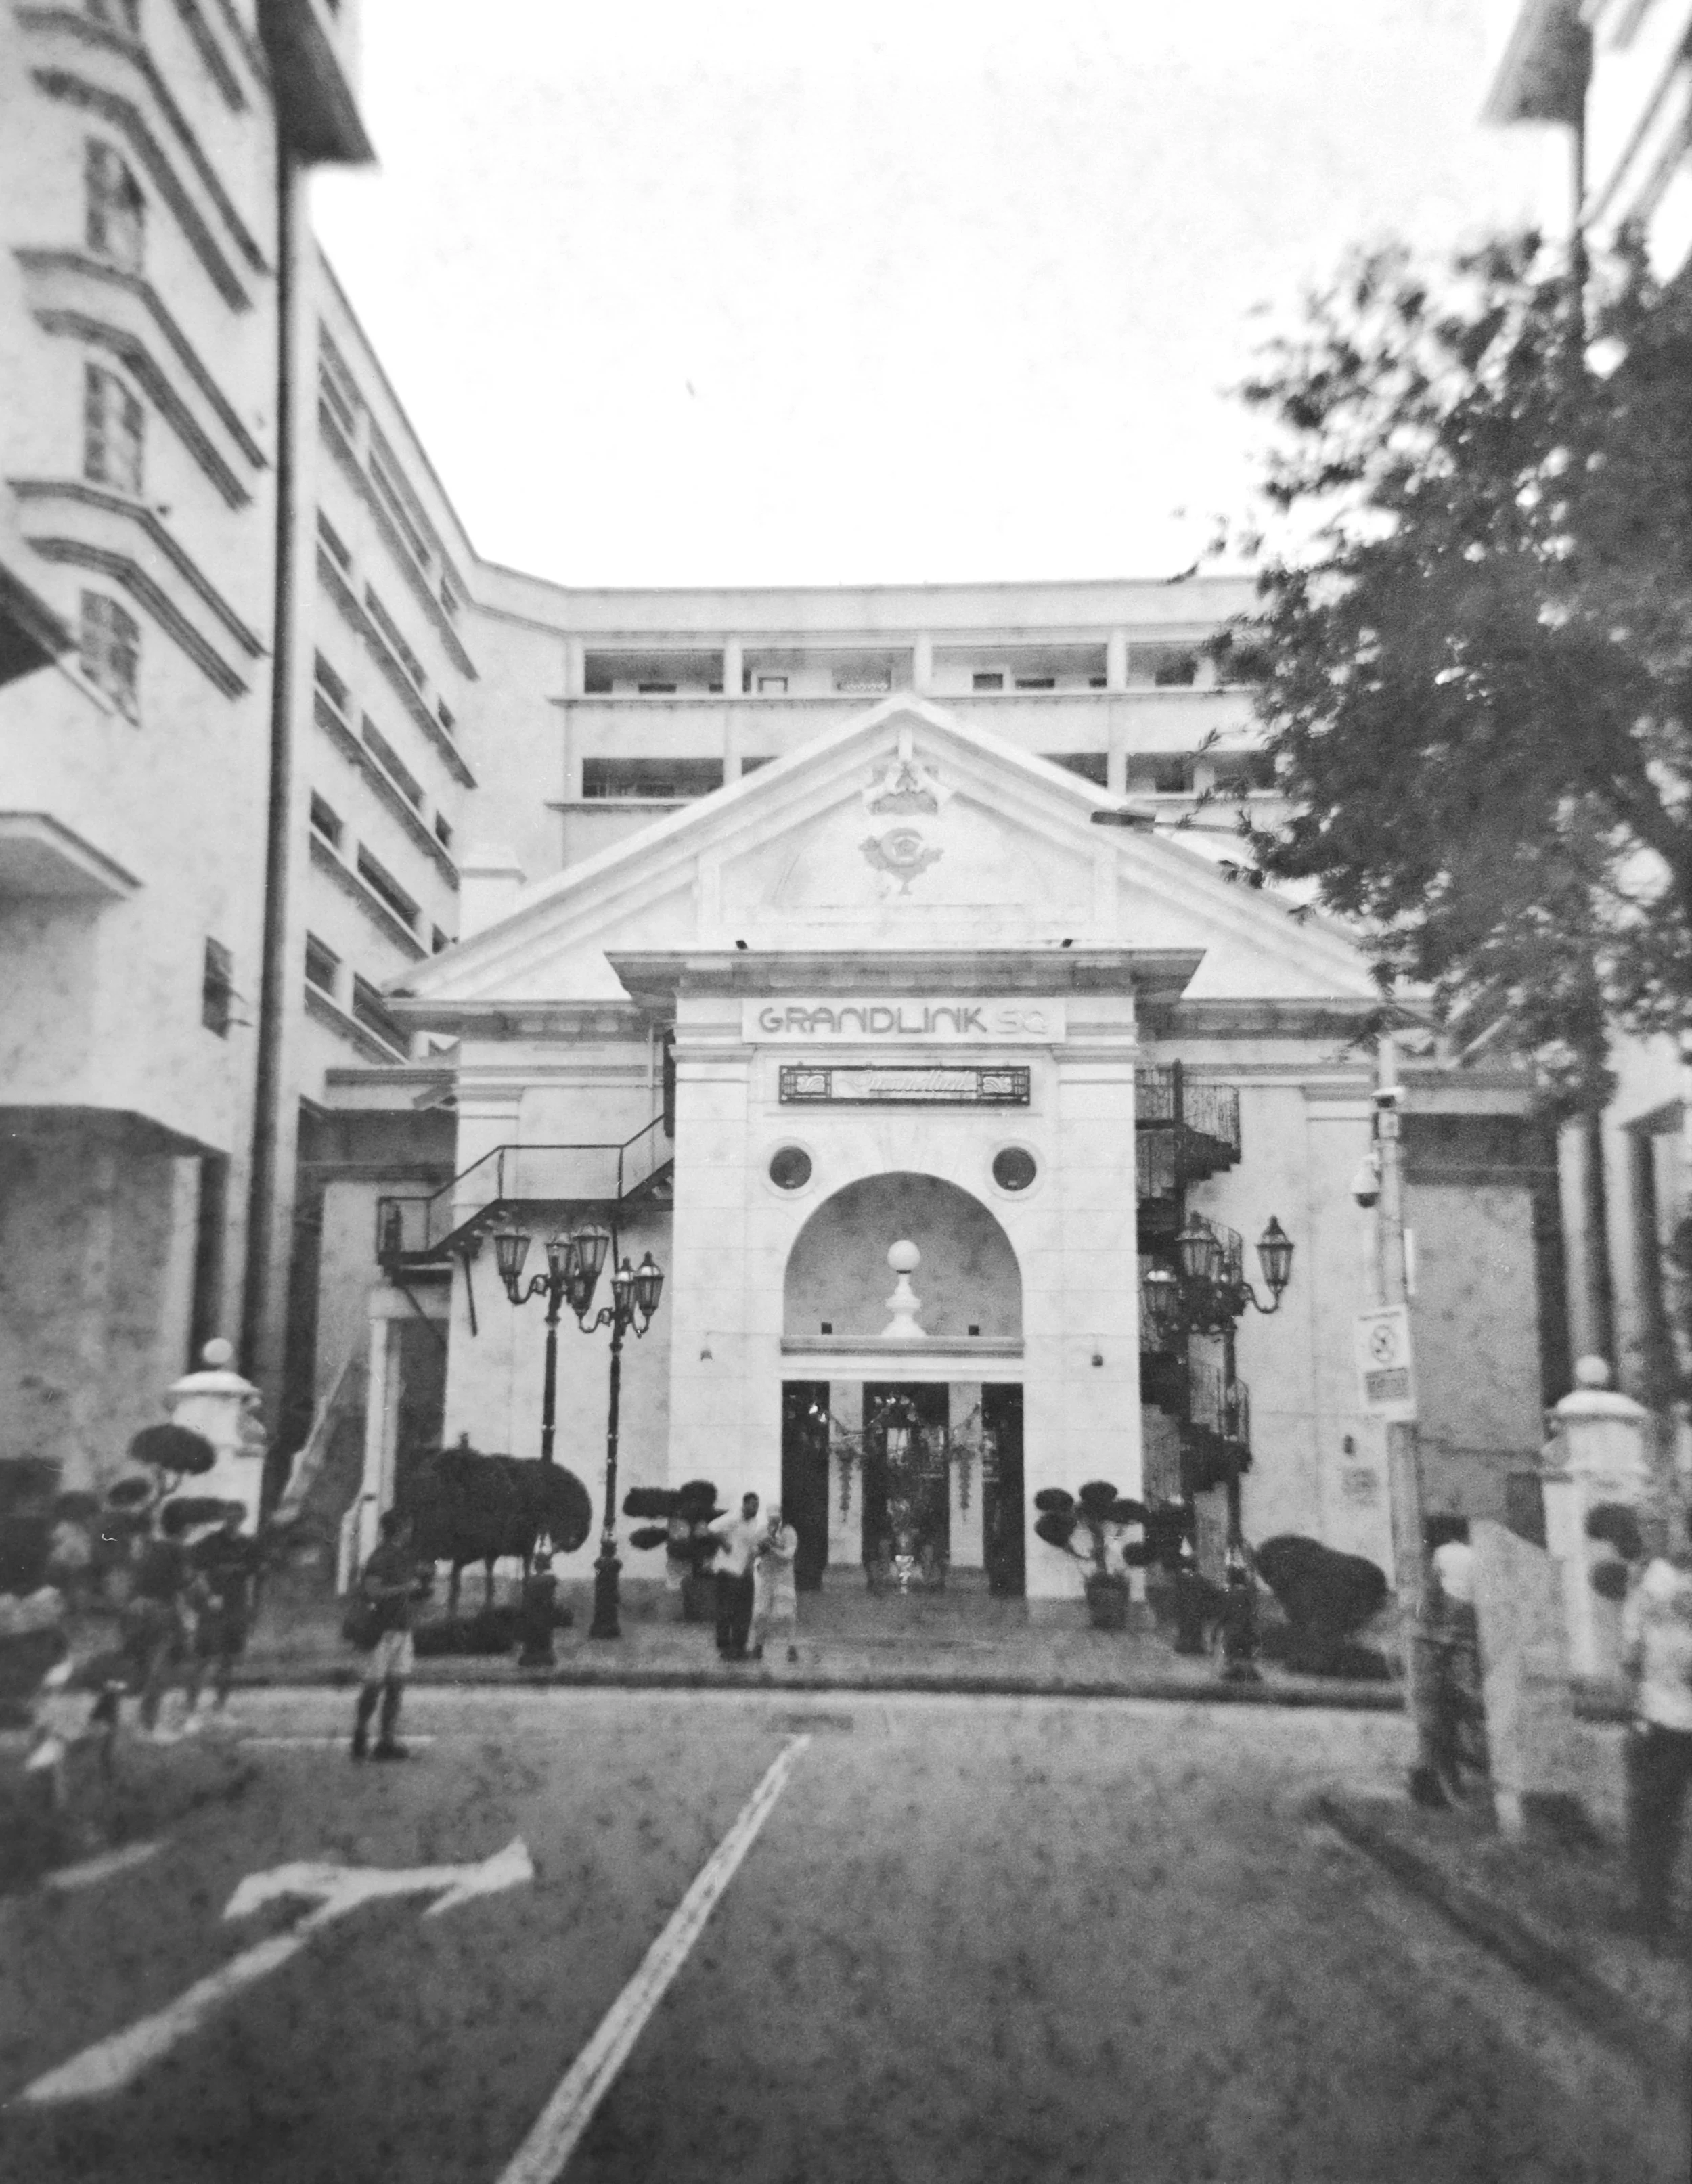
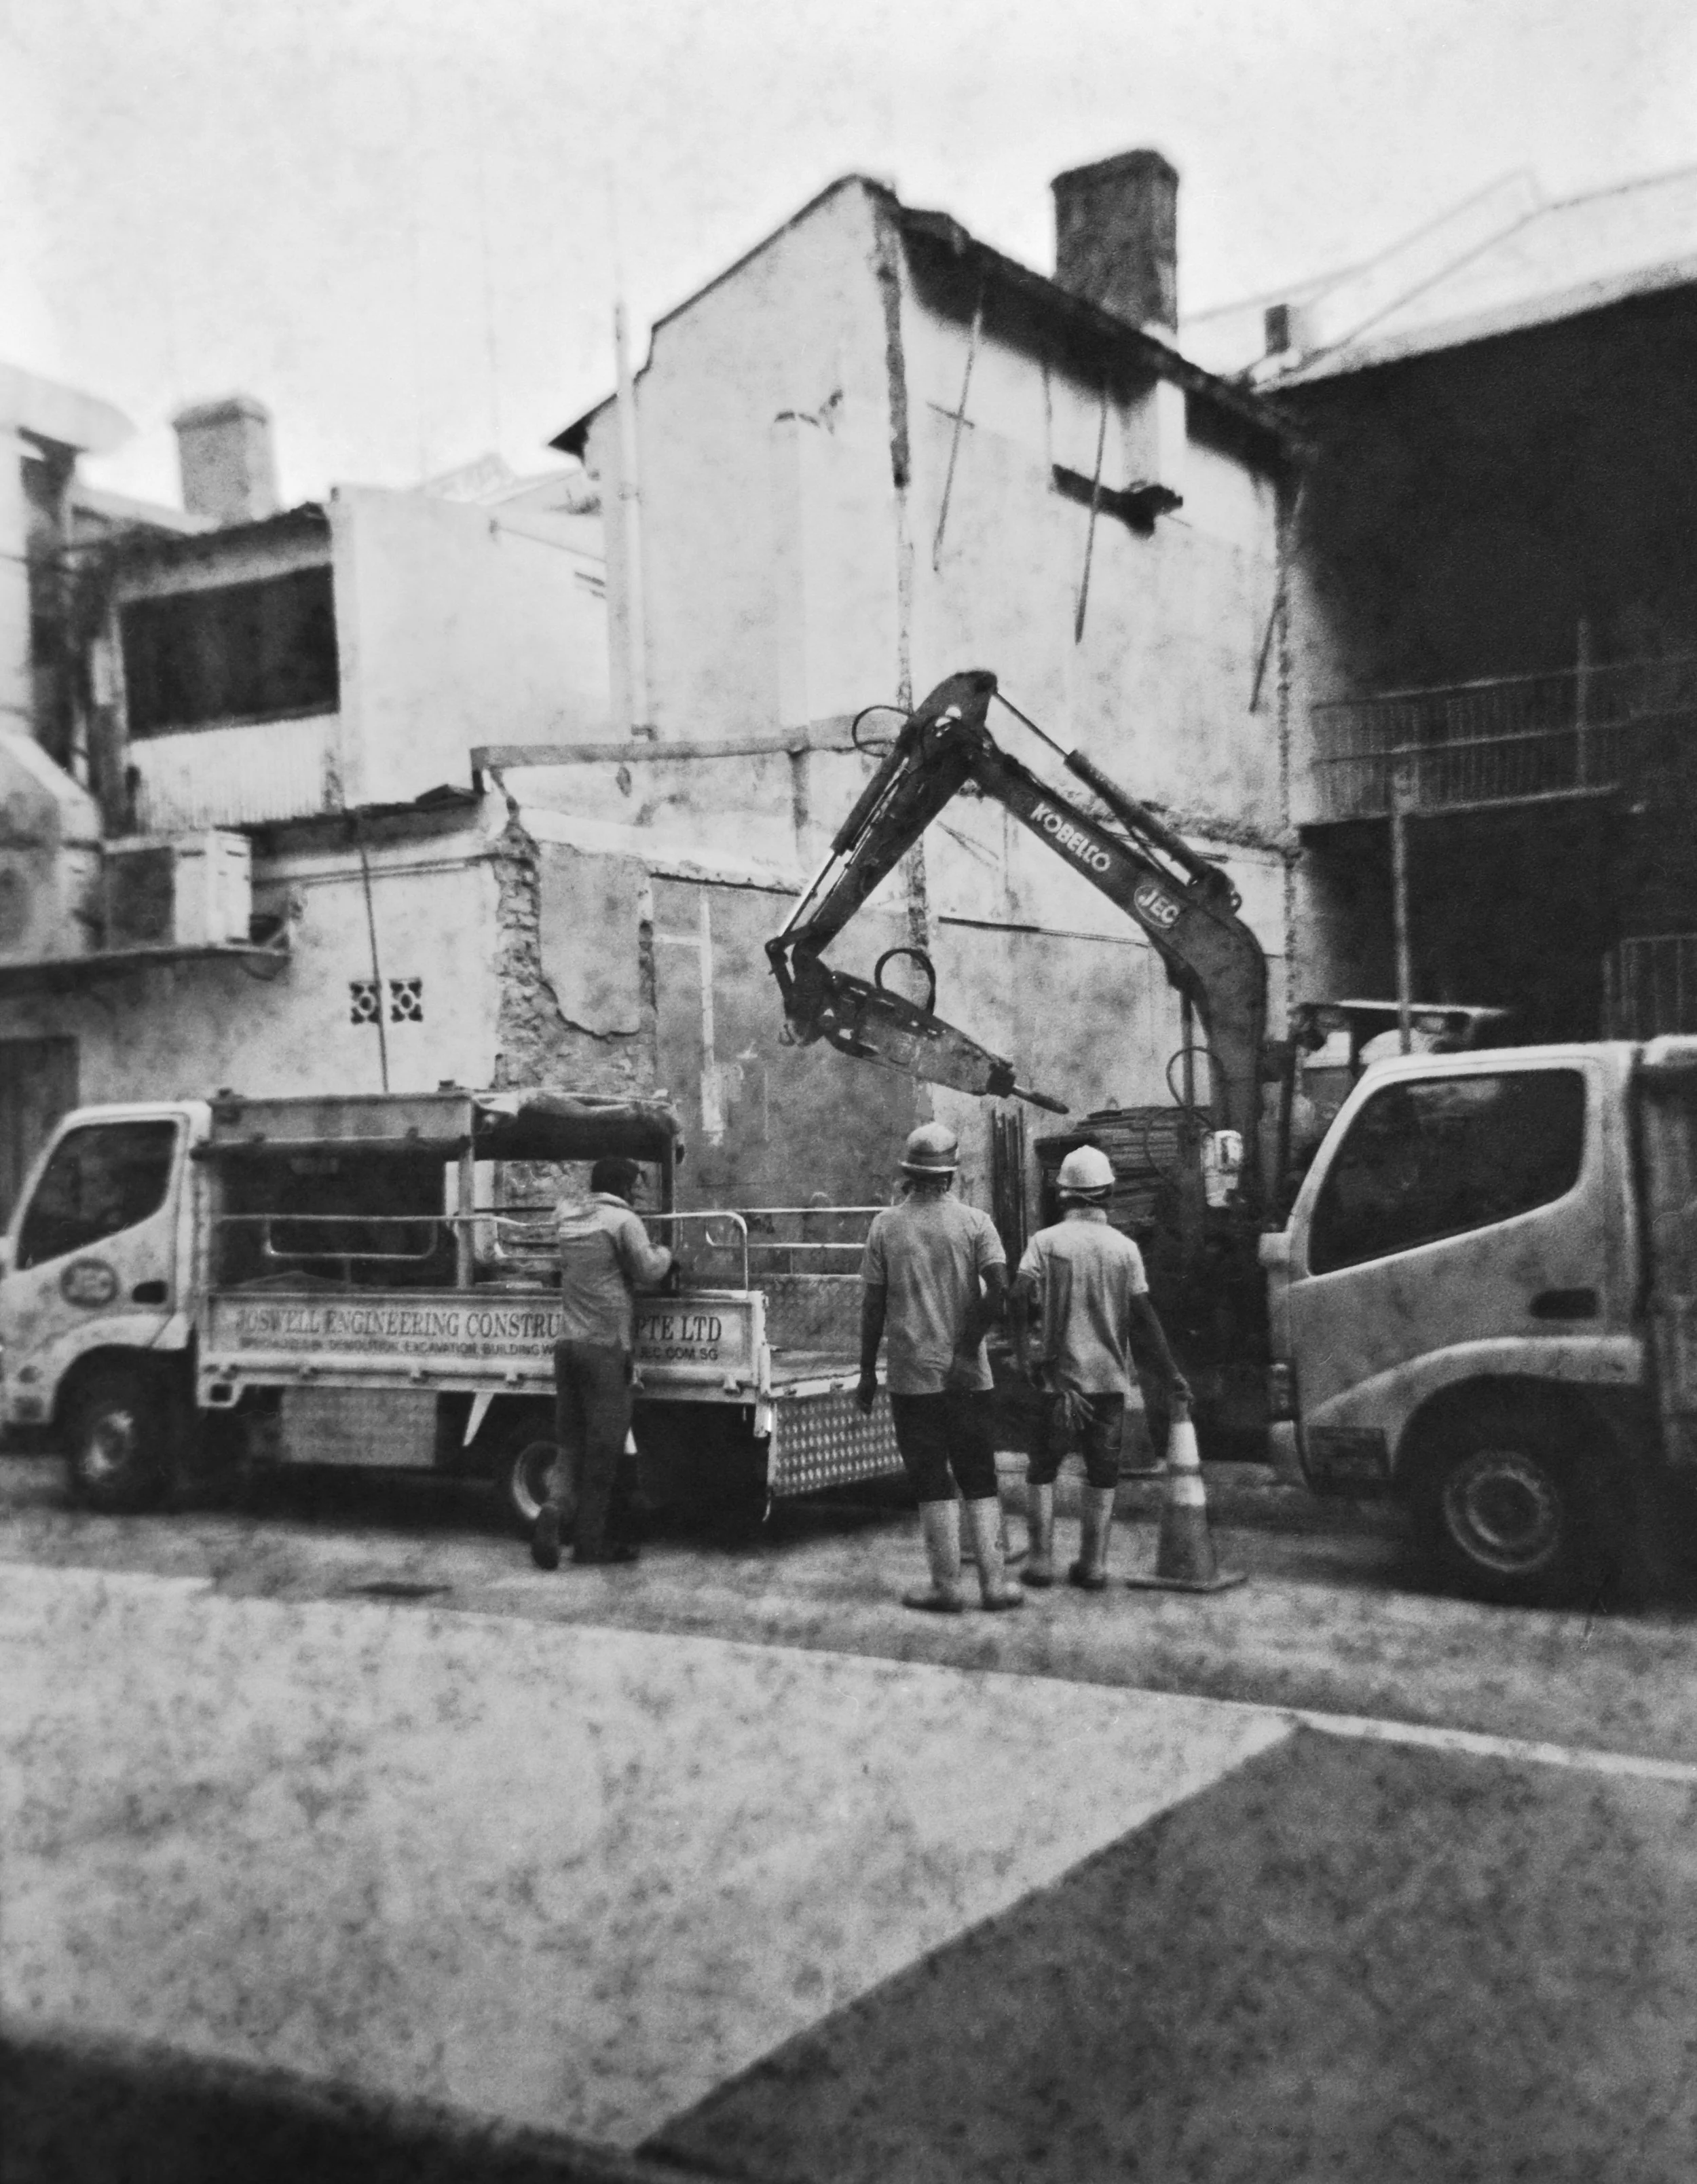
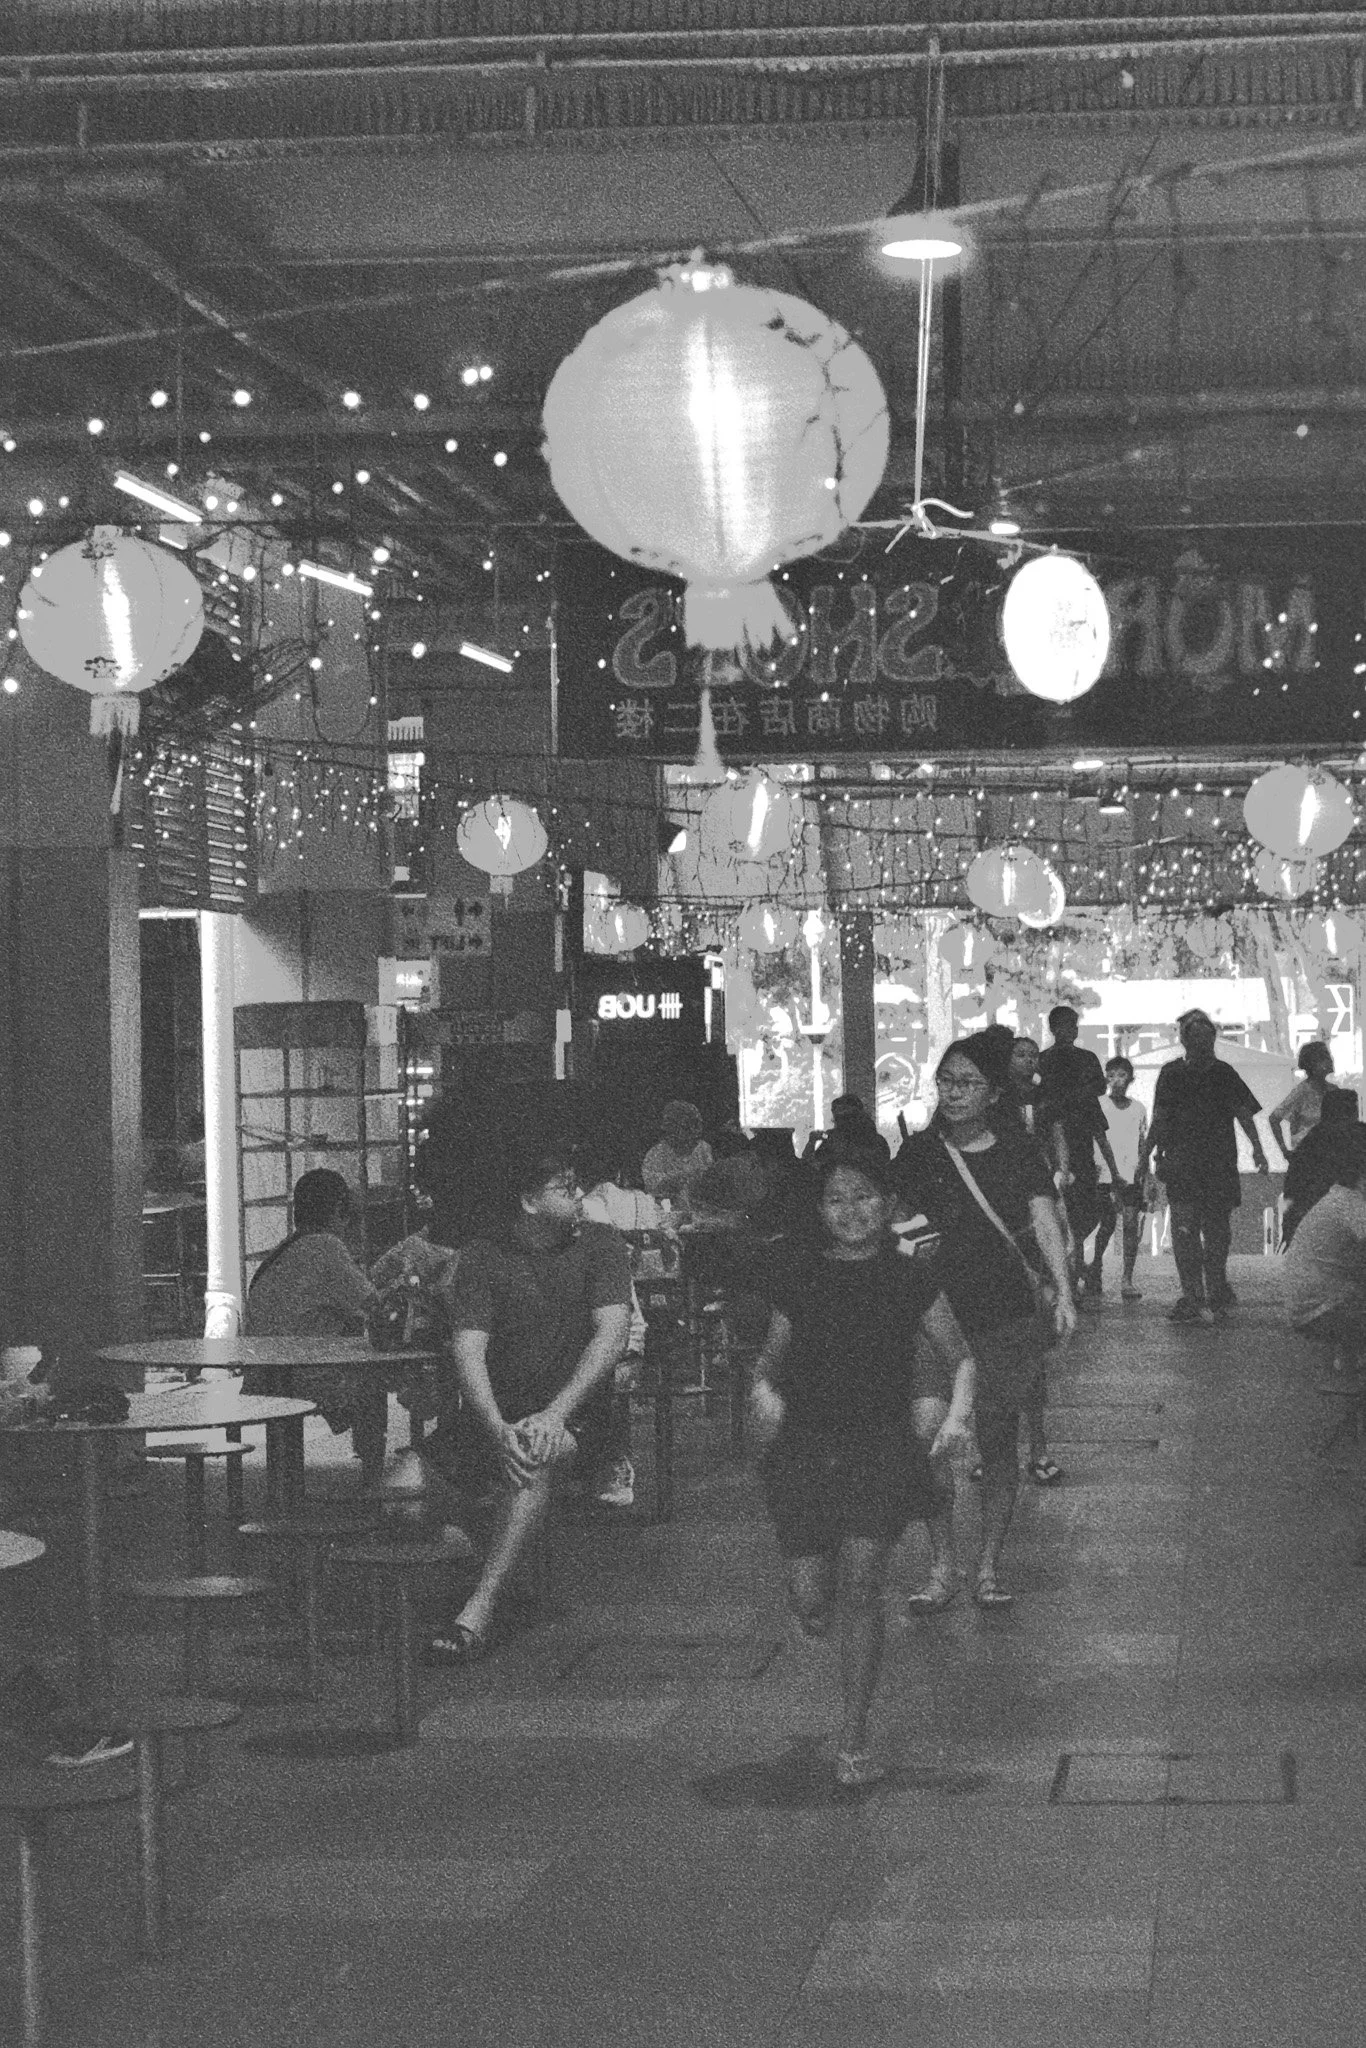
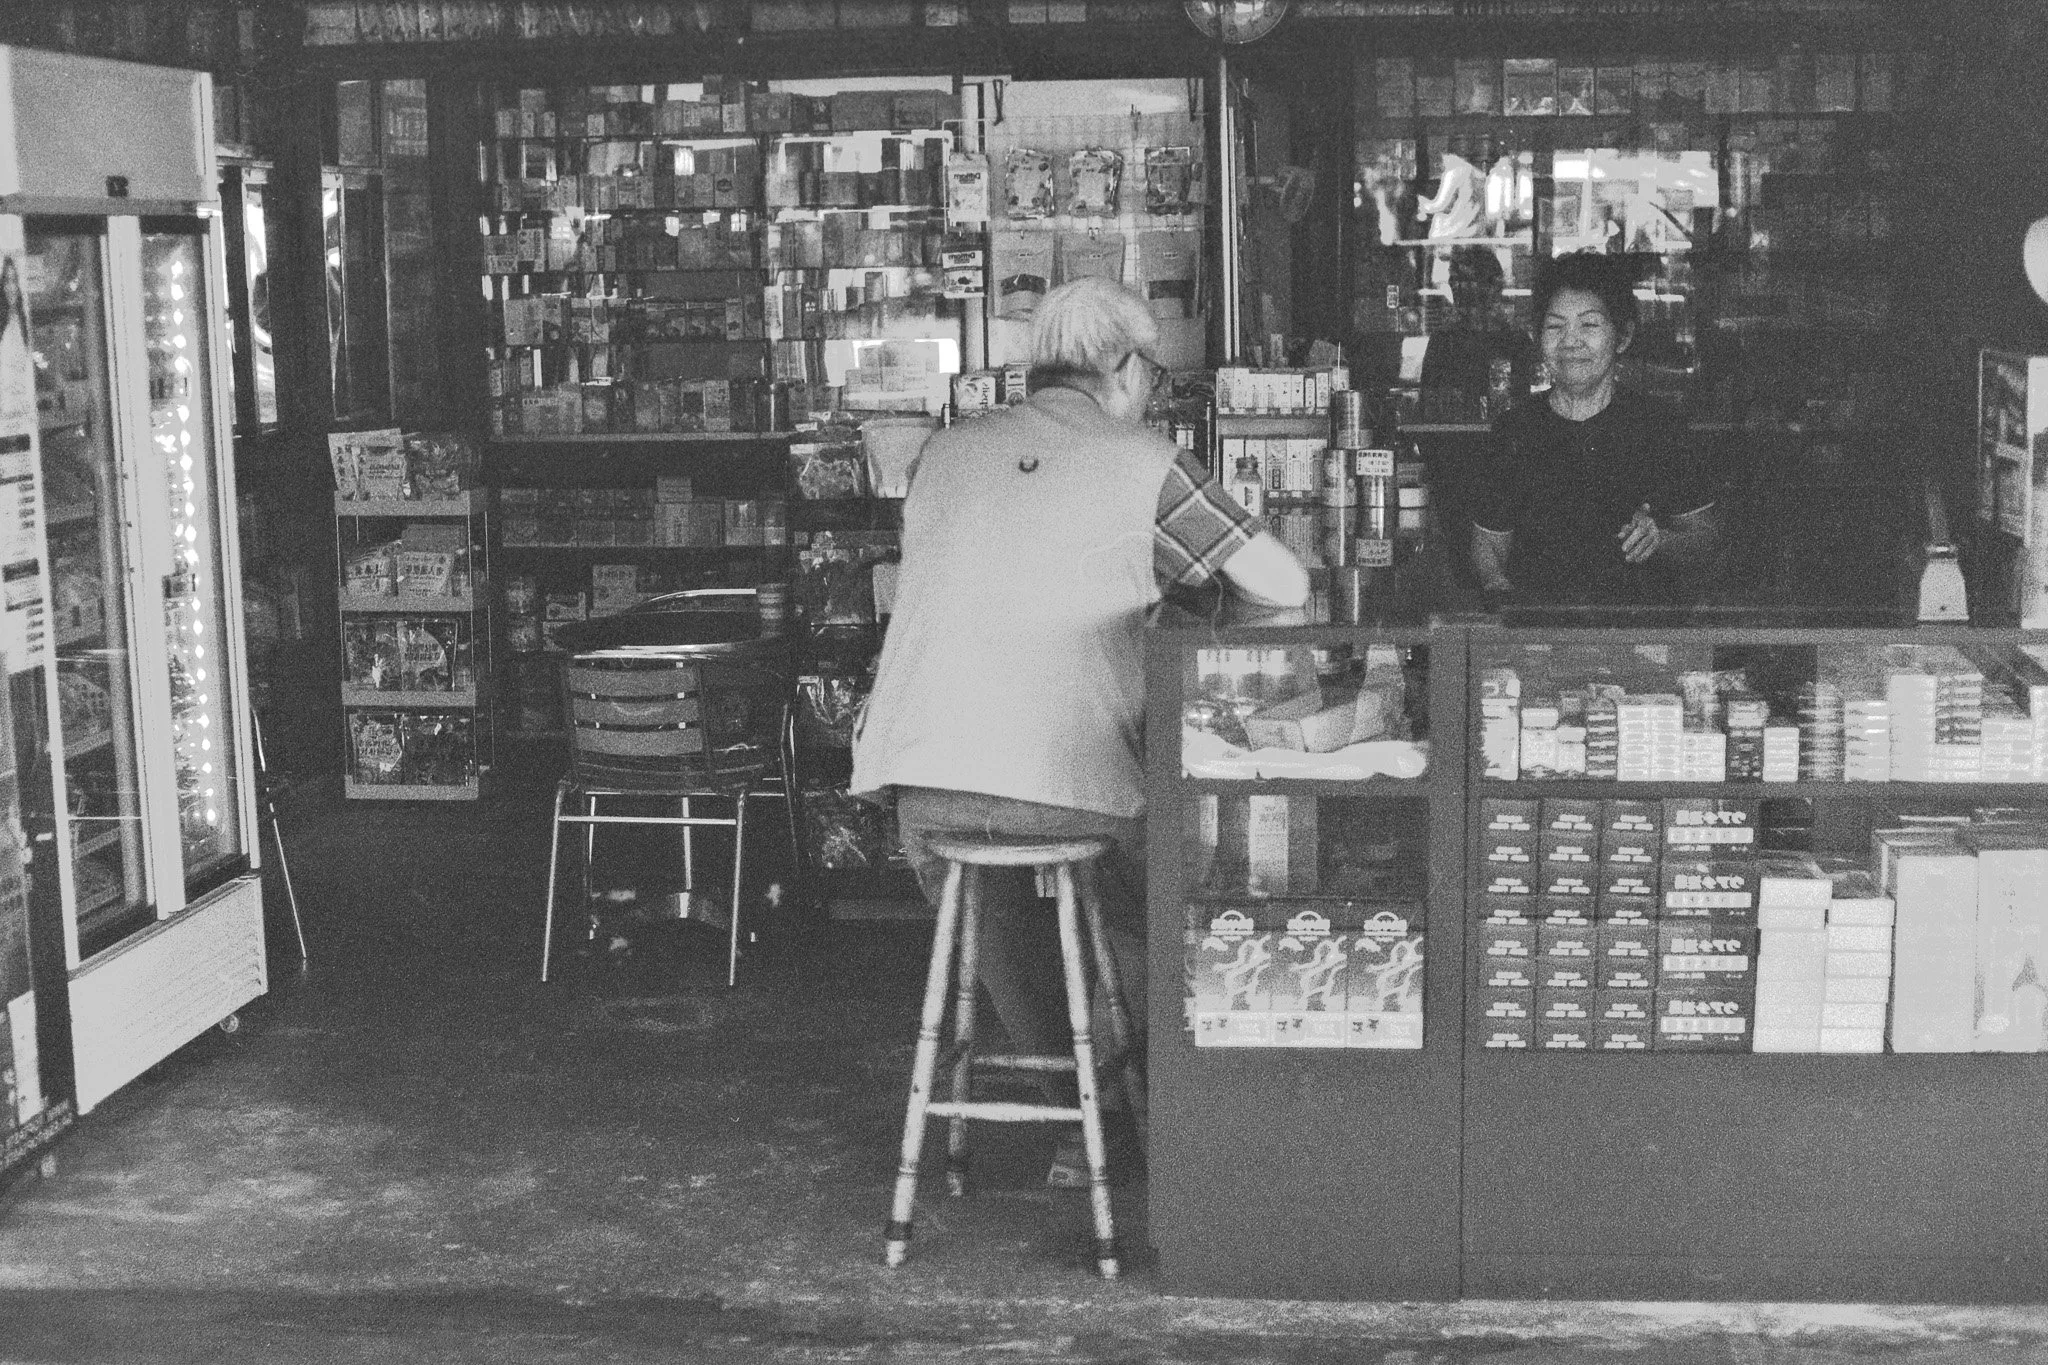
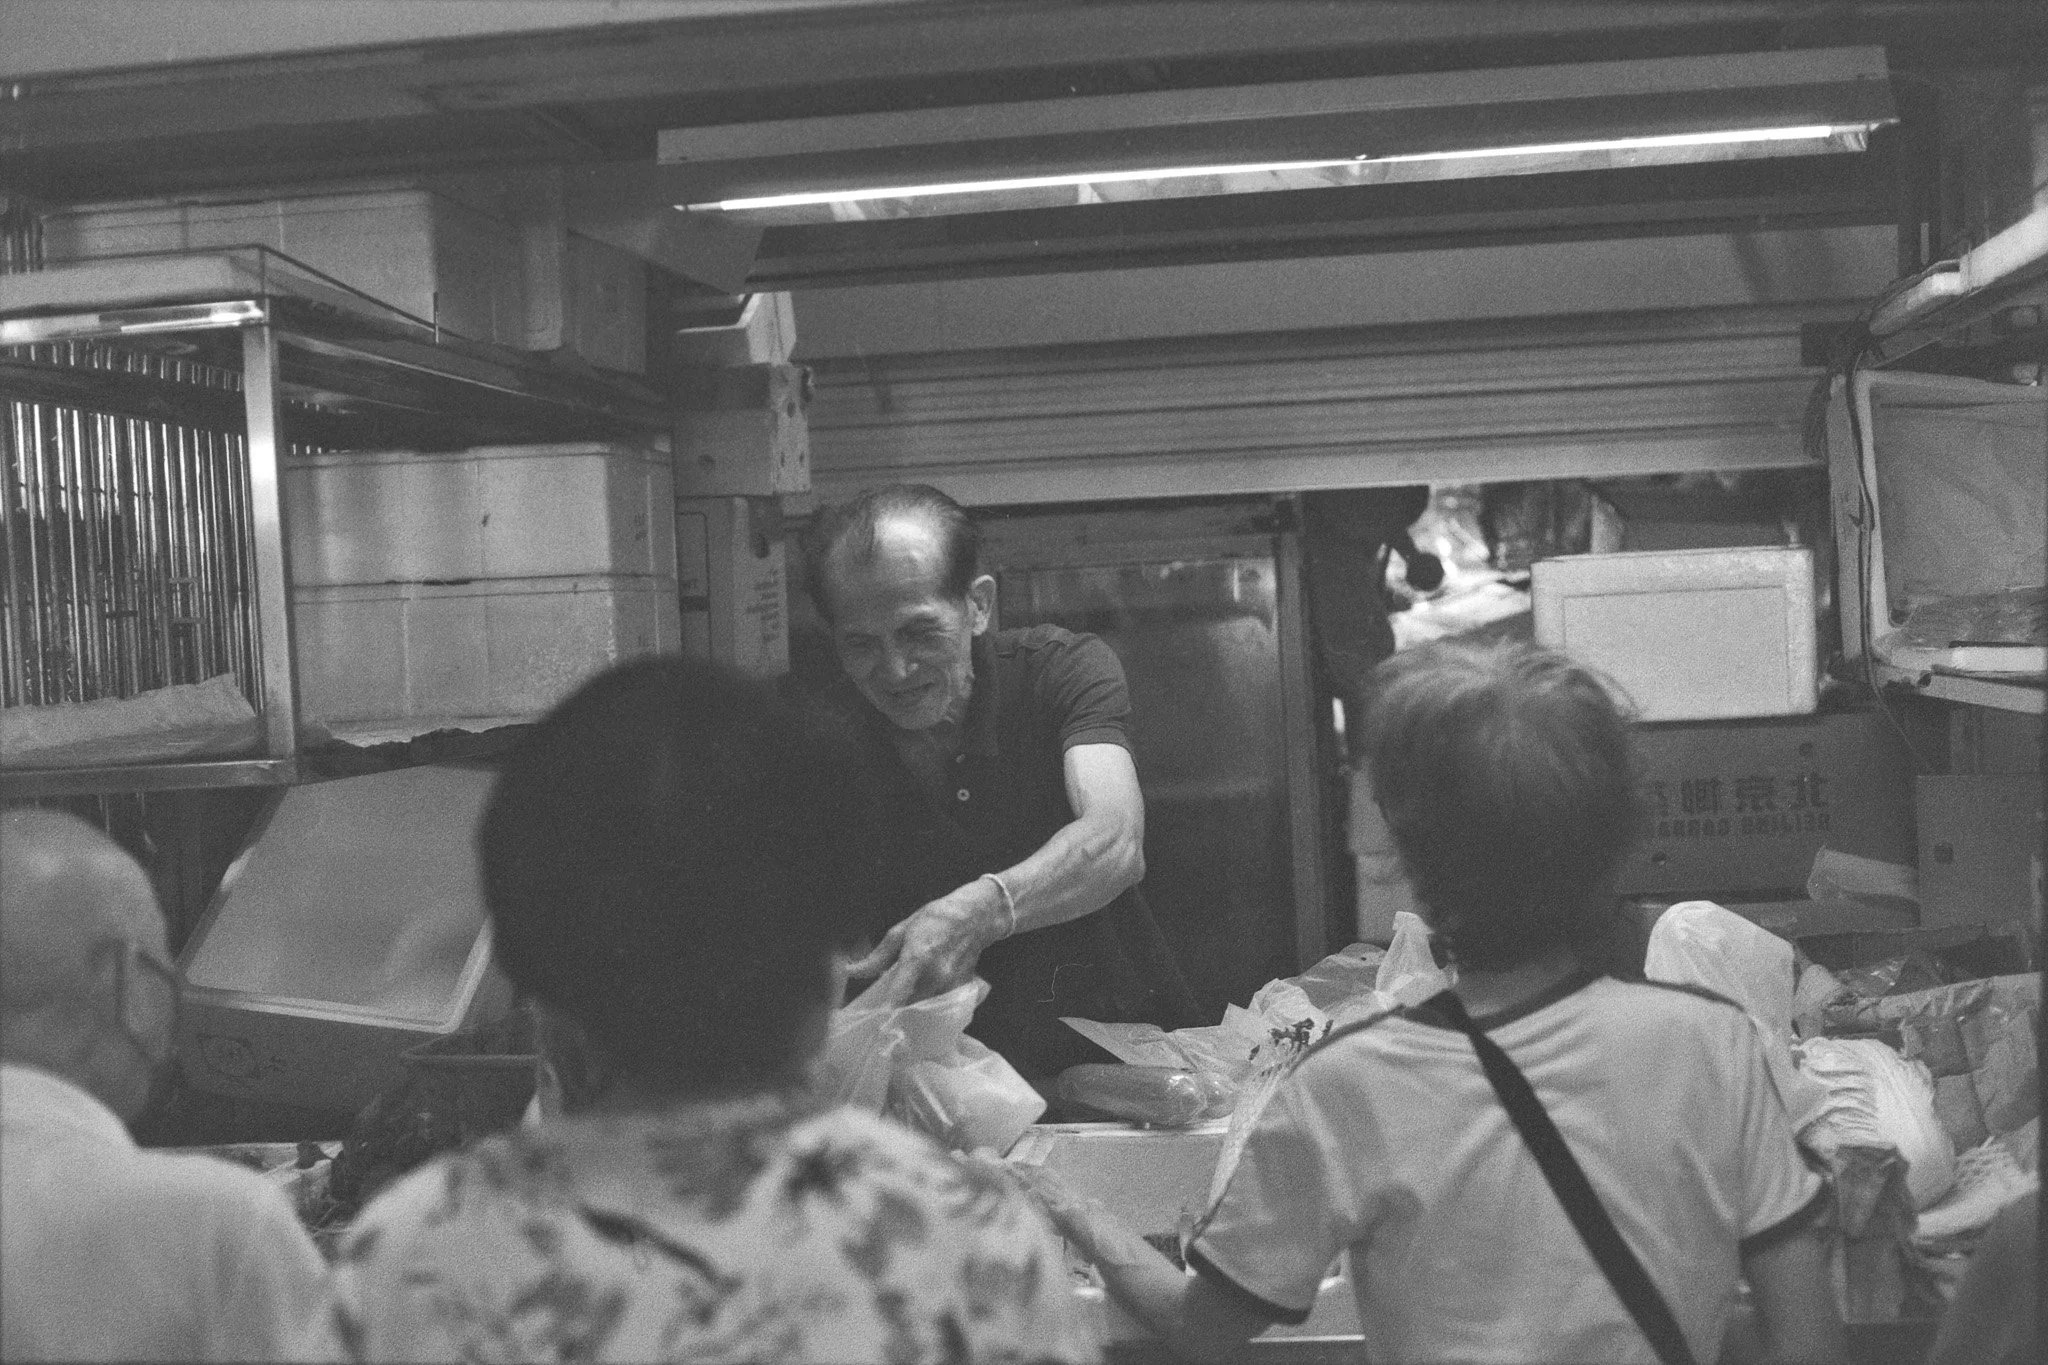
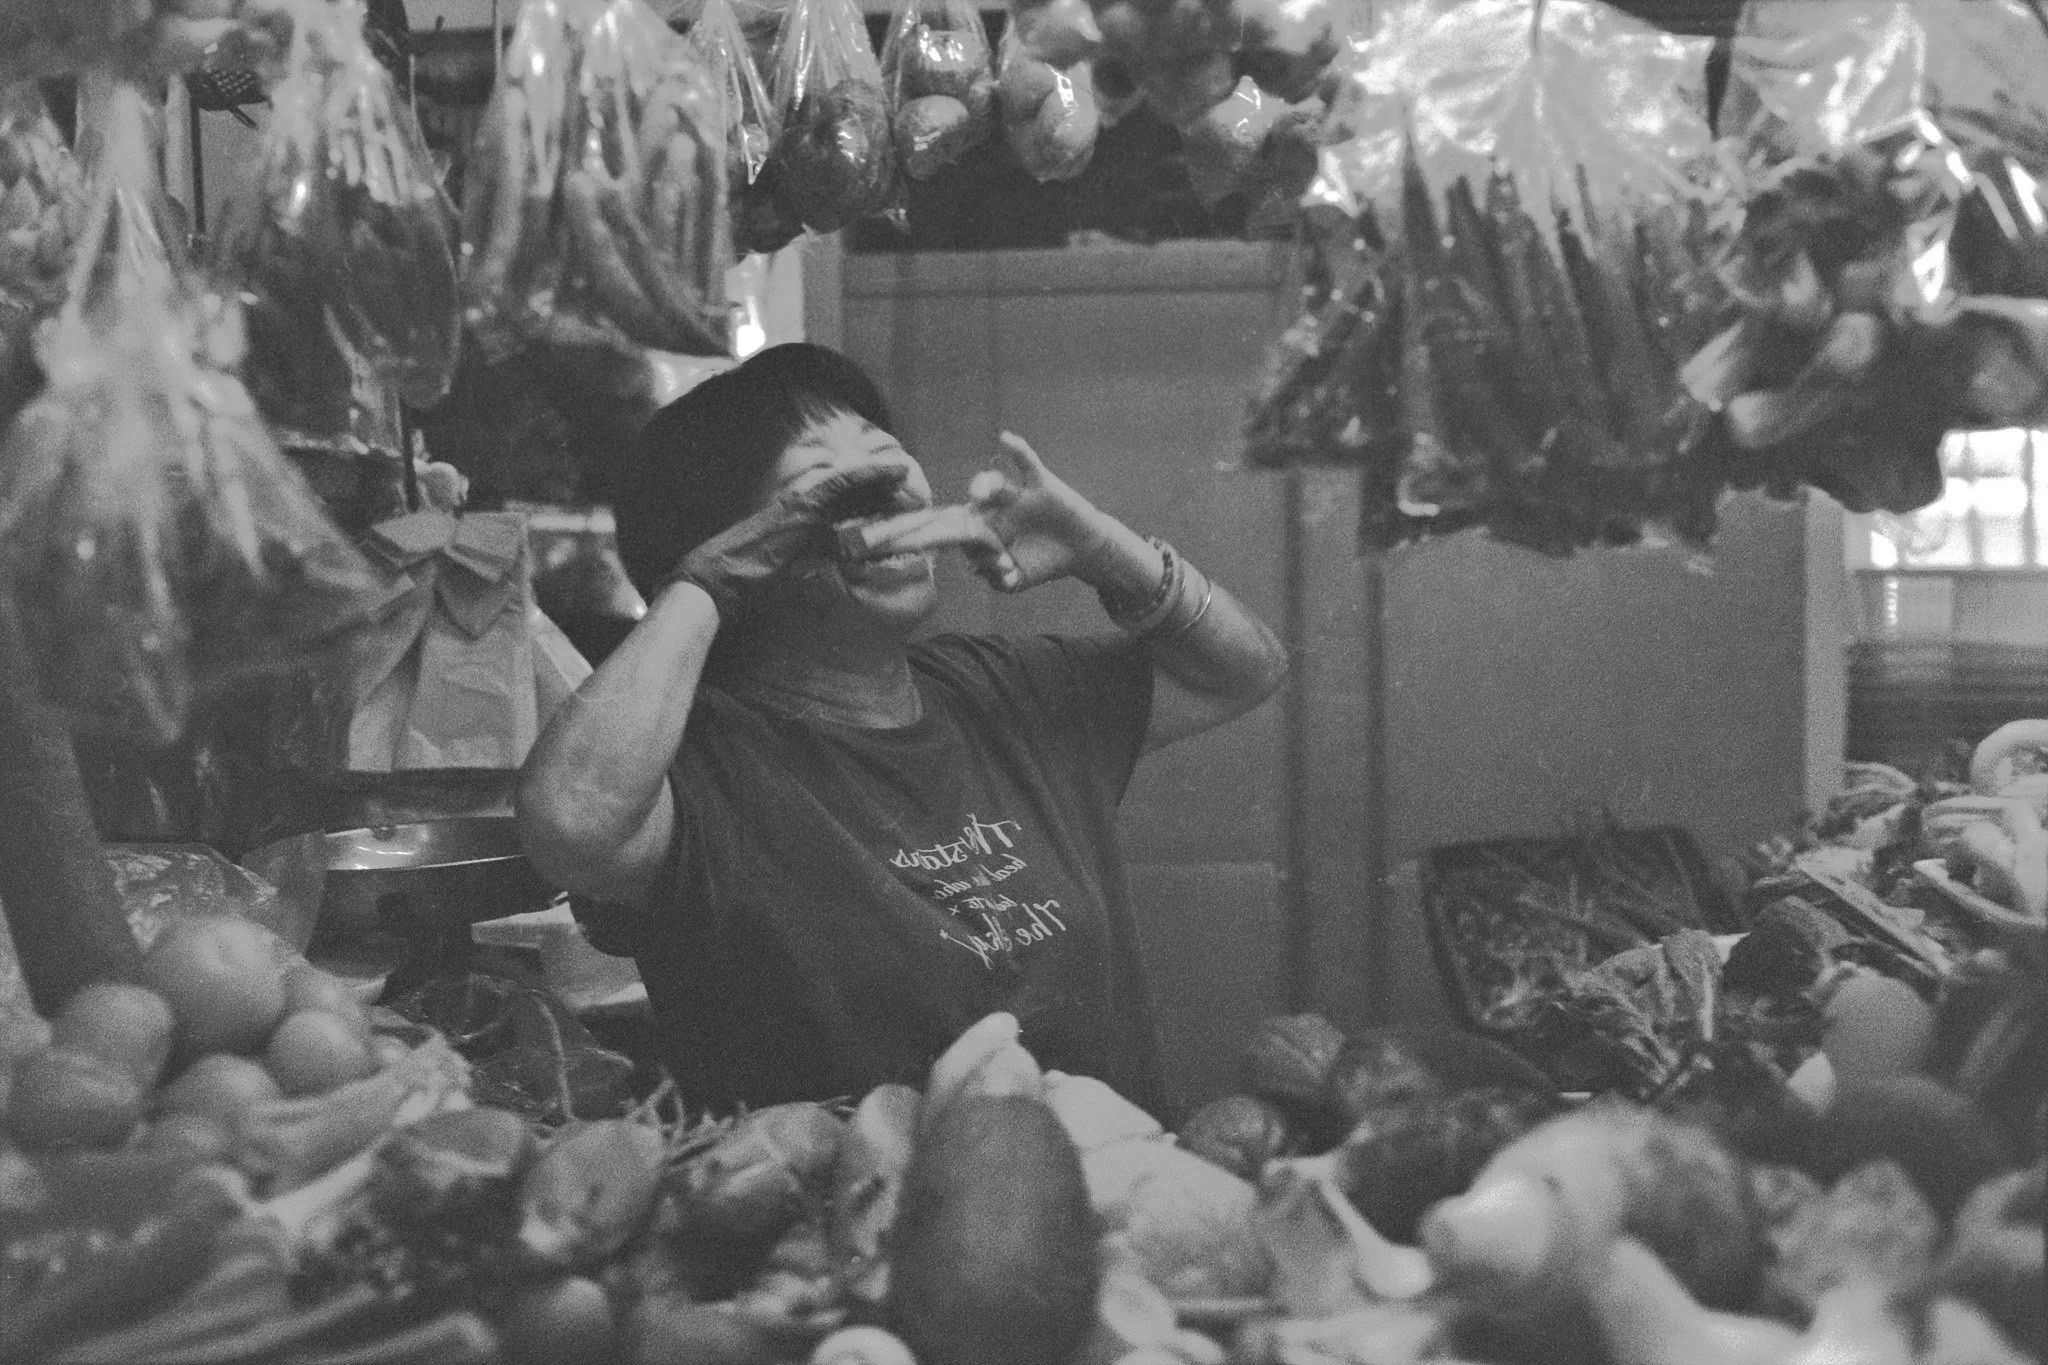
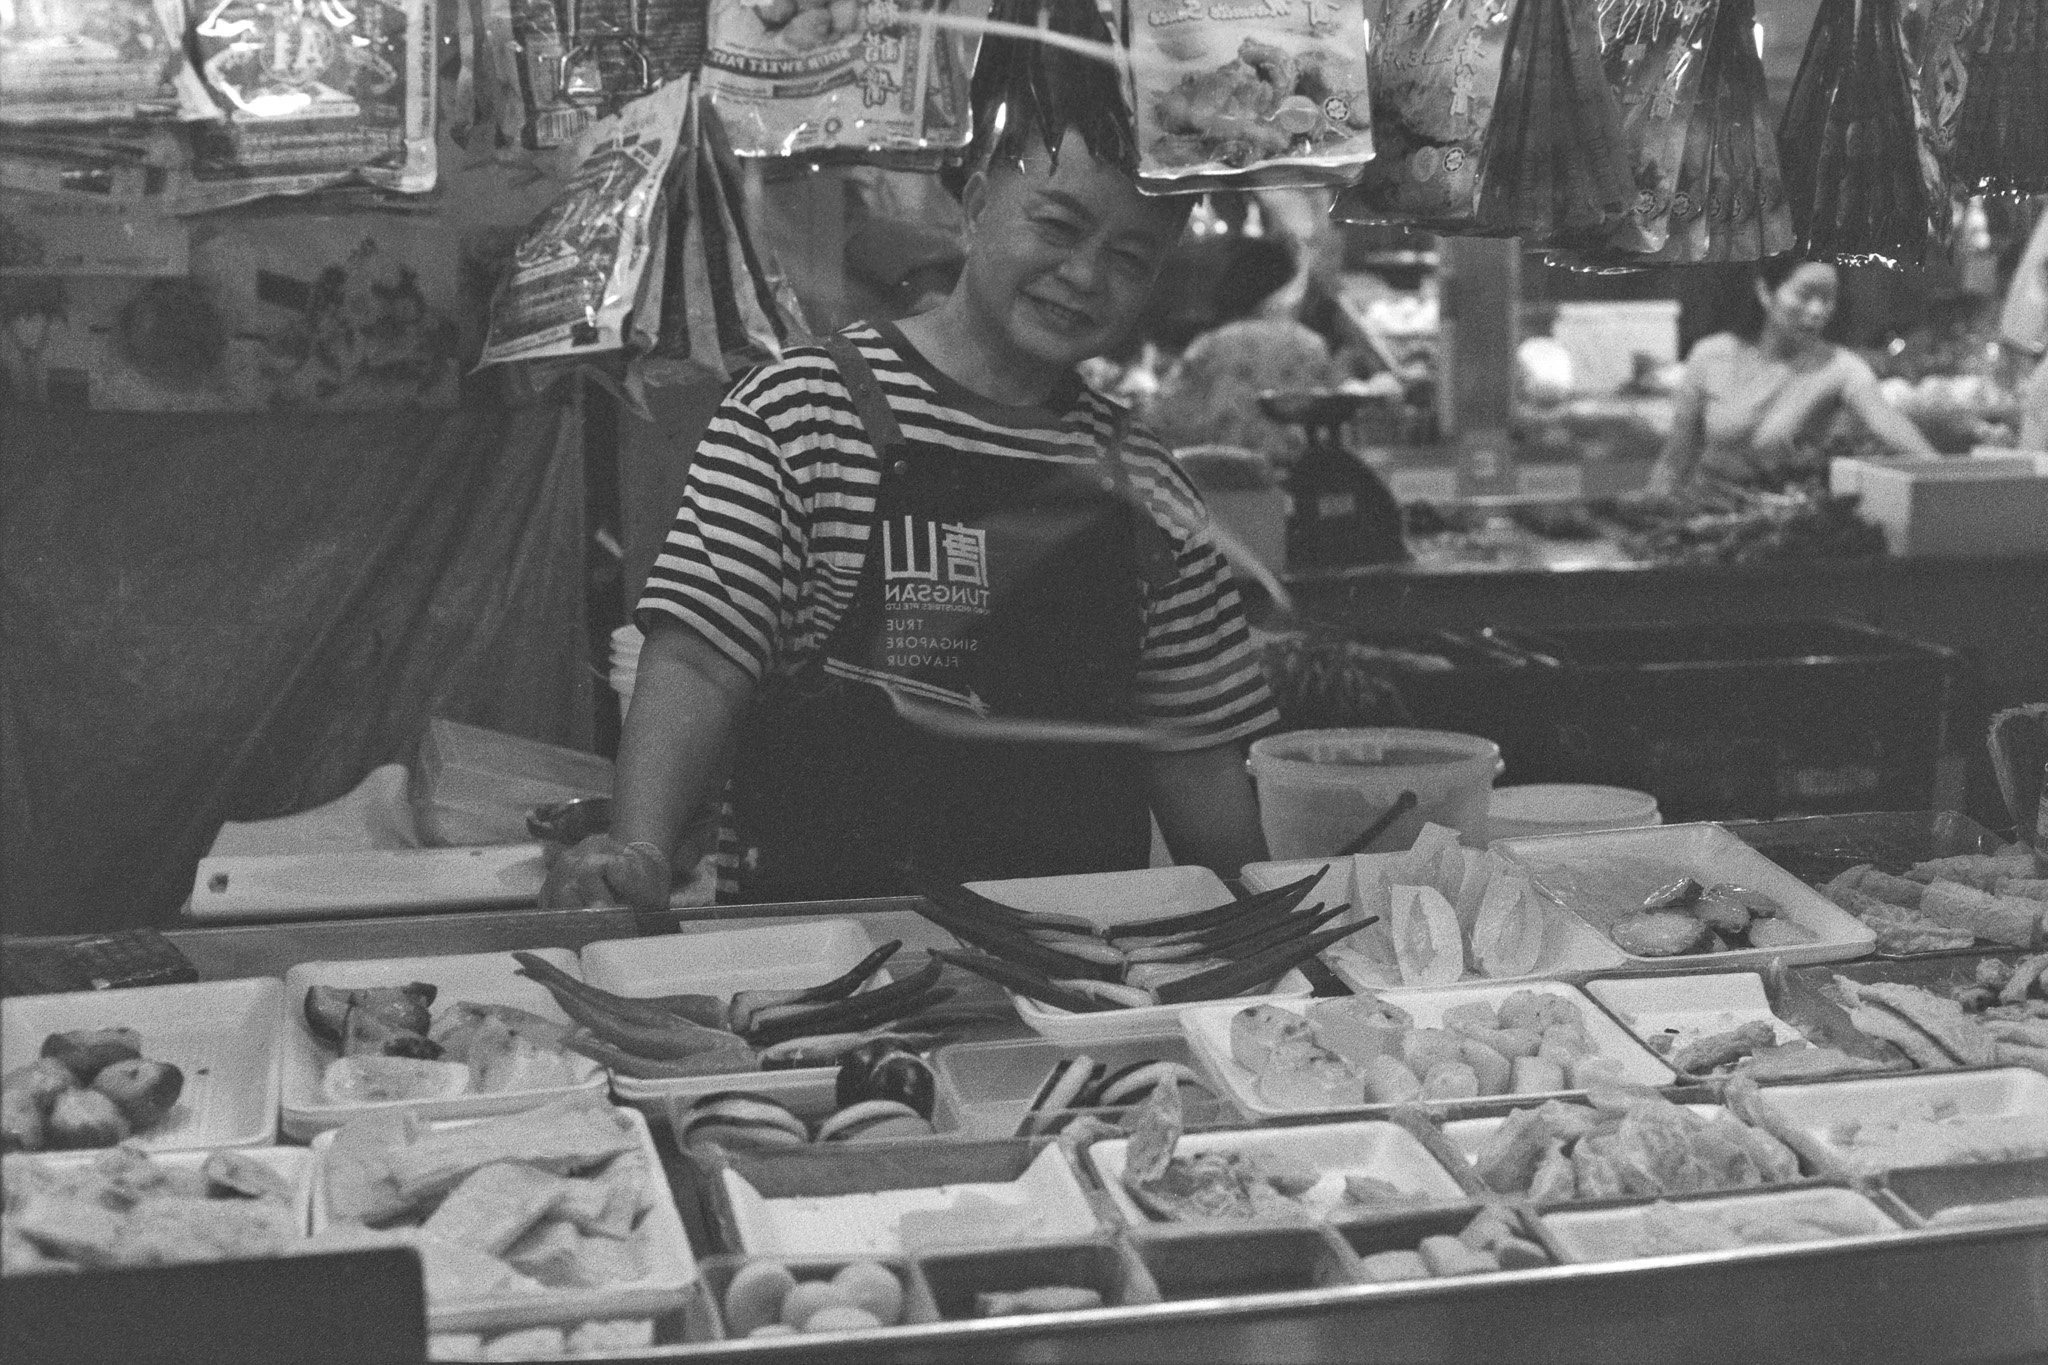
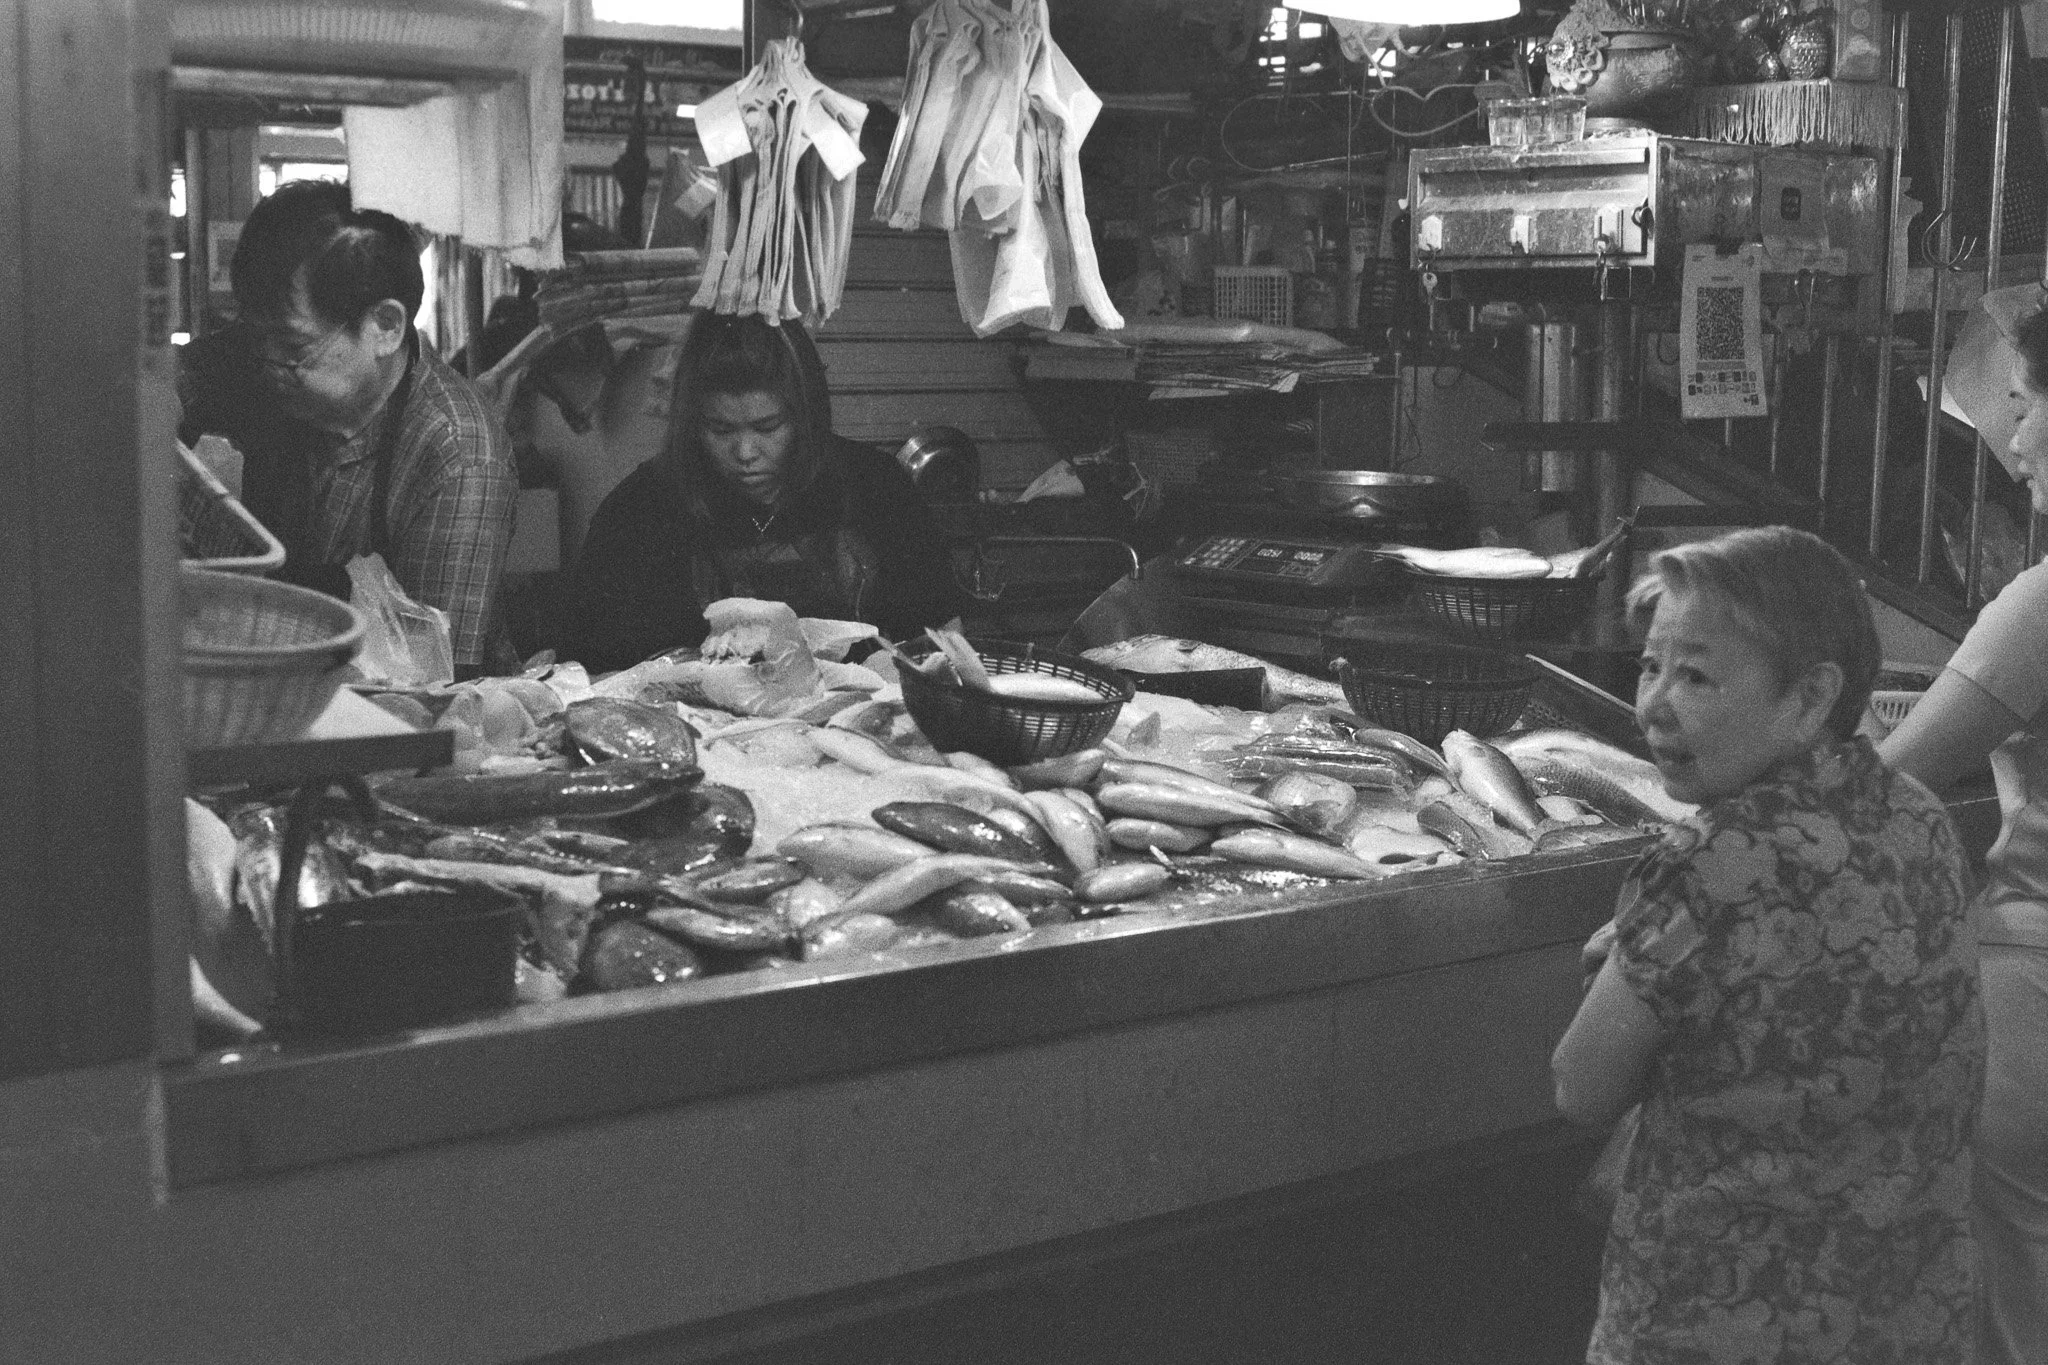
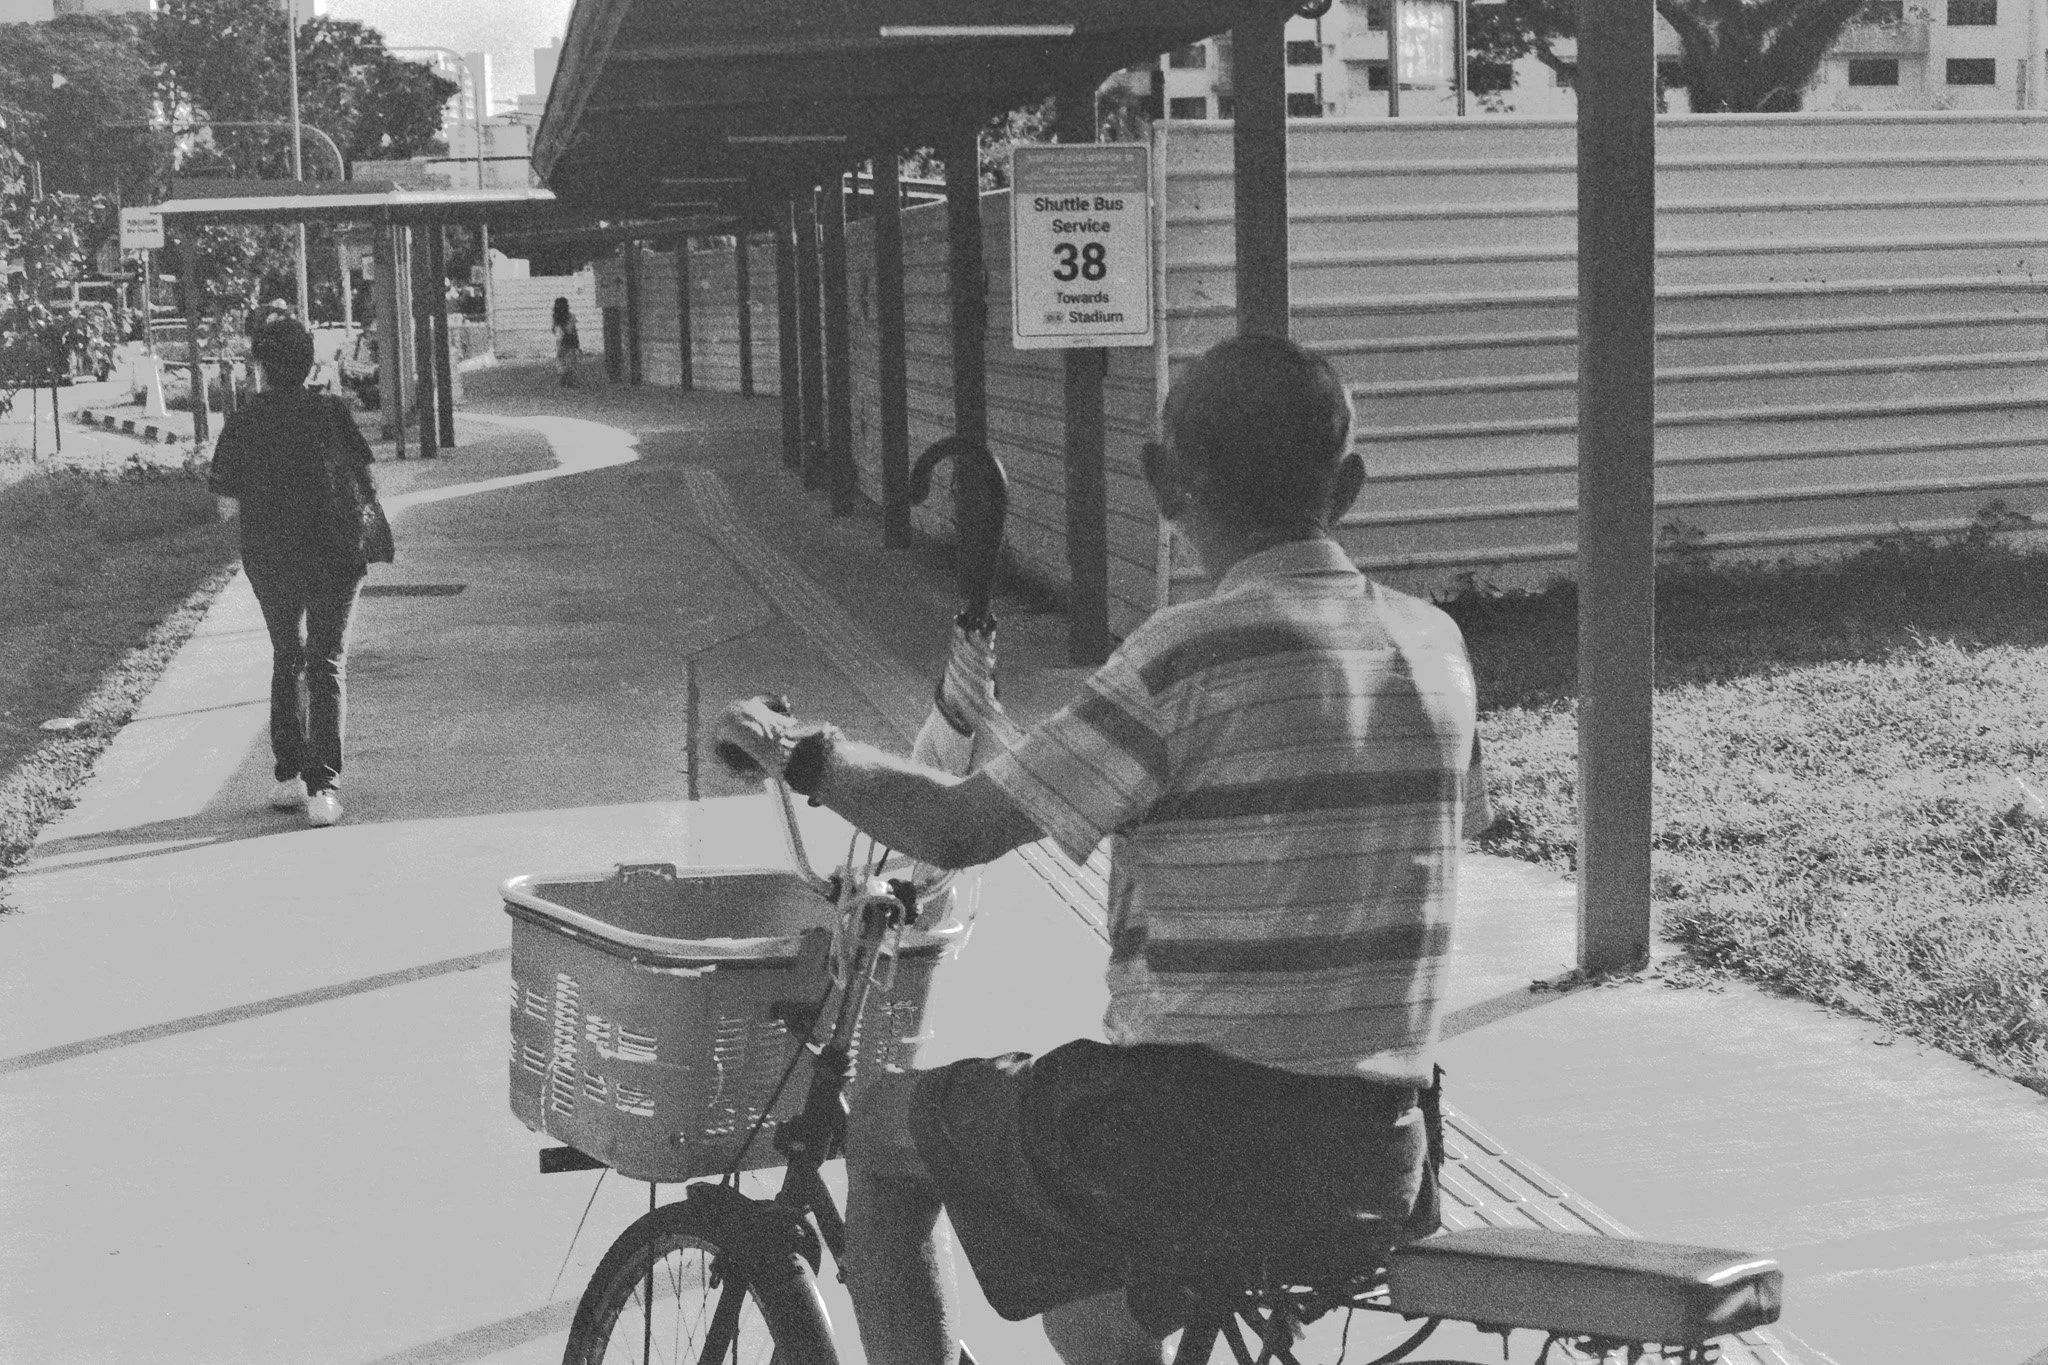
Our 166th Photo Walk took us to the lively and wonderfully unpredictable Aljunied area. We kicked things off right outside Aljunied MRT, easing into the morning by wandering towards Aljunied Crescent. The neighborhood has this raw, everyday charm; old shops, morning bustle, and characters that practically invite you to lift your camera. We got lucky with a pop‑up CNY market, bursting with color, festive noise, and stalls packed with all the good stuff that makes the season feel alive.
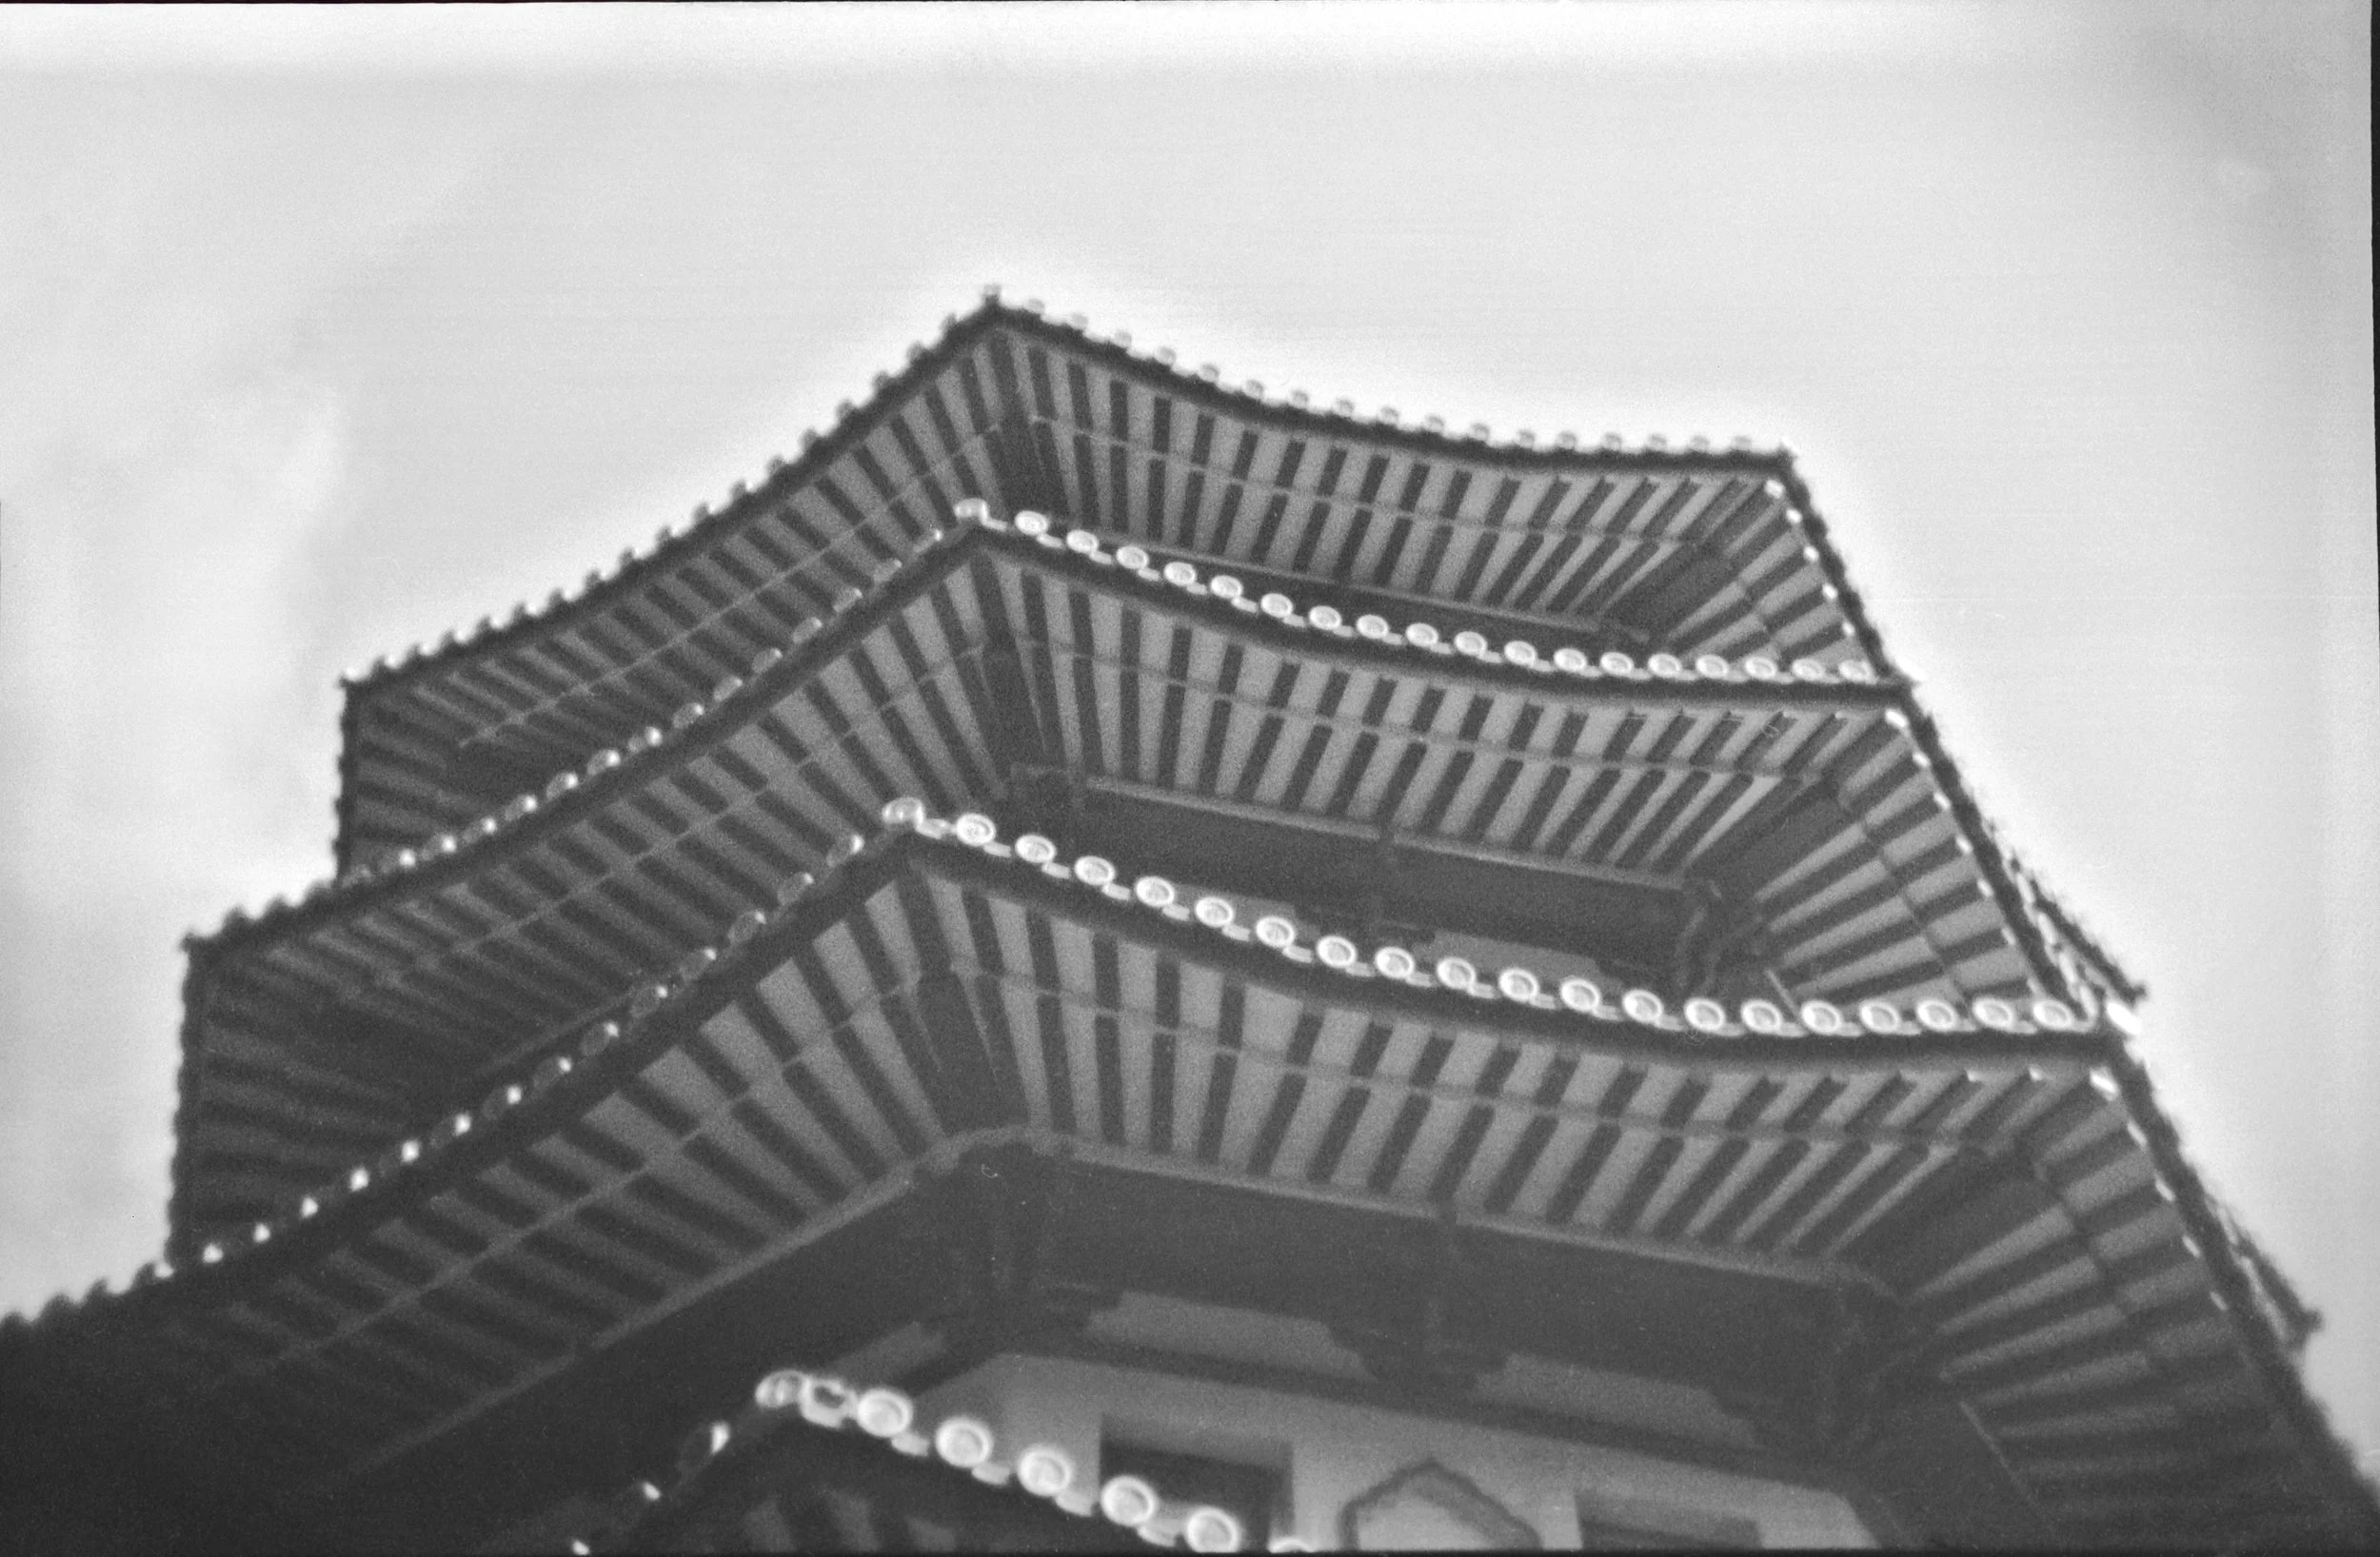
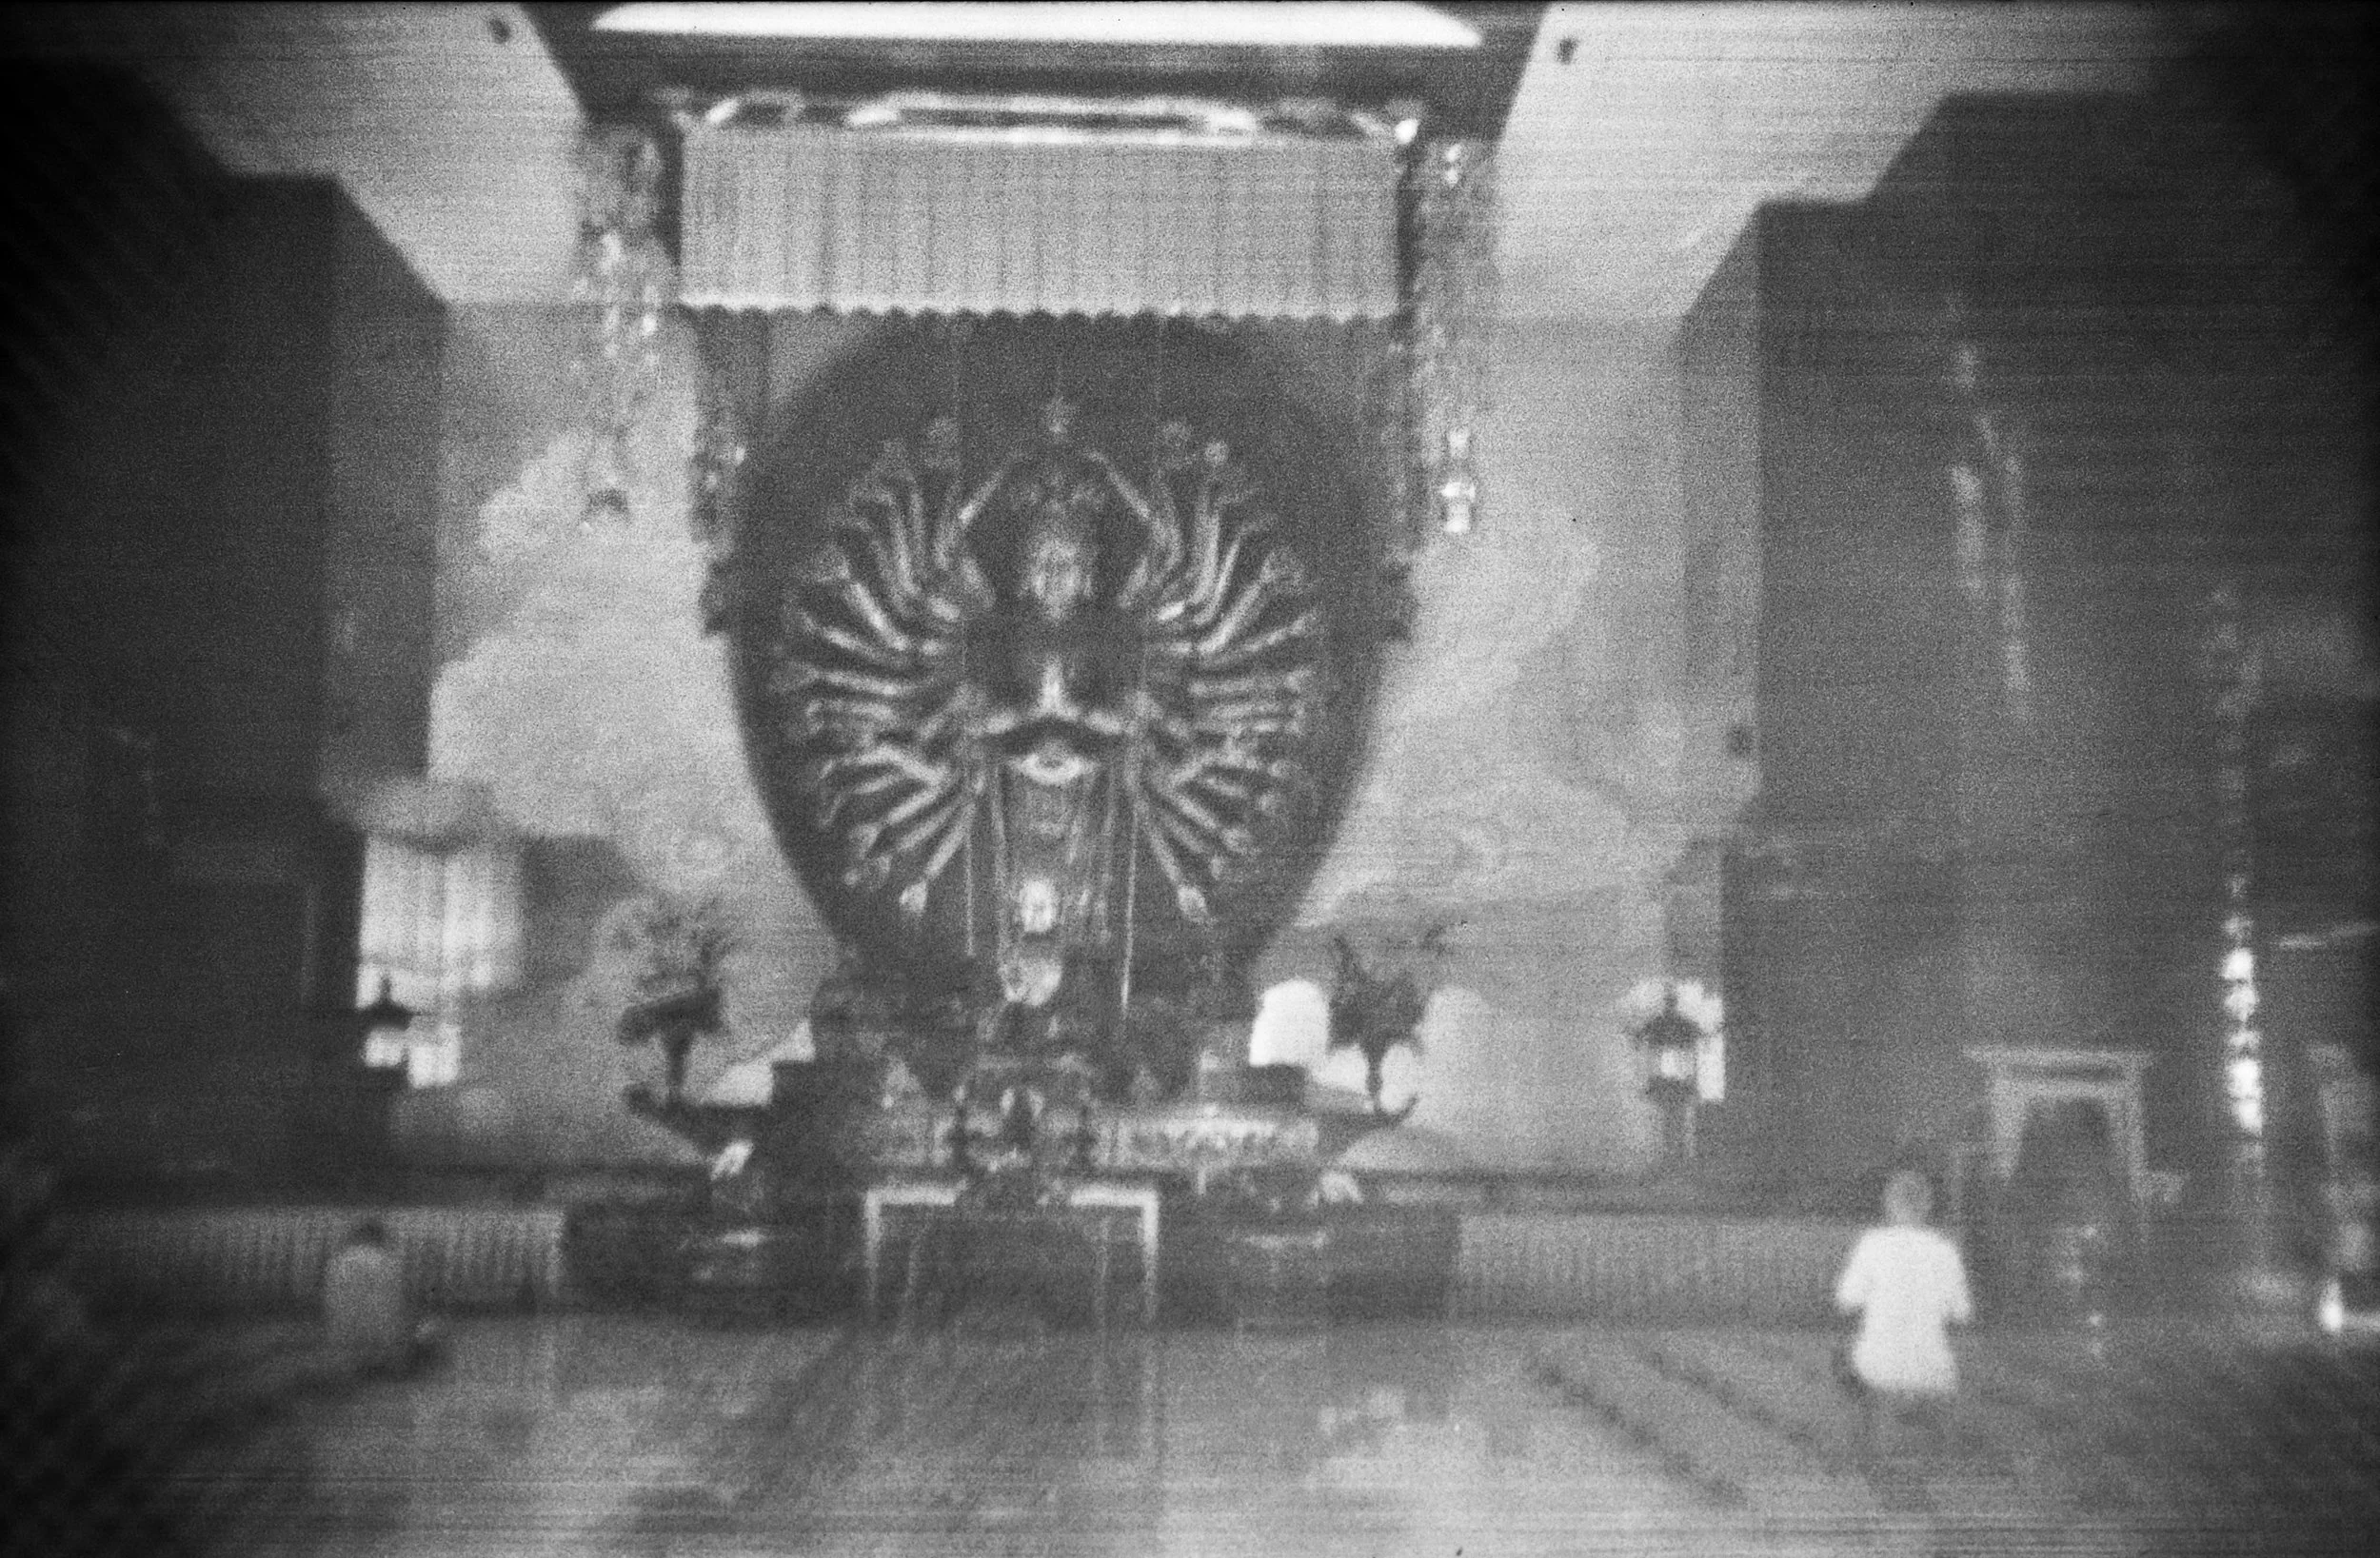
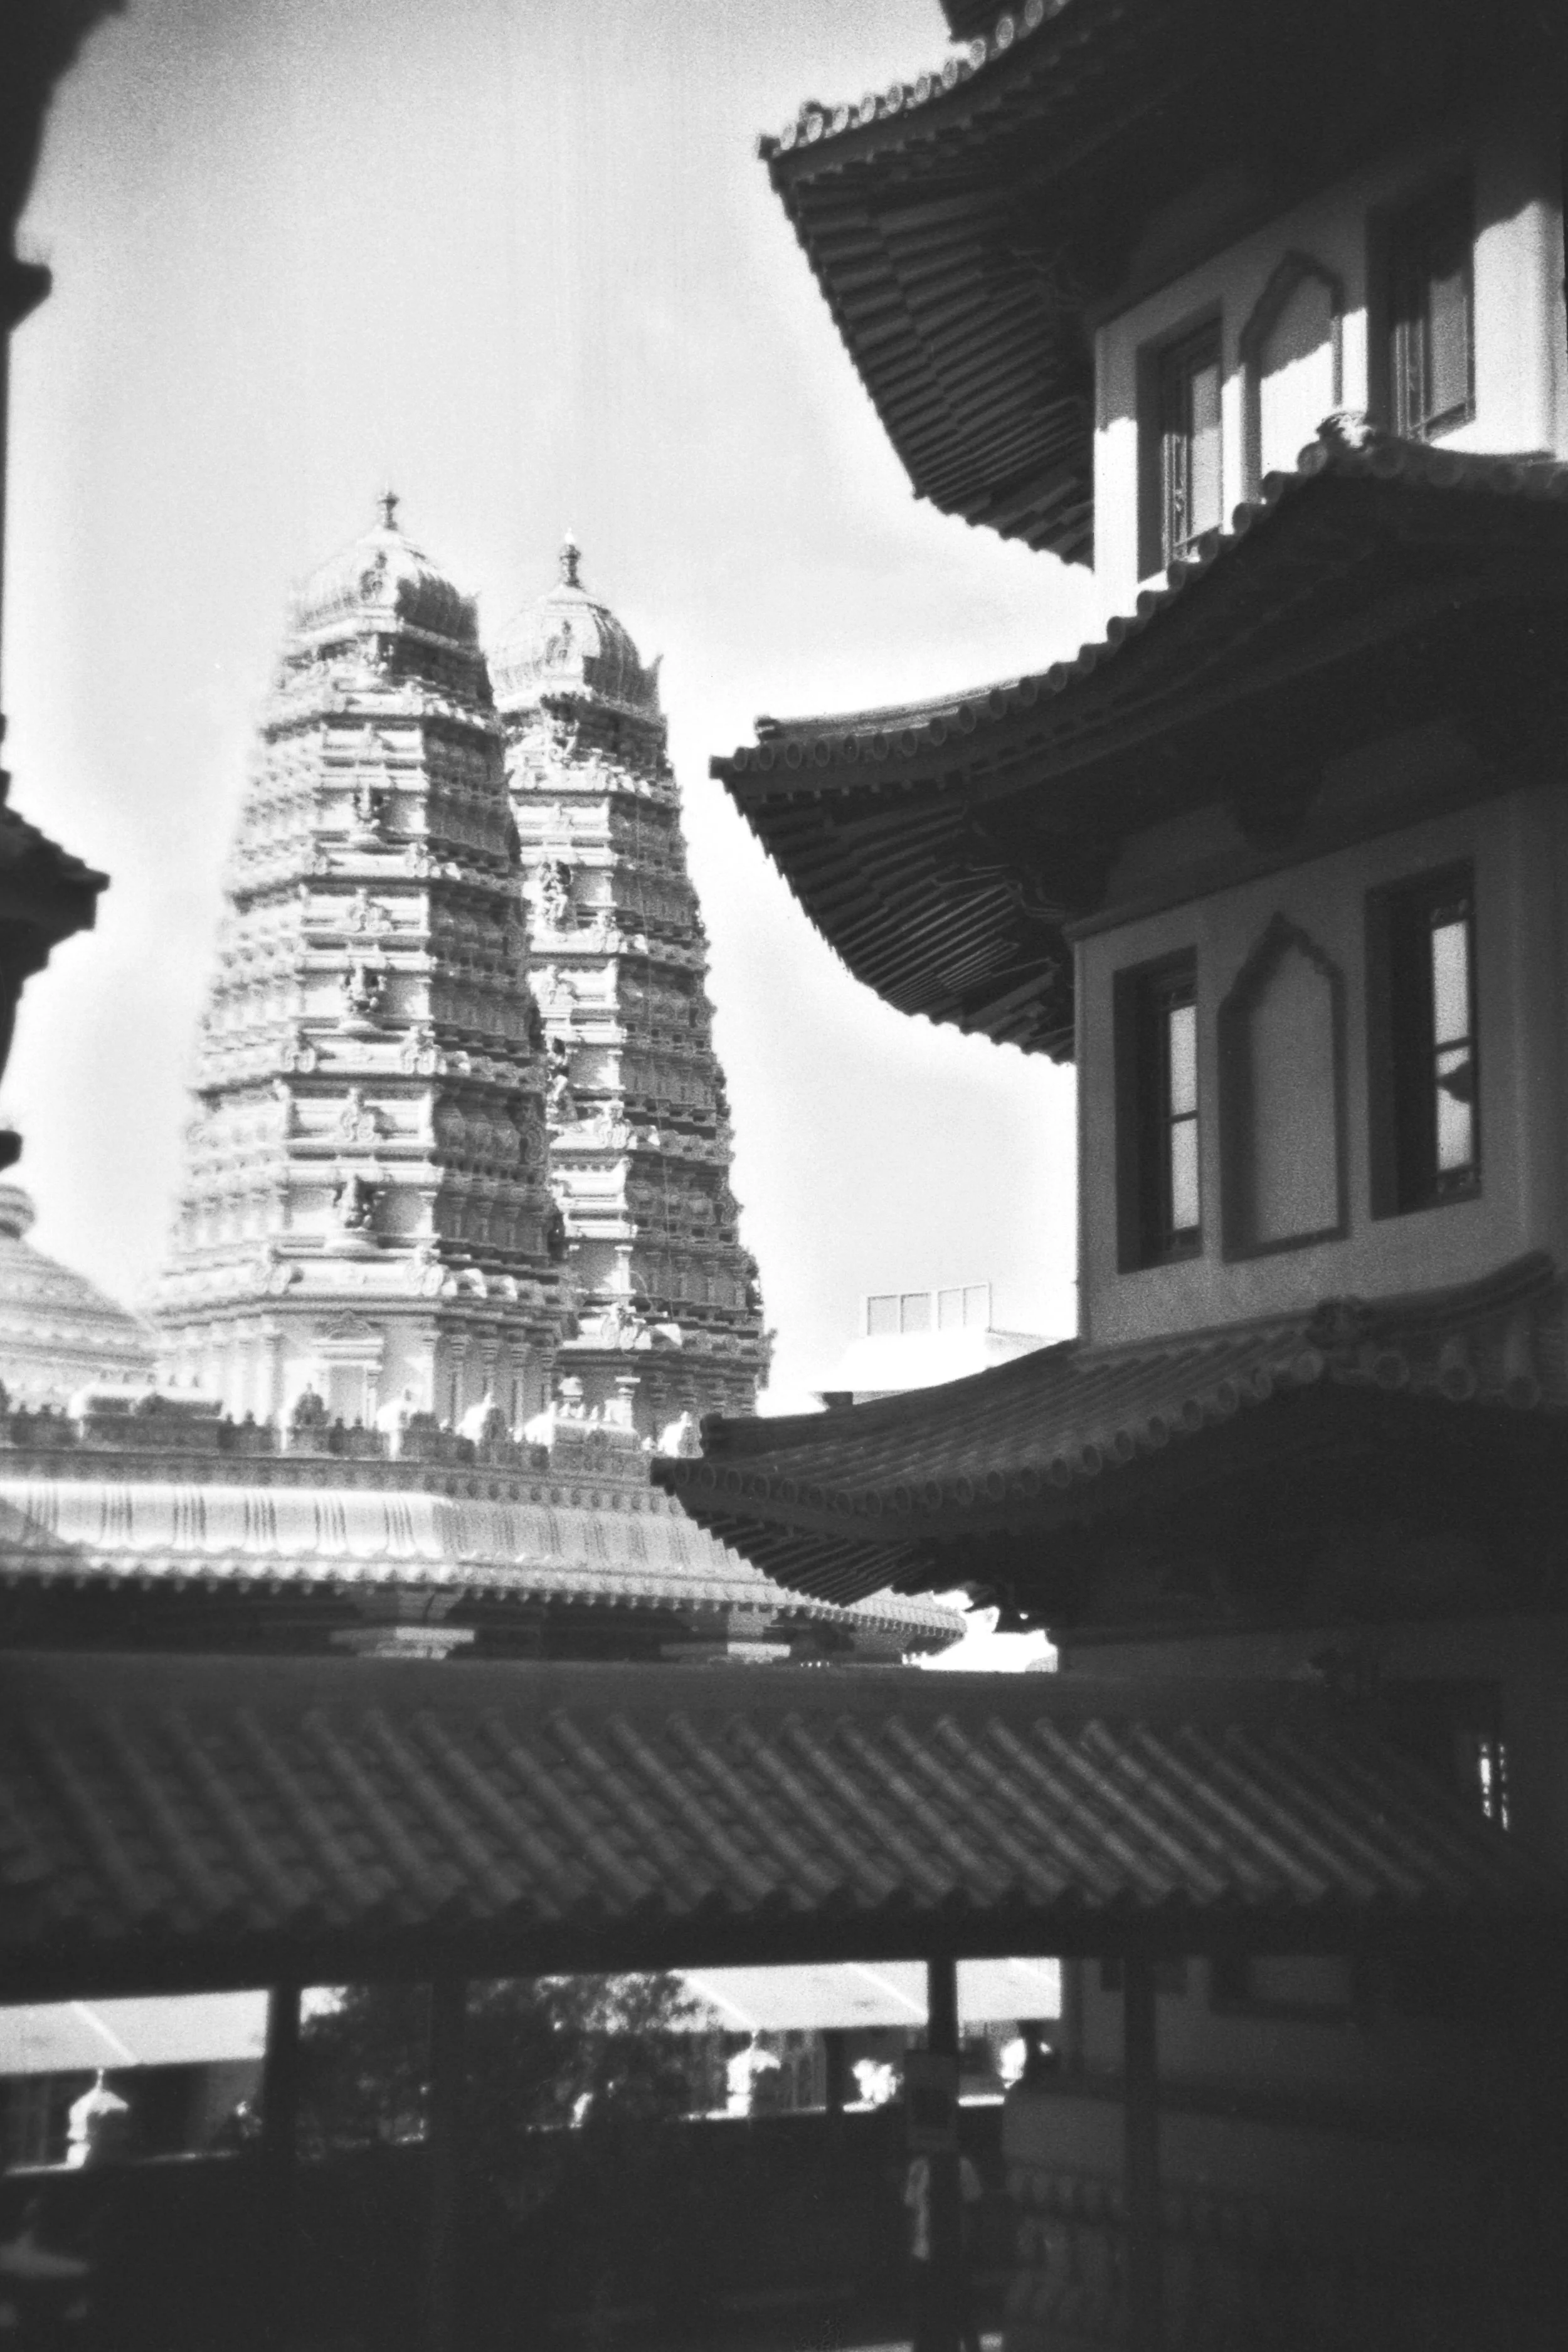
From there, we made our way to Foo Hai Ch’an Monastery, and the mood shifted completely. Calm, peaceful, and beautifully detailed, the monastery offered some stunning frames; soft light falling on statues, intricate carvings, and quiet corners perfect for lingering shots. Right next door, the Sri Sivan Temple added a vibrant contrast, making this little stretch a surprisingly rich spot for capturing Singapore’s spiritual diversity.
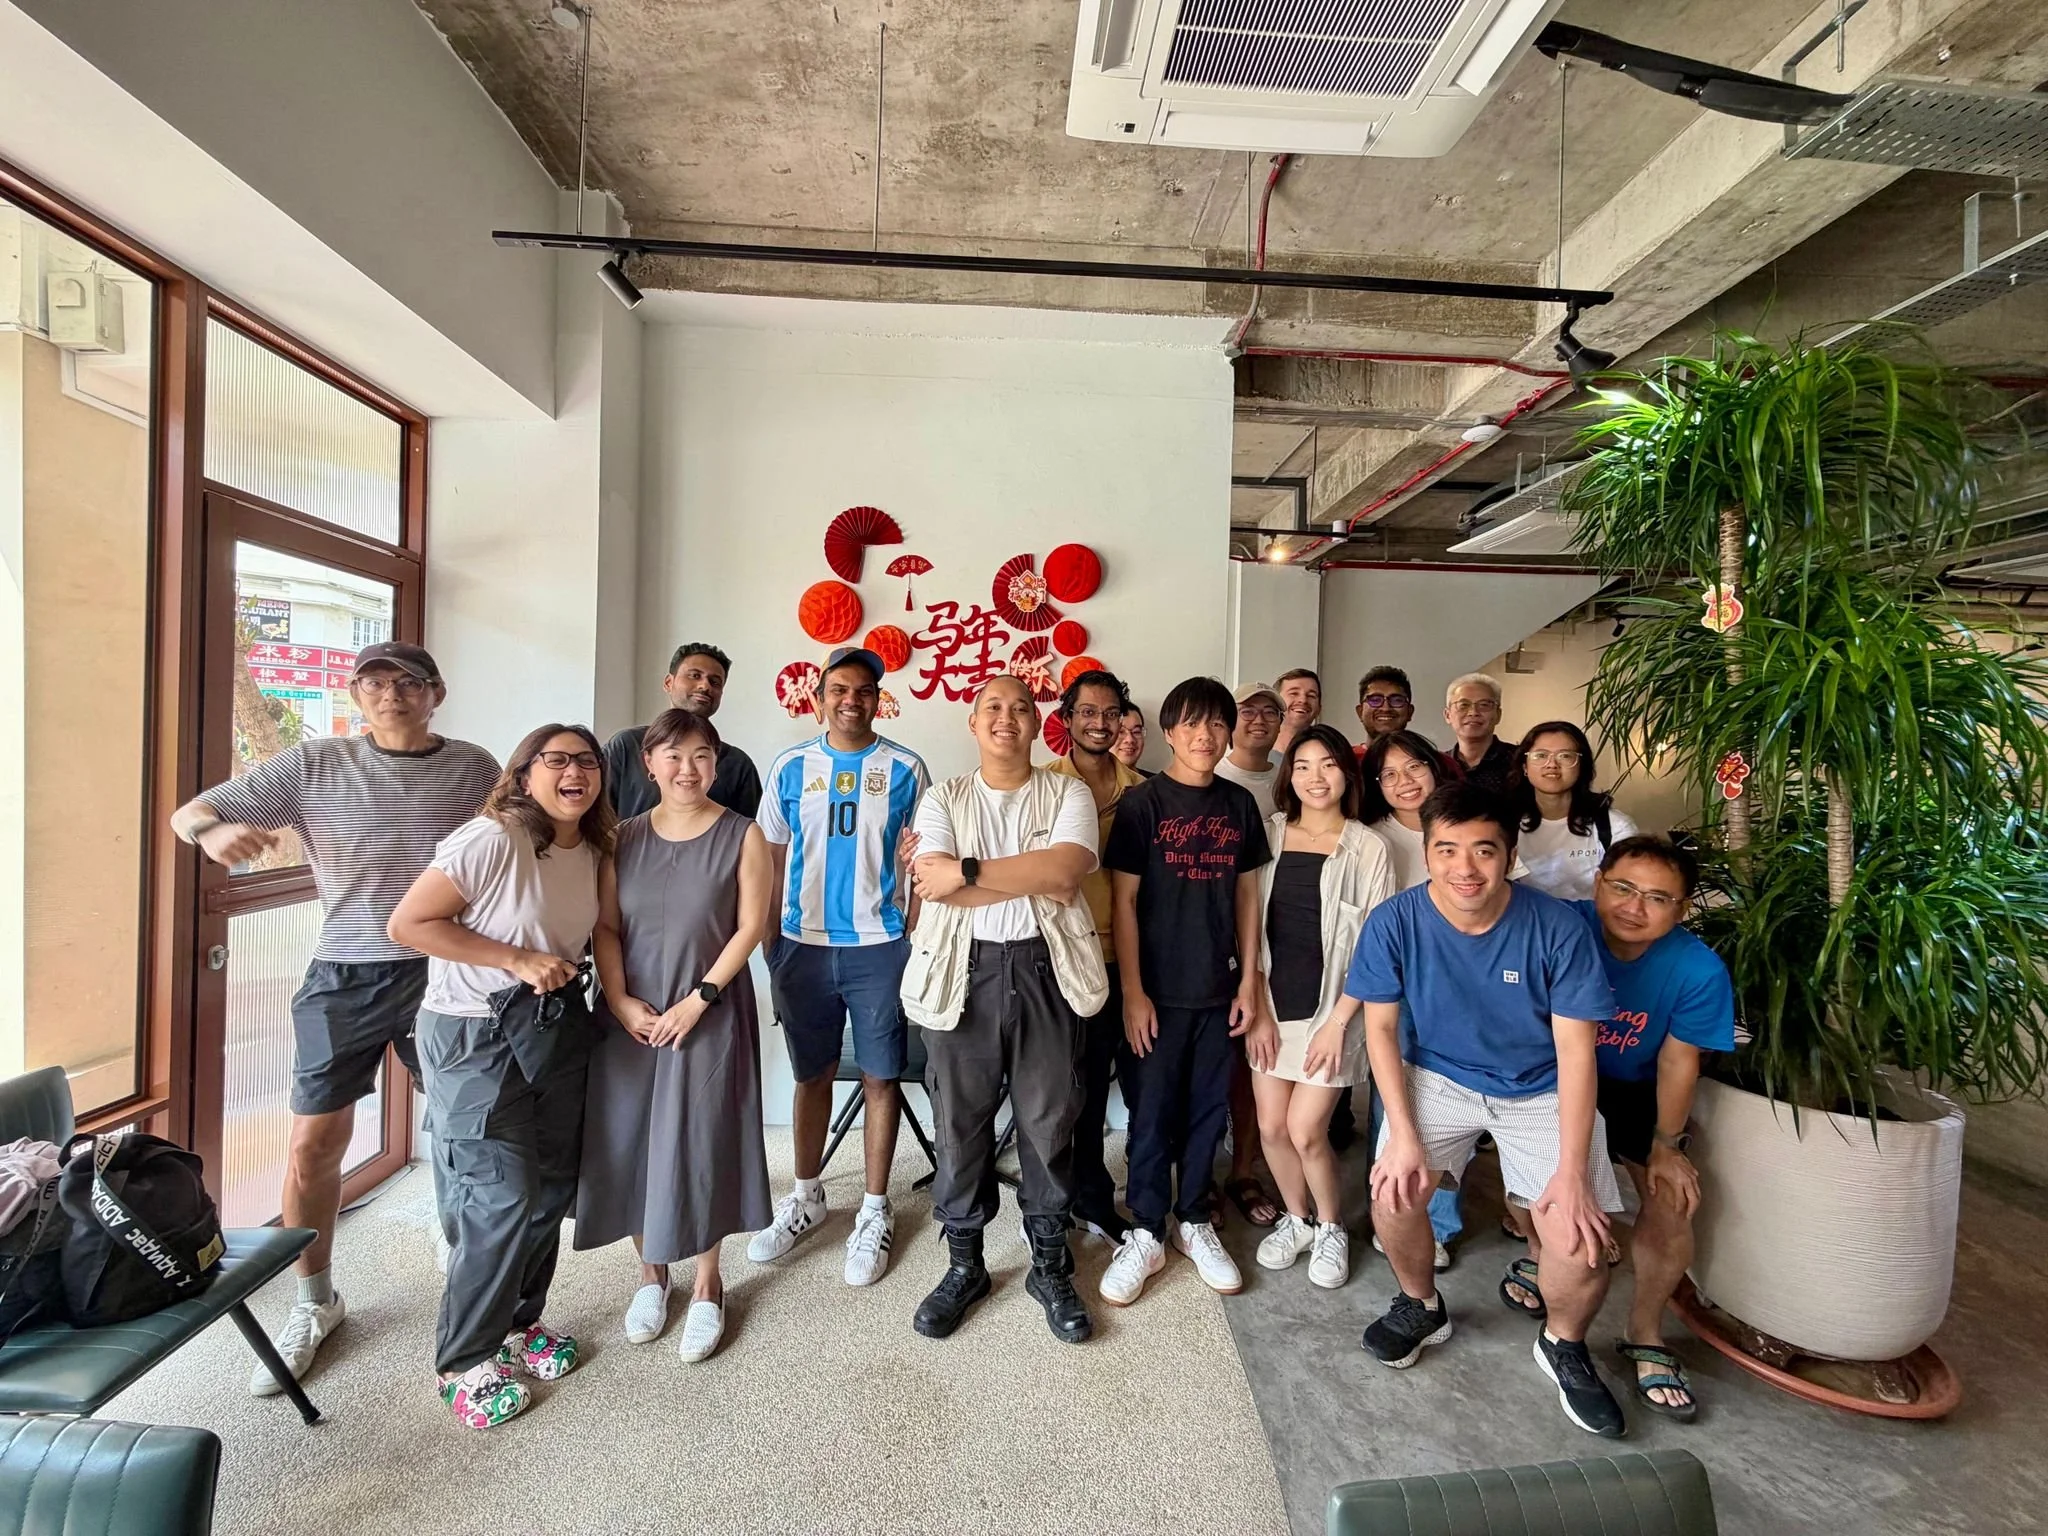
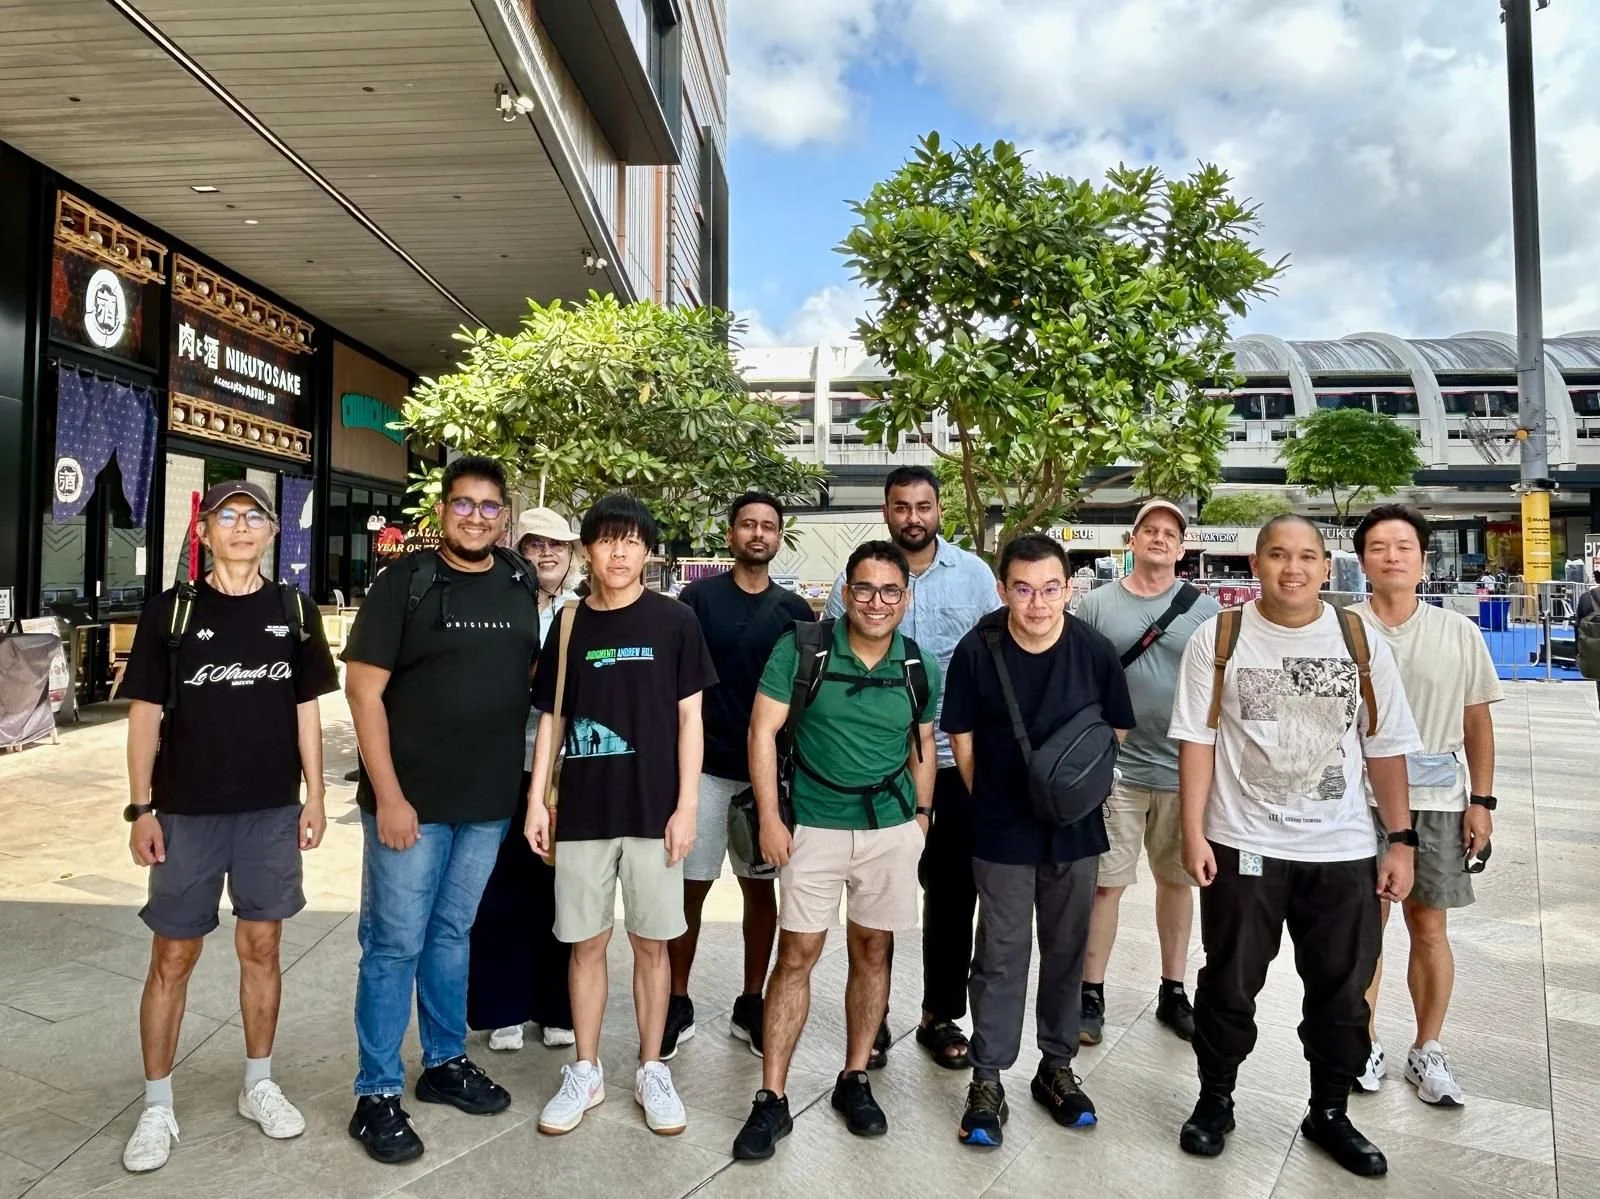
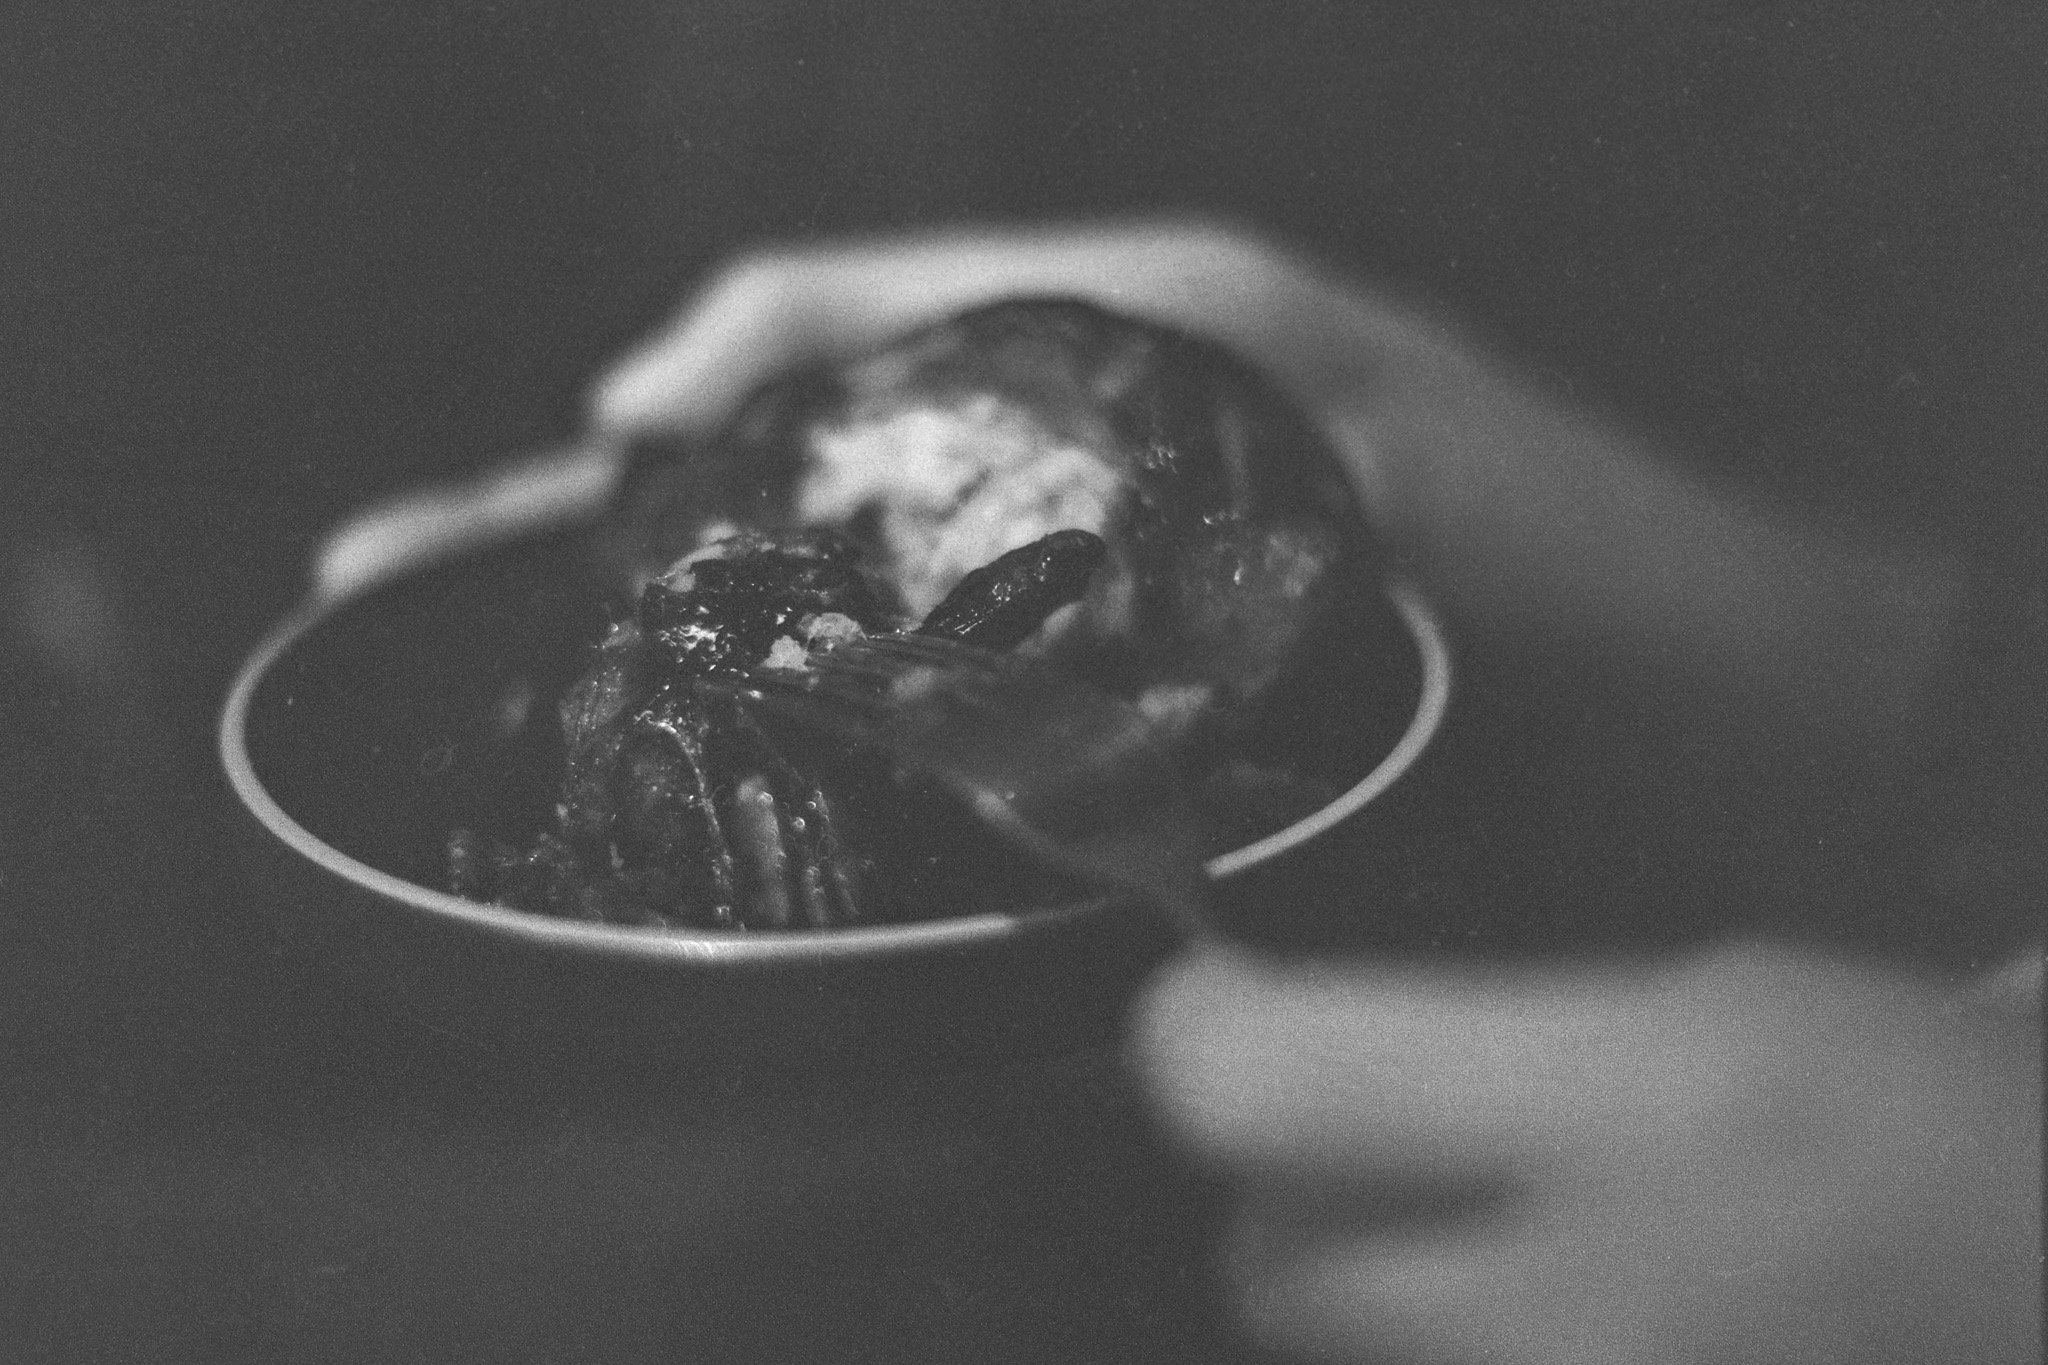
To wrap things up, we wandered down to Space Coffee on Geylang Road, where the caffeine hit felt well‑earned. Following are some of my favorite images captured from the shoot.
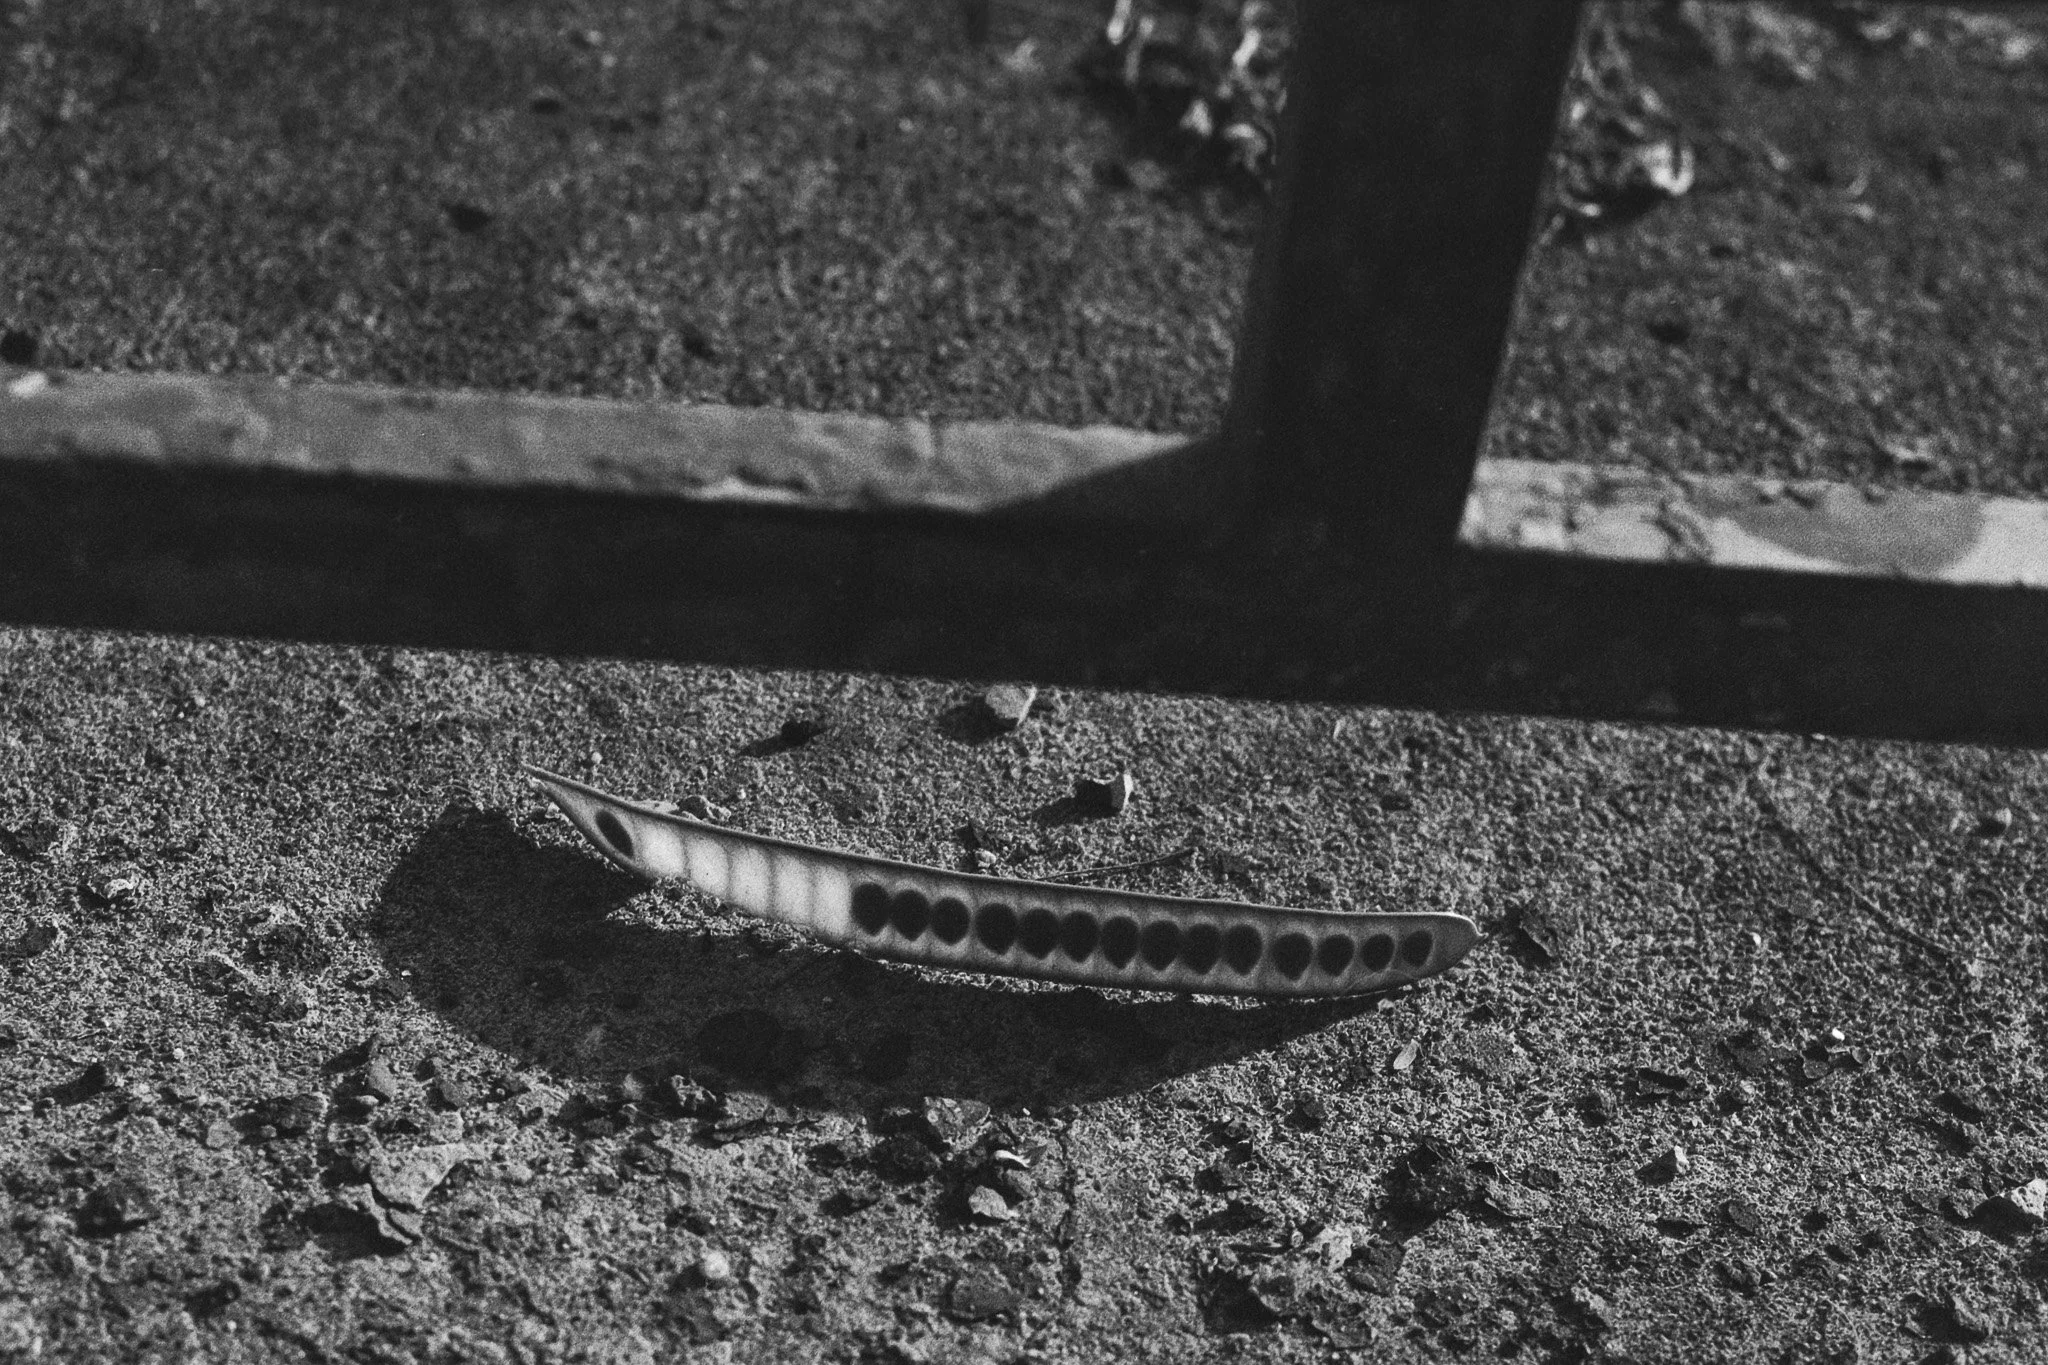
Camera: Holga 135BC
Film: Fomapan Creative 200 B&W @ ISO 400 (DD-X 1:4)